One thing that I enjoy experimenting with is visual effects in crochet. There are many different ways that this can be accomplished, textural stitches, various stitch locations, colors, but this time I was actually working with a carry a long thread.
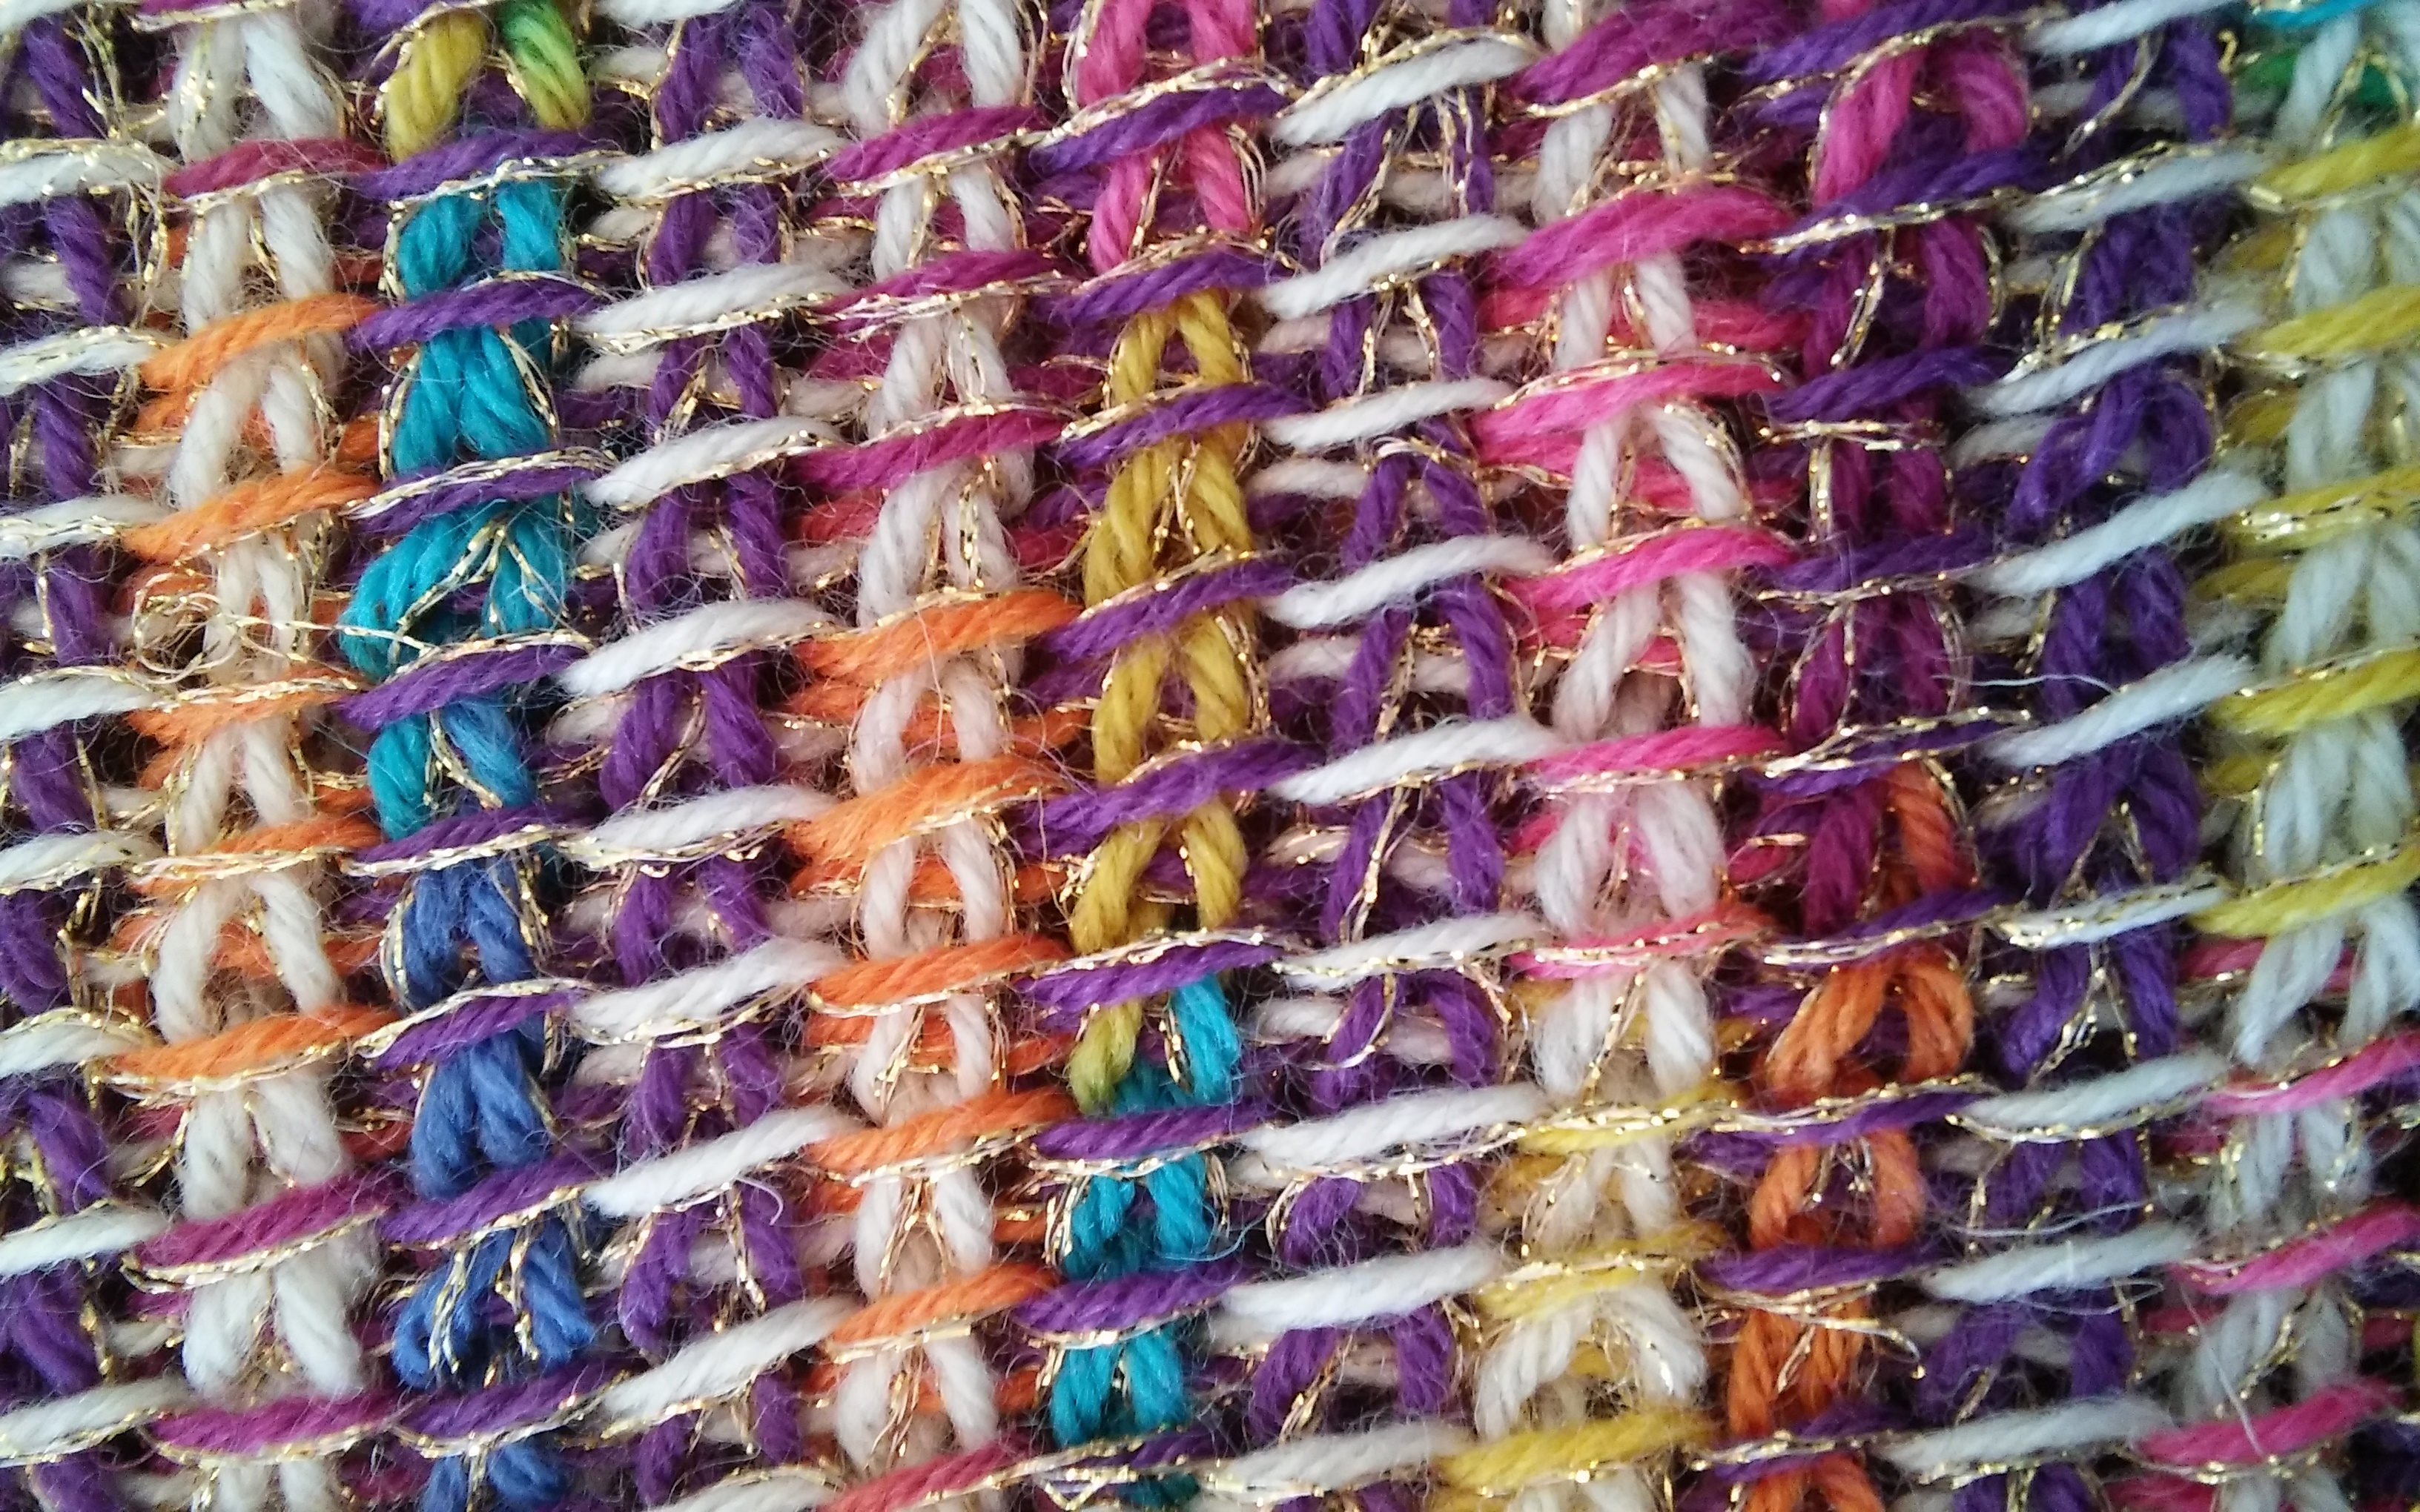
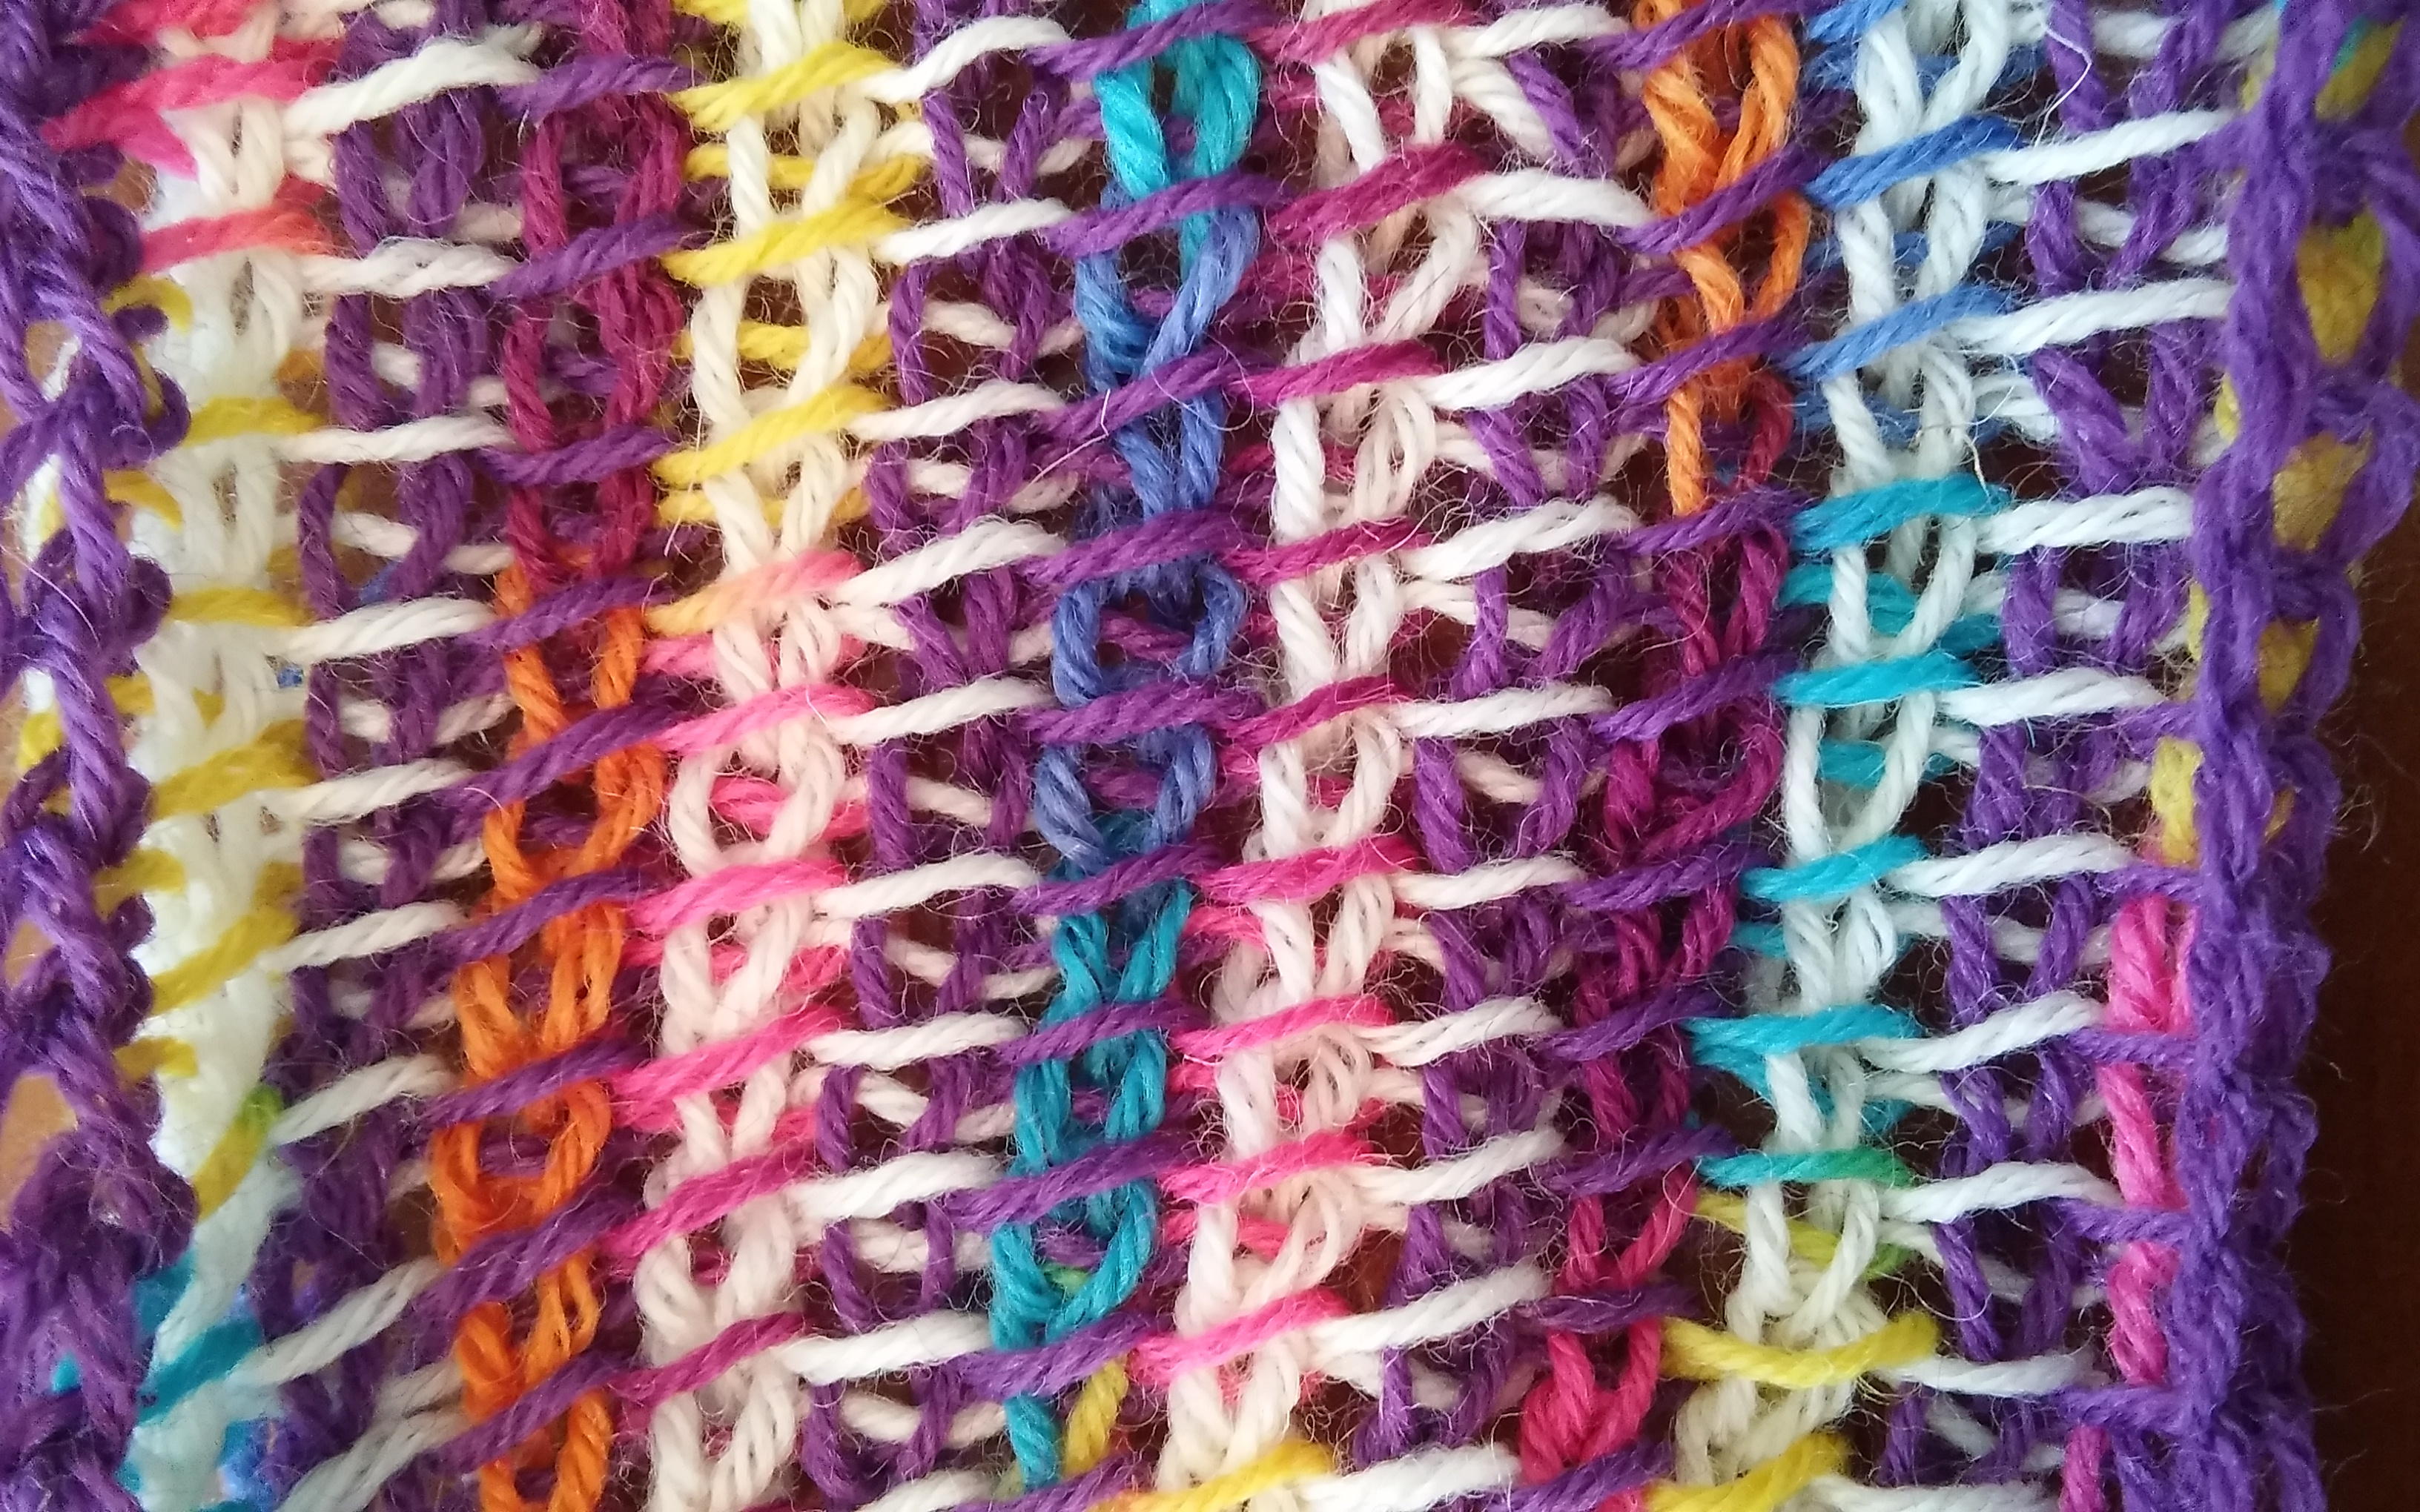
Swatch using a Carry Along thread
I challenged myself to play with something that is relatively simple yet has interest. So I was working with a Tunisian Simple Stitch, changing color on every forward and return pass. I find that I really enjoy this with 3 colors as each row sets up really nicely for the next, and eventually you do not even have to think about what color you are on the strand you need is already there. (If you would like to give it a try for yourself, I have a free pattern using the stitch technique here.)
I was working with some vibrant colors, and wanted to tone it down a bit and even tie the colors together better, so I picked up some Twist Carry Along Yarn from Kreinik Threads and it did the trick. Many would find a complimentary color and add similar color thread to the work, I instead decided to go big, and I pared a color that would stand out, gold. This allows for the colors to actually find more harmony together. The eye begins to tone down the brightness of the vibrant yarns as they have a constant that is running through all of them. One of the reasons I chose the gold as the carry a long color was that if I am going to put in this extra work, I want it to be seen. I want someone to recognize my effort, if you have a hard time telling that there was something different done then it almost seems like there is no payoff for my extra work. I decided to be bold.
Swatch without a thread
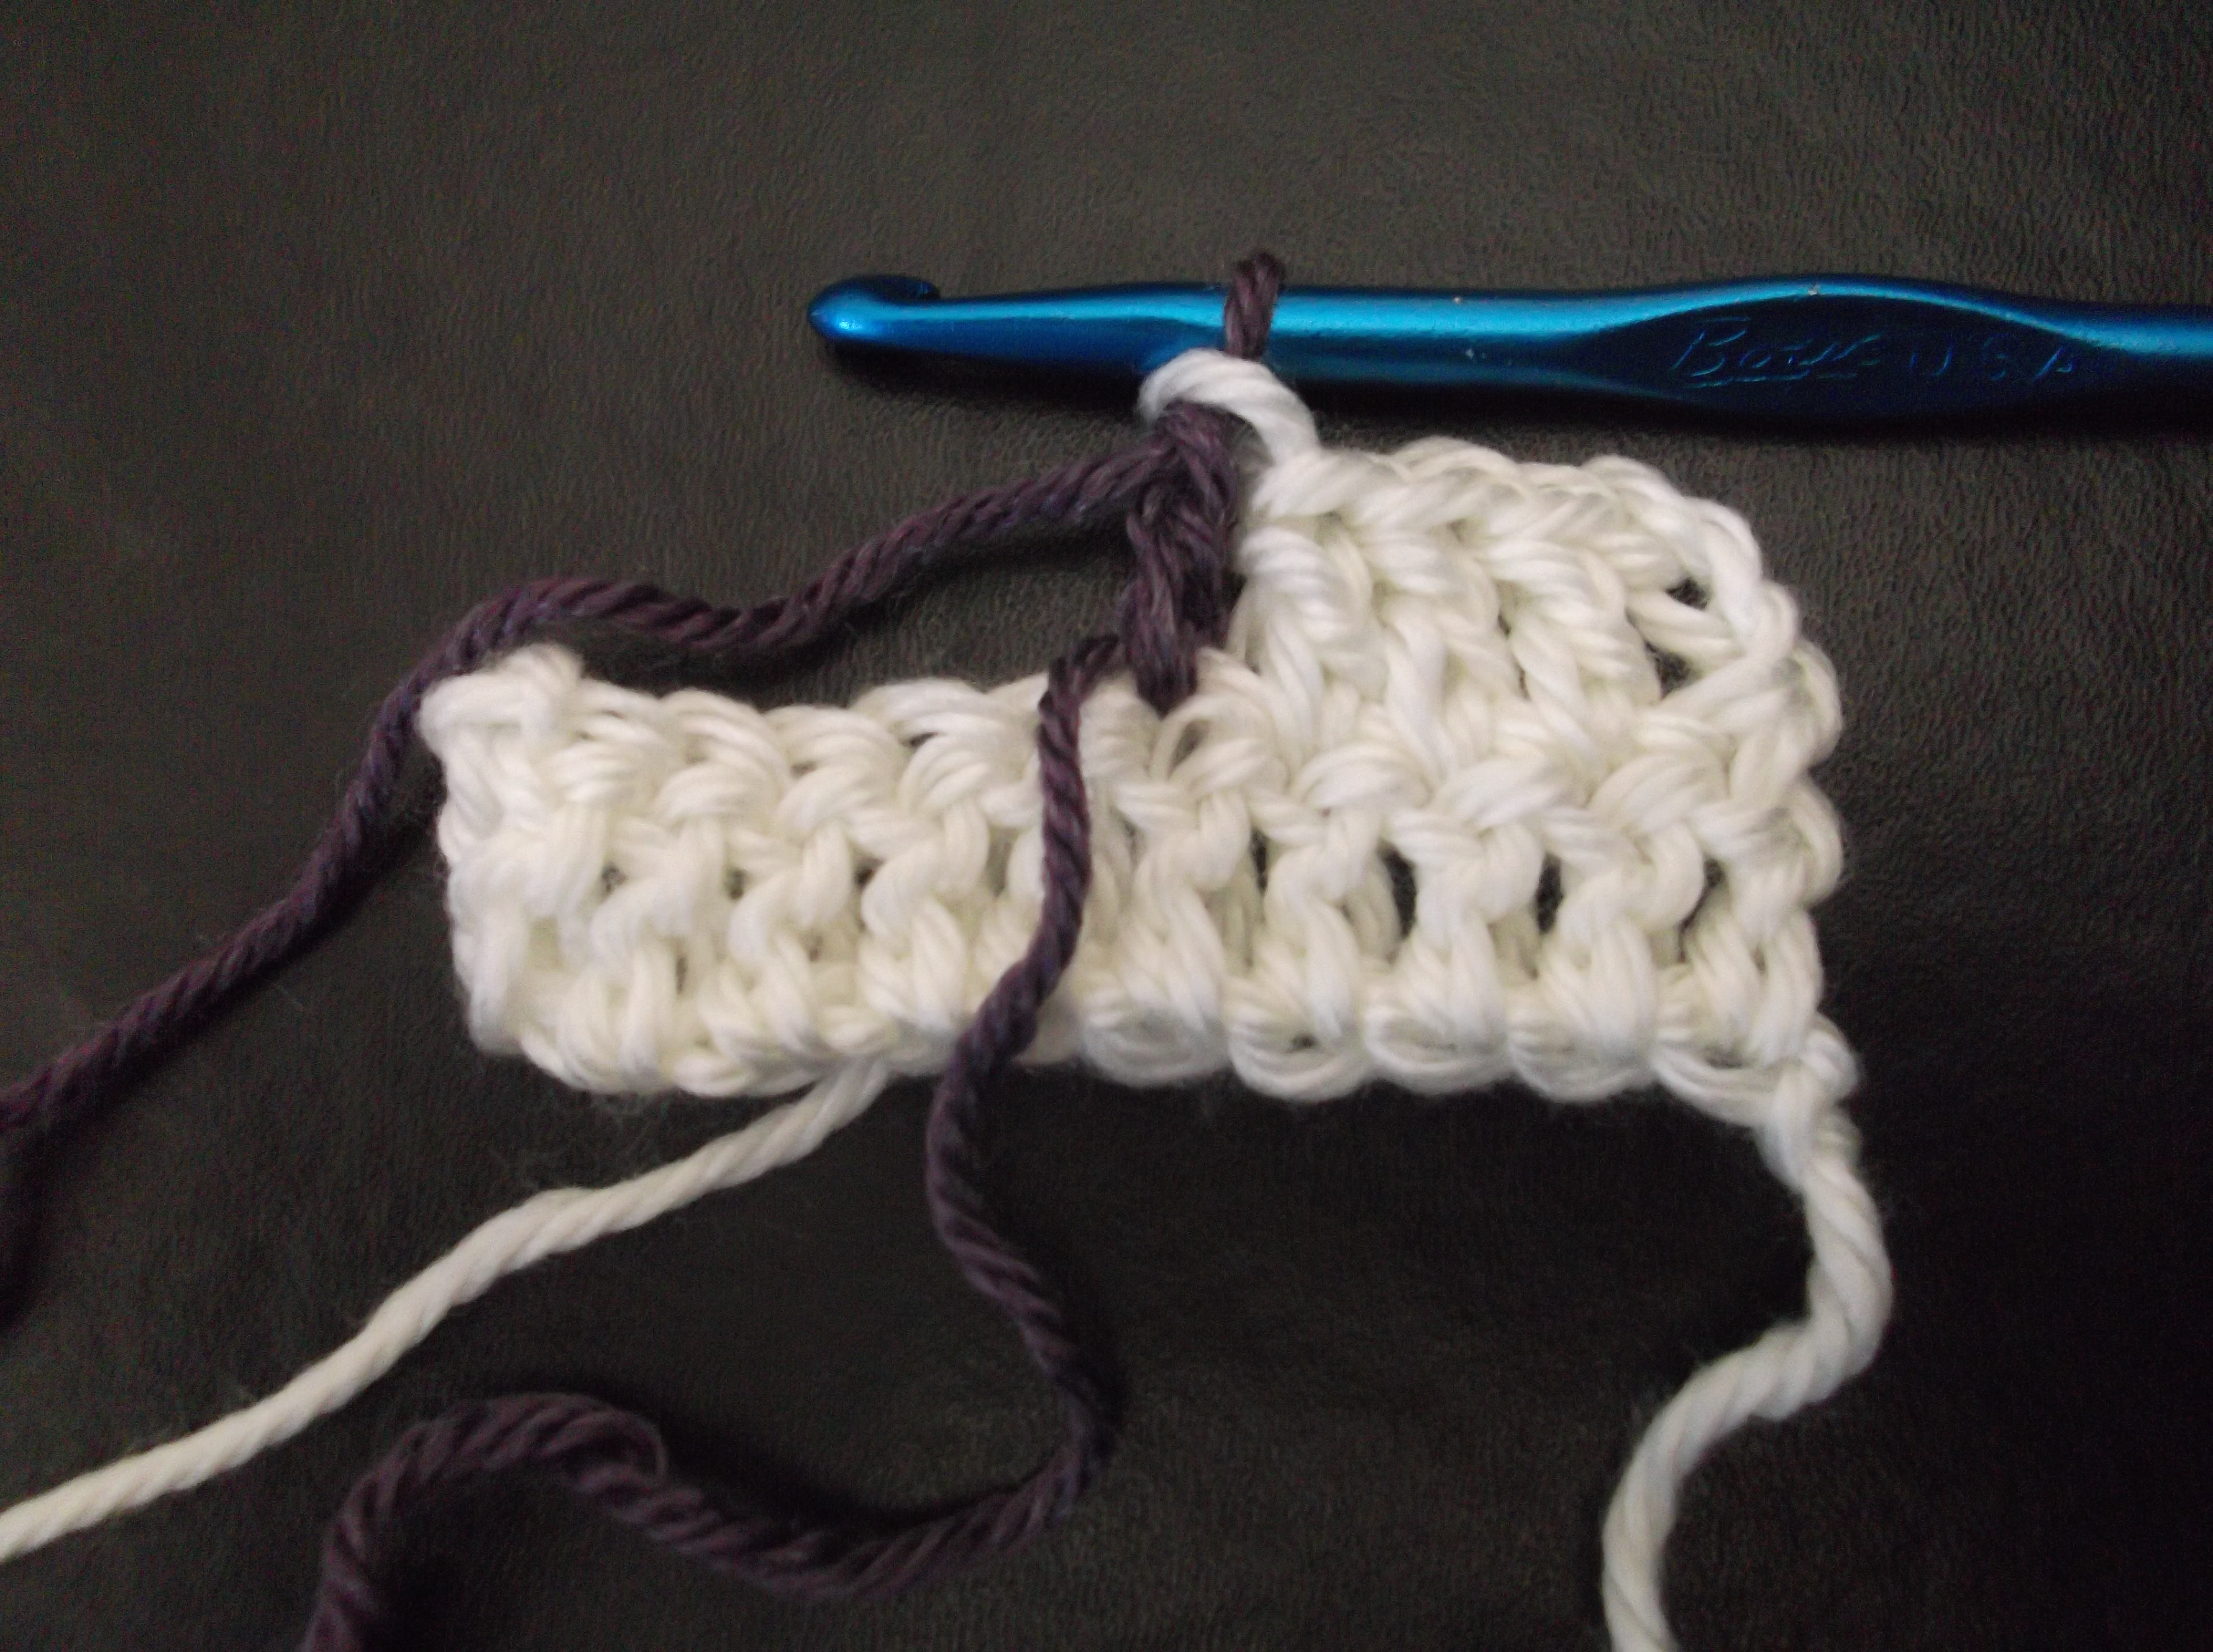
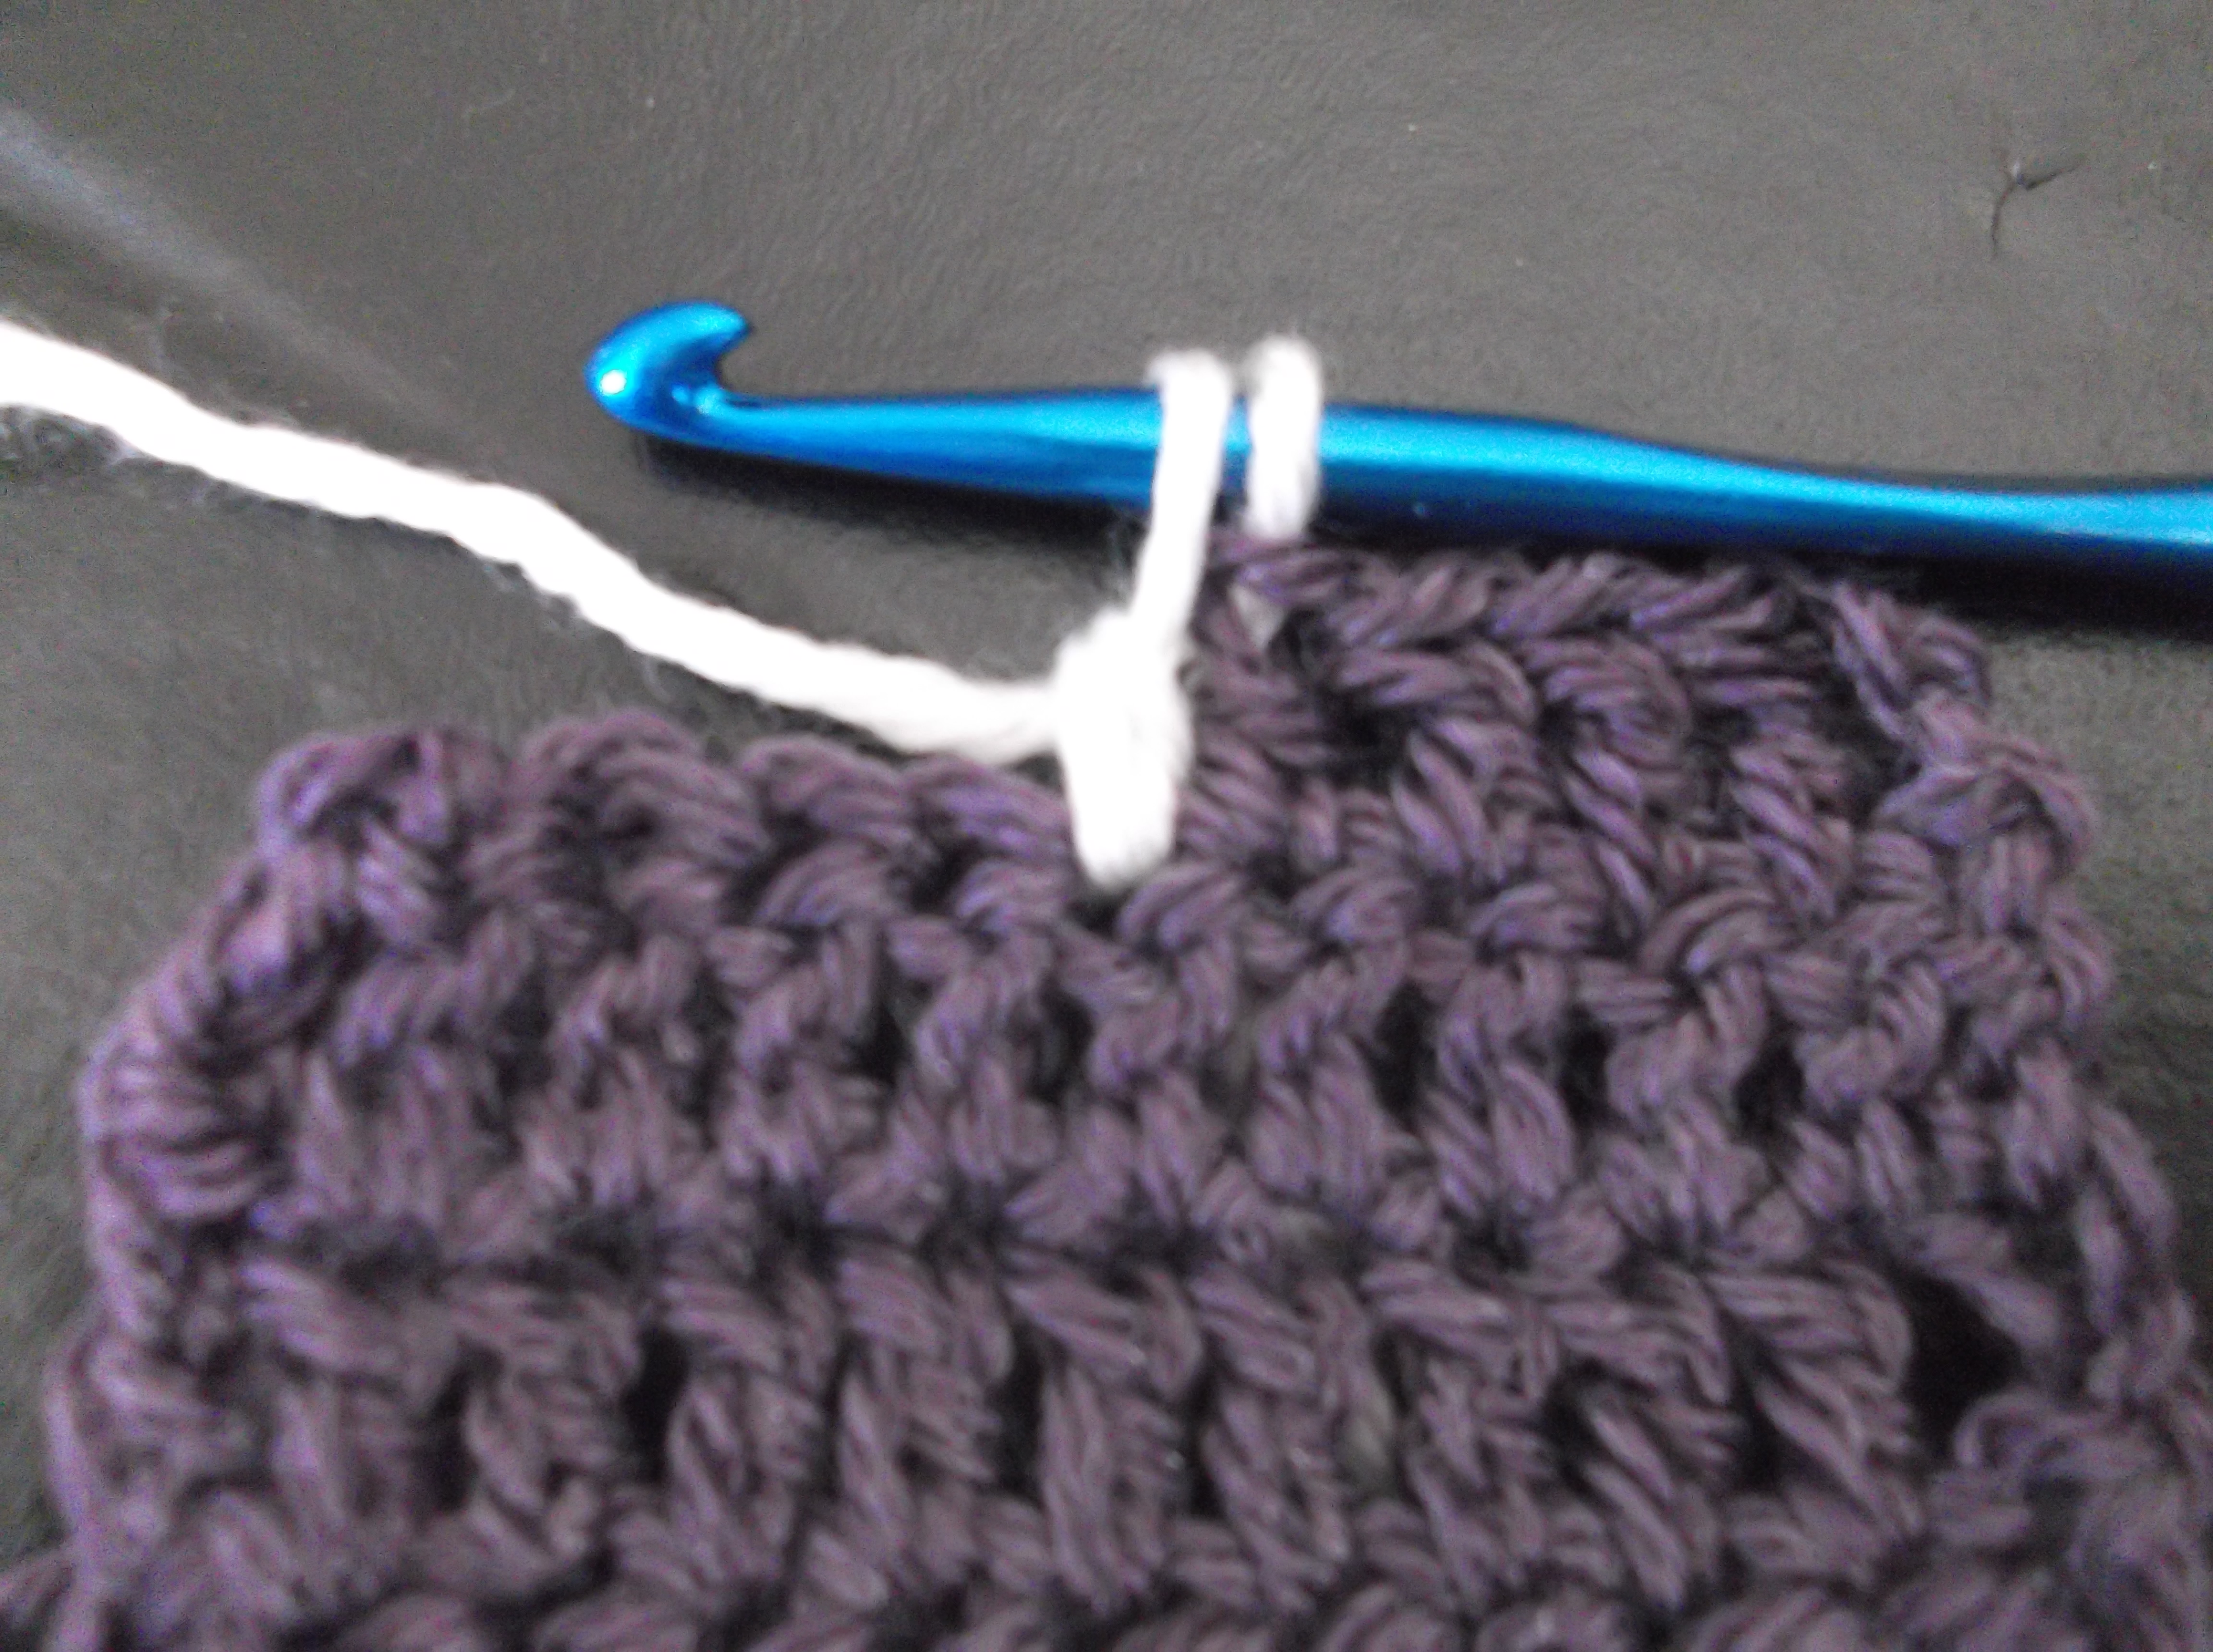
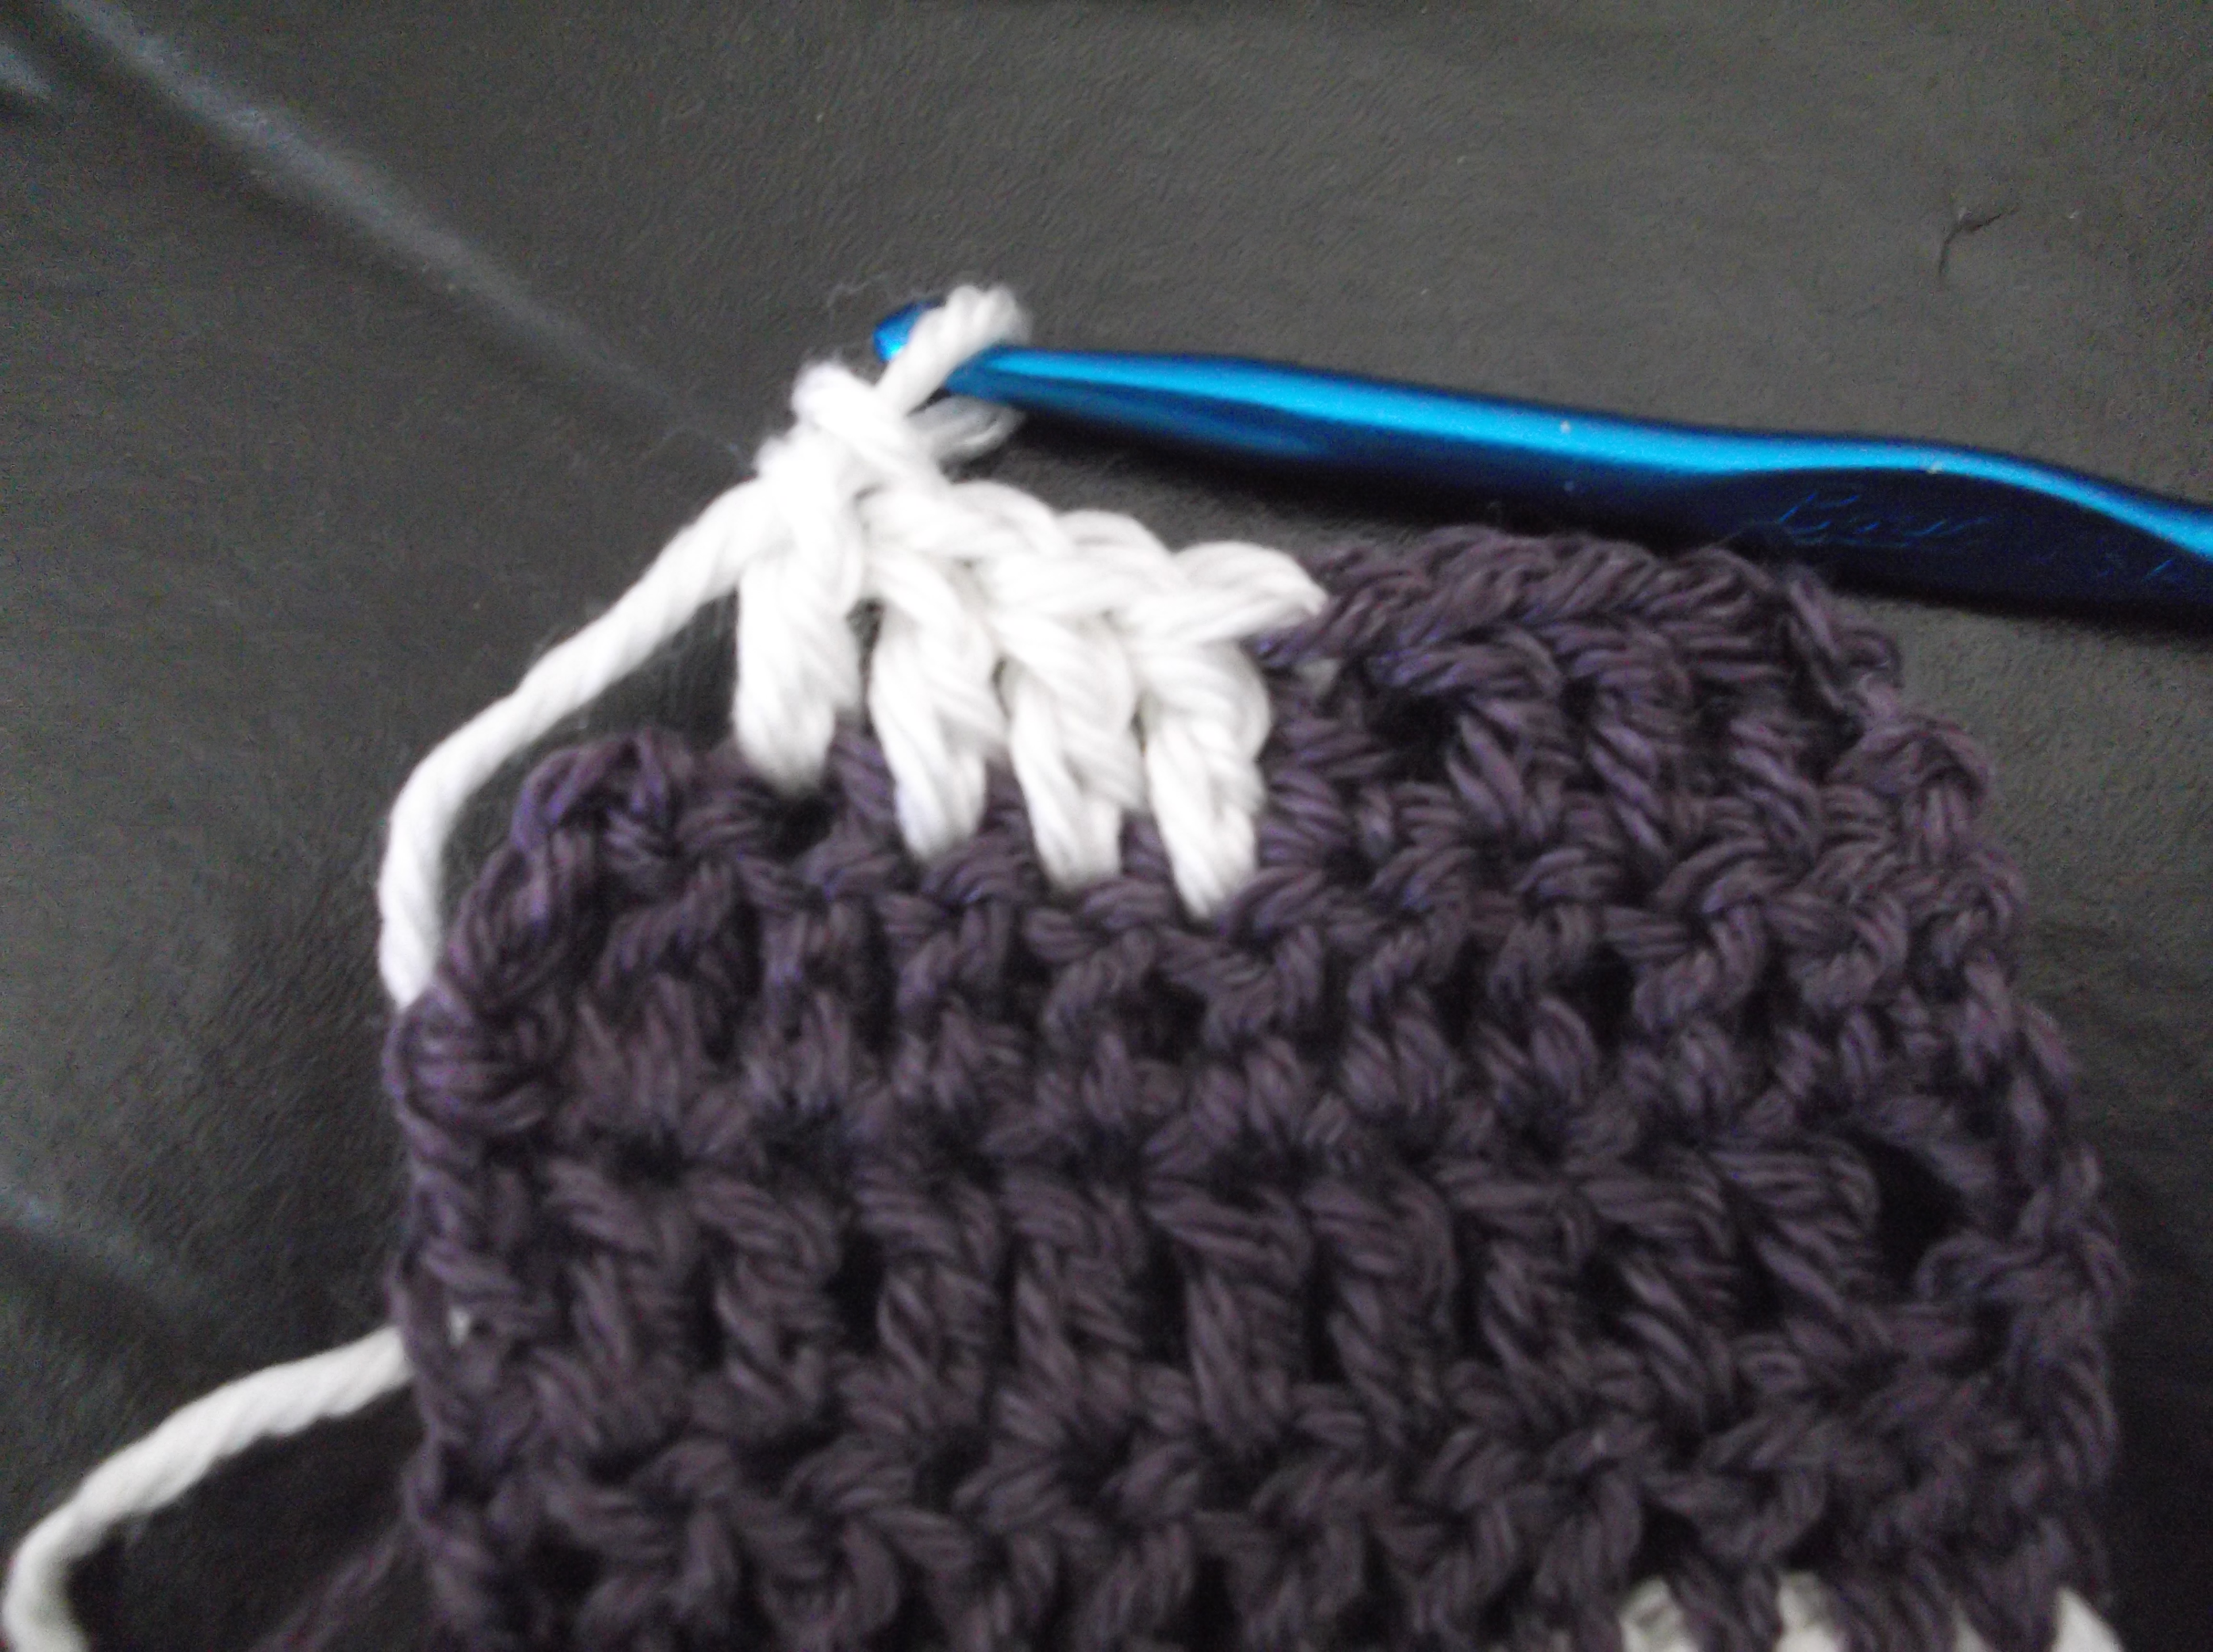
Using a carry a long thread is actually pretty easy, you just work 2 strands together, one being your main yarn and the other being your thread. The only difficulty comes in changing the color of the main yarn, you want to make sure that you do not get everything too tangled, so remember to overlap your yarns in a consistent direction and keep the thread out of the twist.
So if you want to challenge yourself, reach into your stash of yarn and pull out a couple of yarns are random, now use them together, if the colors seem like they won’t work try using a thread, either the same as I tried, or even a metallic sewing thread or a beautiful embroidery type. See how it can change the effect. Play, you might find a pleasant surprise.