There is a dirty little secret that I believe more people practice then care to admit…that we don’t make a gauge swatch. I’ll be honest, I didn’t make any gauge swatches for years, I always skipped that part of the pattern, treating it as a page break at best. Yarn is precious, why would I waste any on a little scrap that has no purpose but measuring? Okay so there is my confession, but I’m sure I’m not alone. However none of us bring it up in public, because you do get the looks like “you’re crazy” (usually from knitters that have realized the importance years earlier).
So really what is gauge? Well the simple definition is that it is the number of stitches by number of rows to fit a desired measurement (like, 16 dc /6 rows=4”). Sounds simple, so why avoid it?…crochet is my relaxation, gauge sounds like work. In some respects it is, but in reality, I don’t think gauge is really important in a lot of crochet projects. Granted checking gauge on a couple of afghans in the past might have meant that I wouldn’t have over/under purchased enough yarn, but overall it has been pretty negligible.
I can see where in some fitted garments that it can make a difference, being an inch or so too big or too small in the bust could make or break a sweater. This becomes especially true when substituting a different yarn then the one the pattern was written for. Worsted weight is not the same in every yarn, granted they maybe ball park, but not exact (same is true for all the over weights as well) and the makeup of the yarn makes a difference. An acrylic yarn and a wool yarn of the same weight can behave differently in their appearance and effect the gauge as well. Not to mention everyone has a different hand in crocheting and no one does it the same as you.
Own your gauge, by understanding how it relates to you pattern you can determine if you really want to worry about it, if my scarf is a little wider then indented it isn’t going to be the end of the world, but I would want to know if that coat that I’m making for my 6 year old would come out fitting my 9 year old instead.
If you don’t want to do a gauge swatch, but want to make that sweater, start with a sleeve and when you get a little ways into it, stop and measure (Note: for a more true measurement don’t measure from edge to edge, but from a stitch to a stitch, or row to a row, in a larger worked piece, the turns of the edges can distort the measurement).
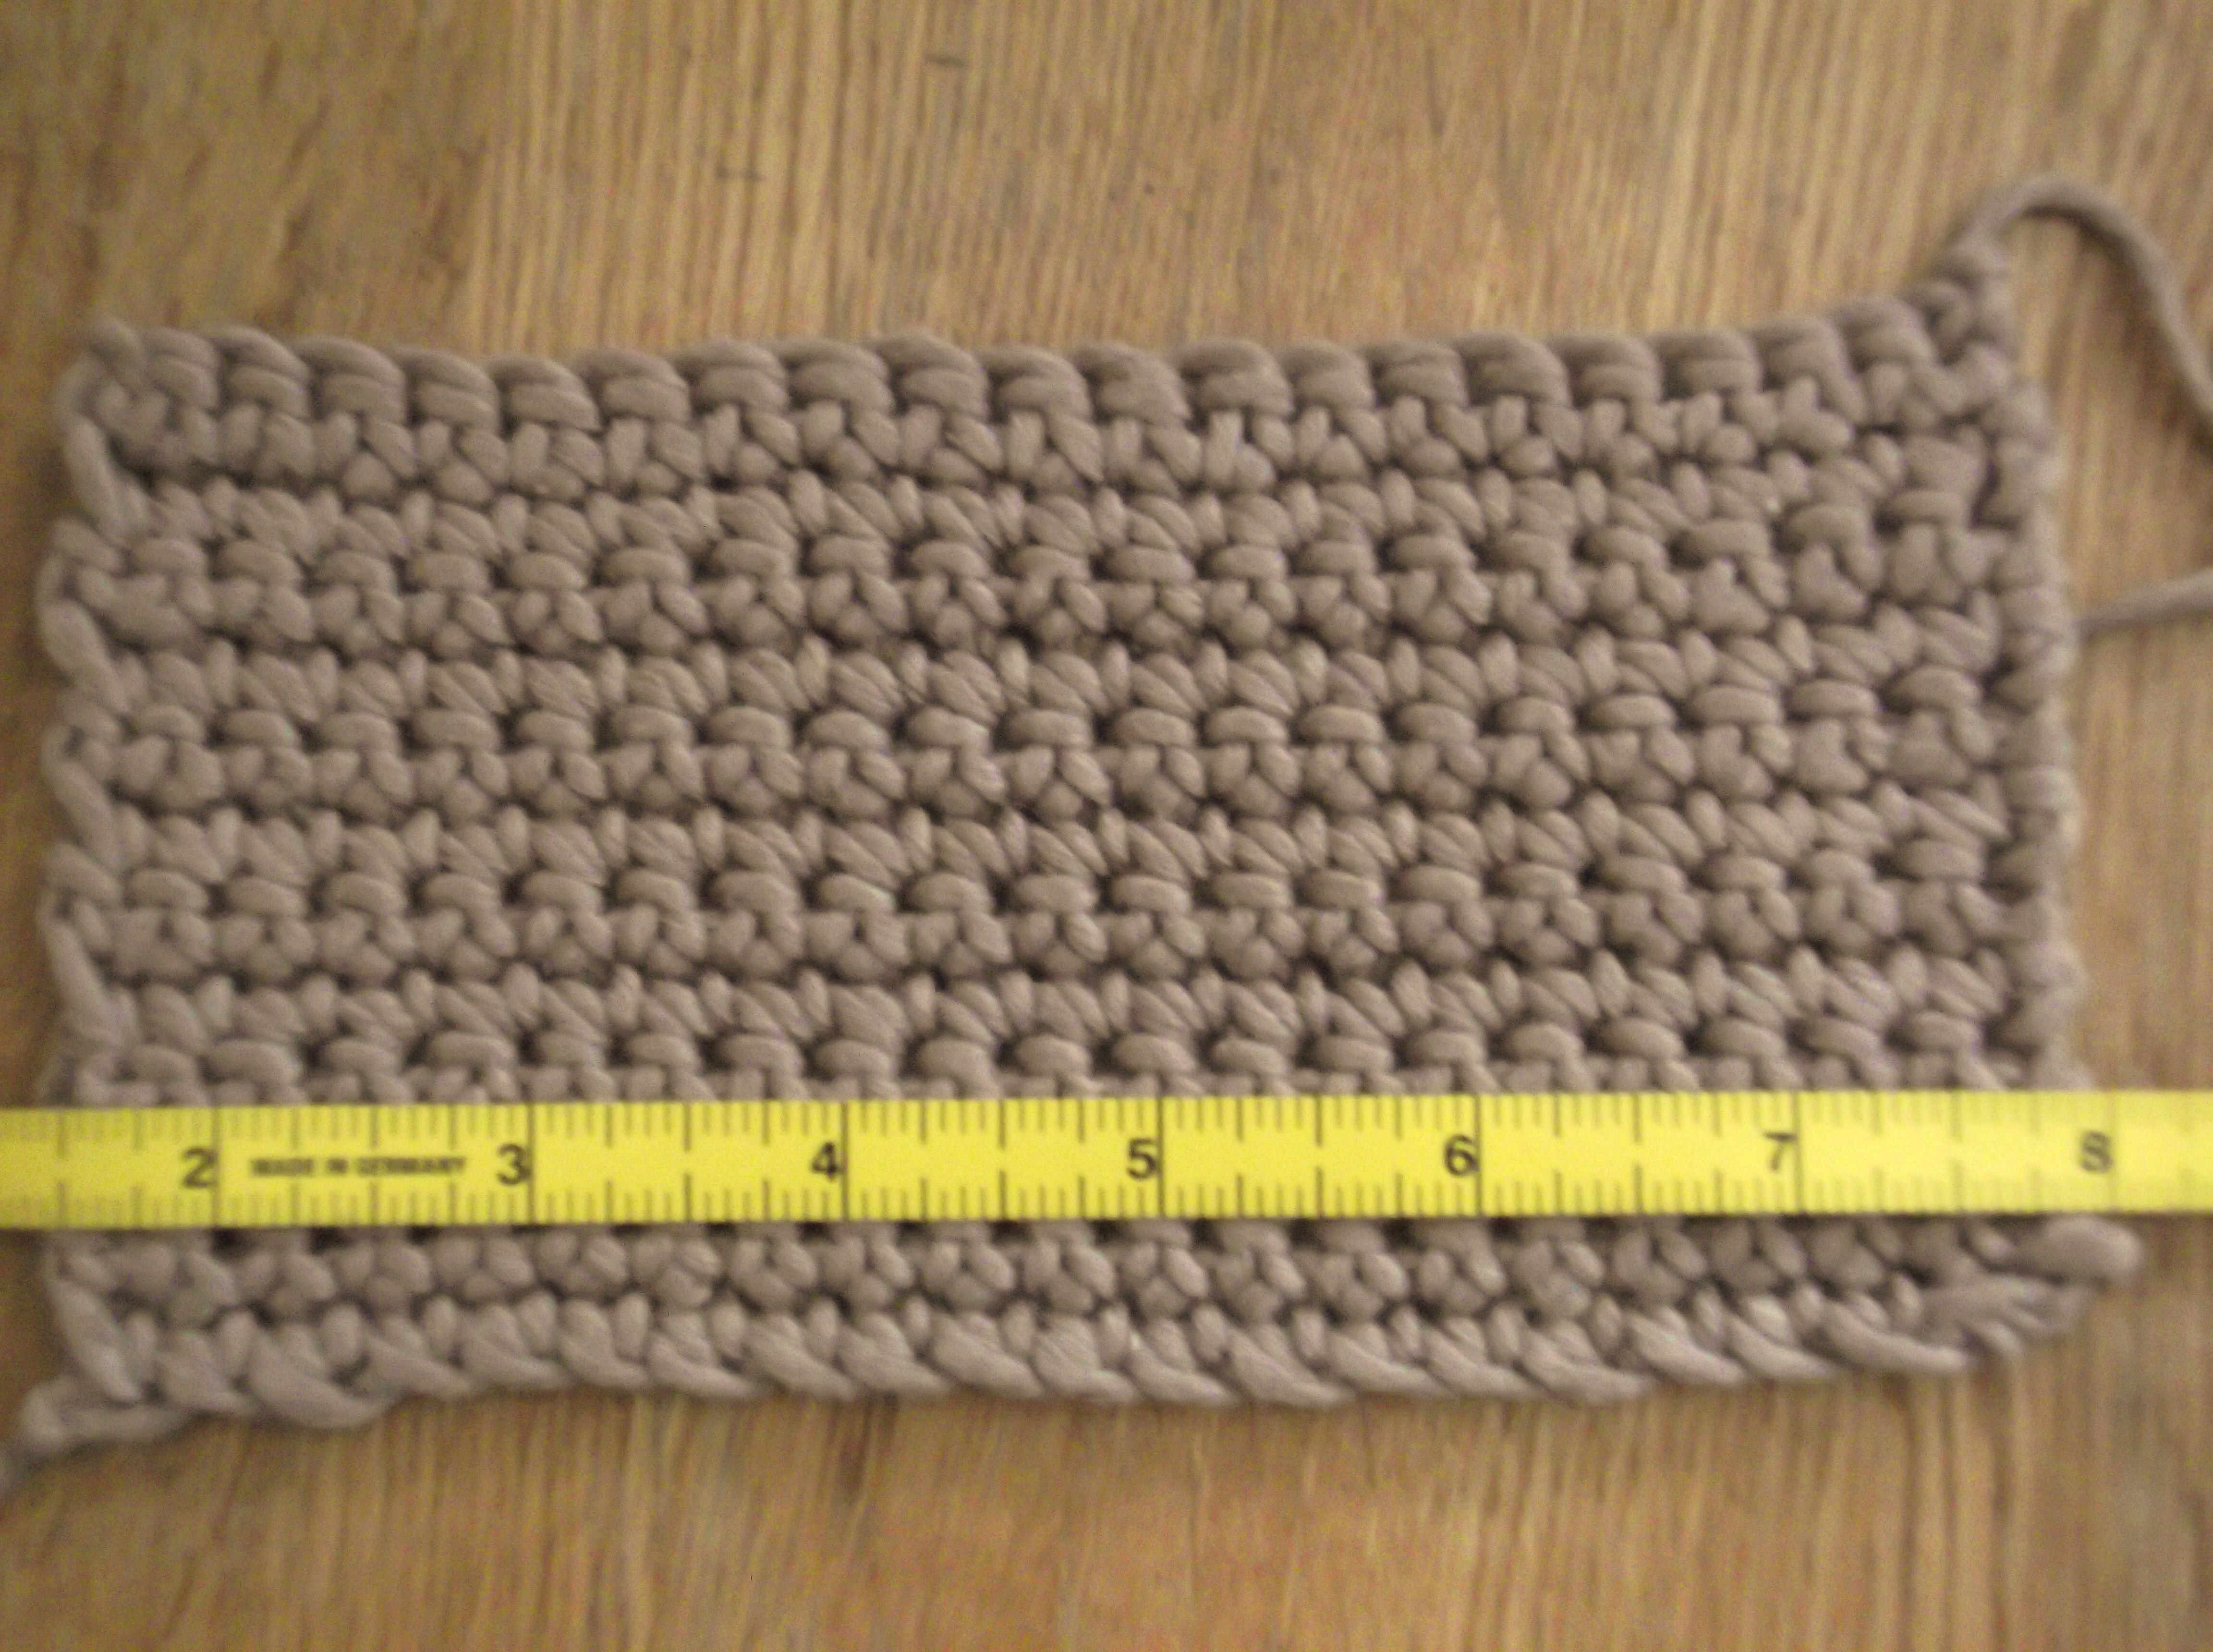
Measure in the body of the work and in the middle of the tape measure for more accuracy
Since I am bearing my sole in this confession of a dirty little secret, I should admit, I will check gauge as I am working along on a garment to make sure it will fit in the end. So I don’t make with gauge swatch, but I check in my work before I finish (I’d rather rip out 2 days worth of work then make and measure a gauge swatch over 20 minutes…it is a pride thing), at least I know what I should do. Don’t let it intimidate you, it is a challenge that you can overcome and master. It is amazing how once we attempt and feel comfortable with a new skill/trait/challenge that the world opens up a little, and more things are possible.
If you want to understand more of the math behind the gauge, check out my tutorial, under the tab above.