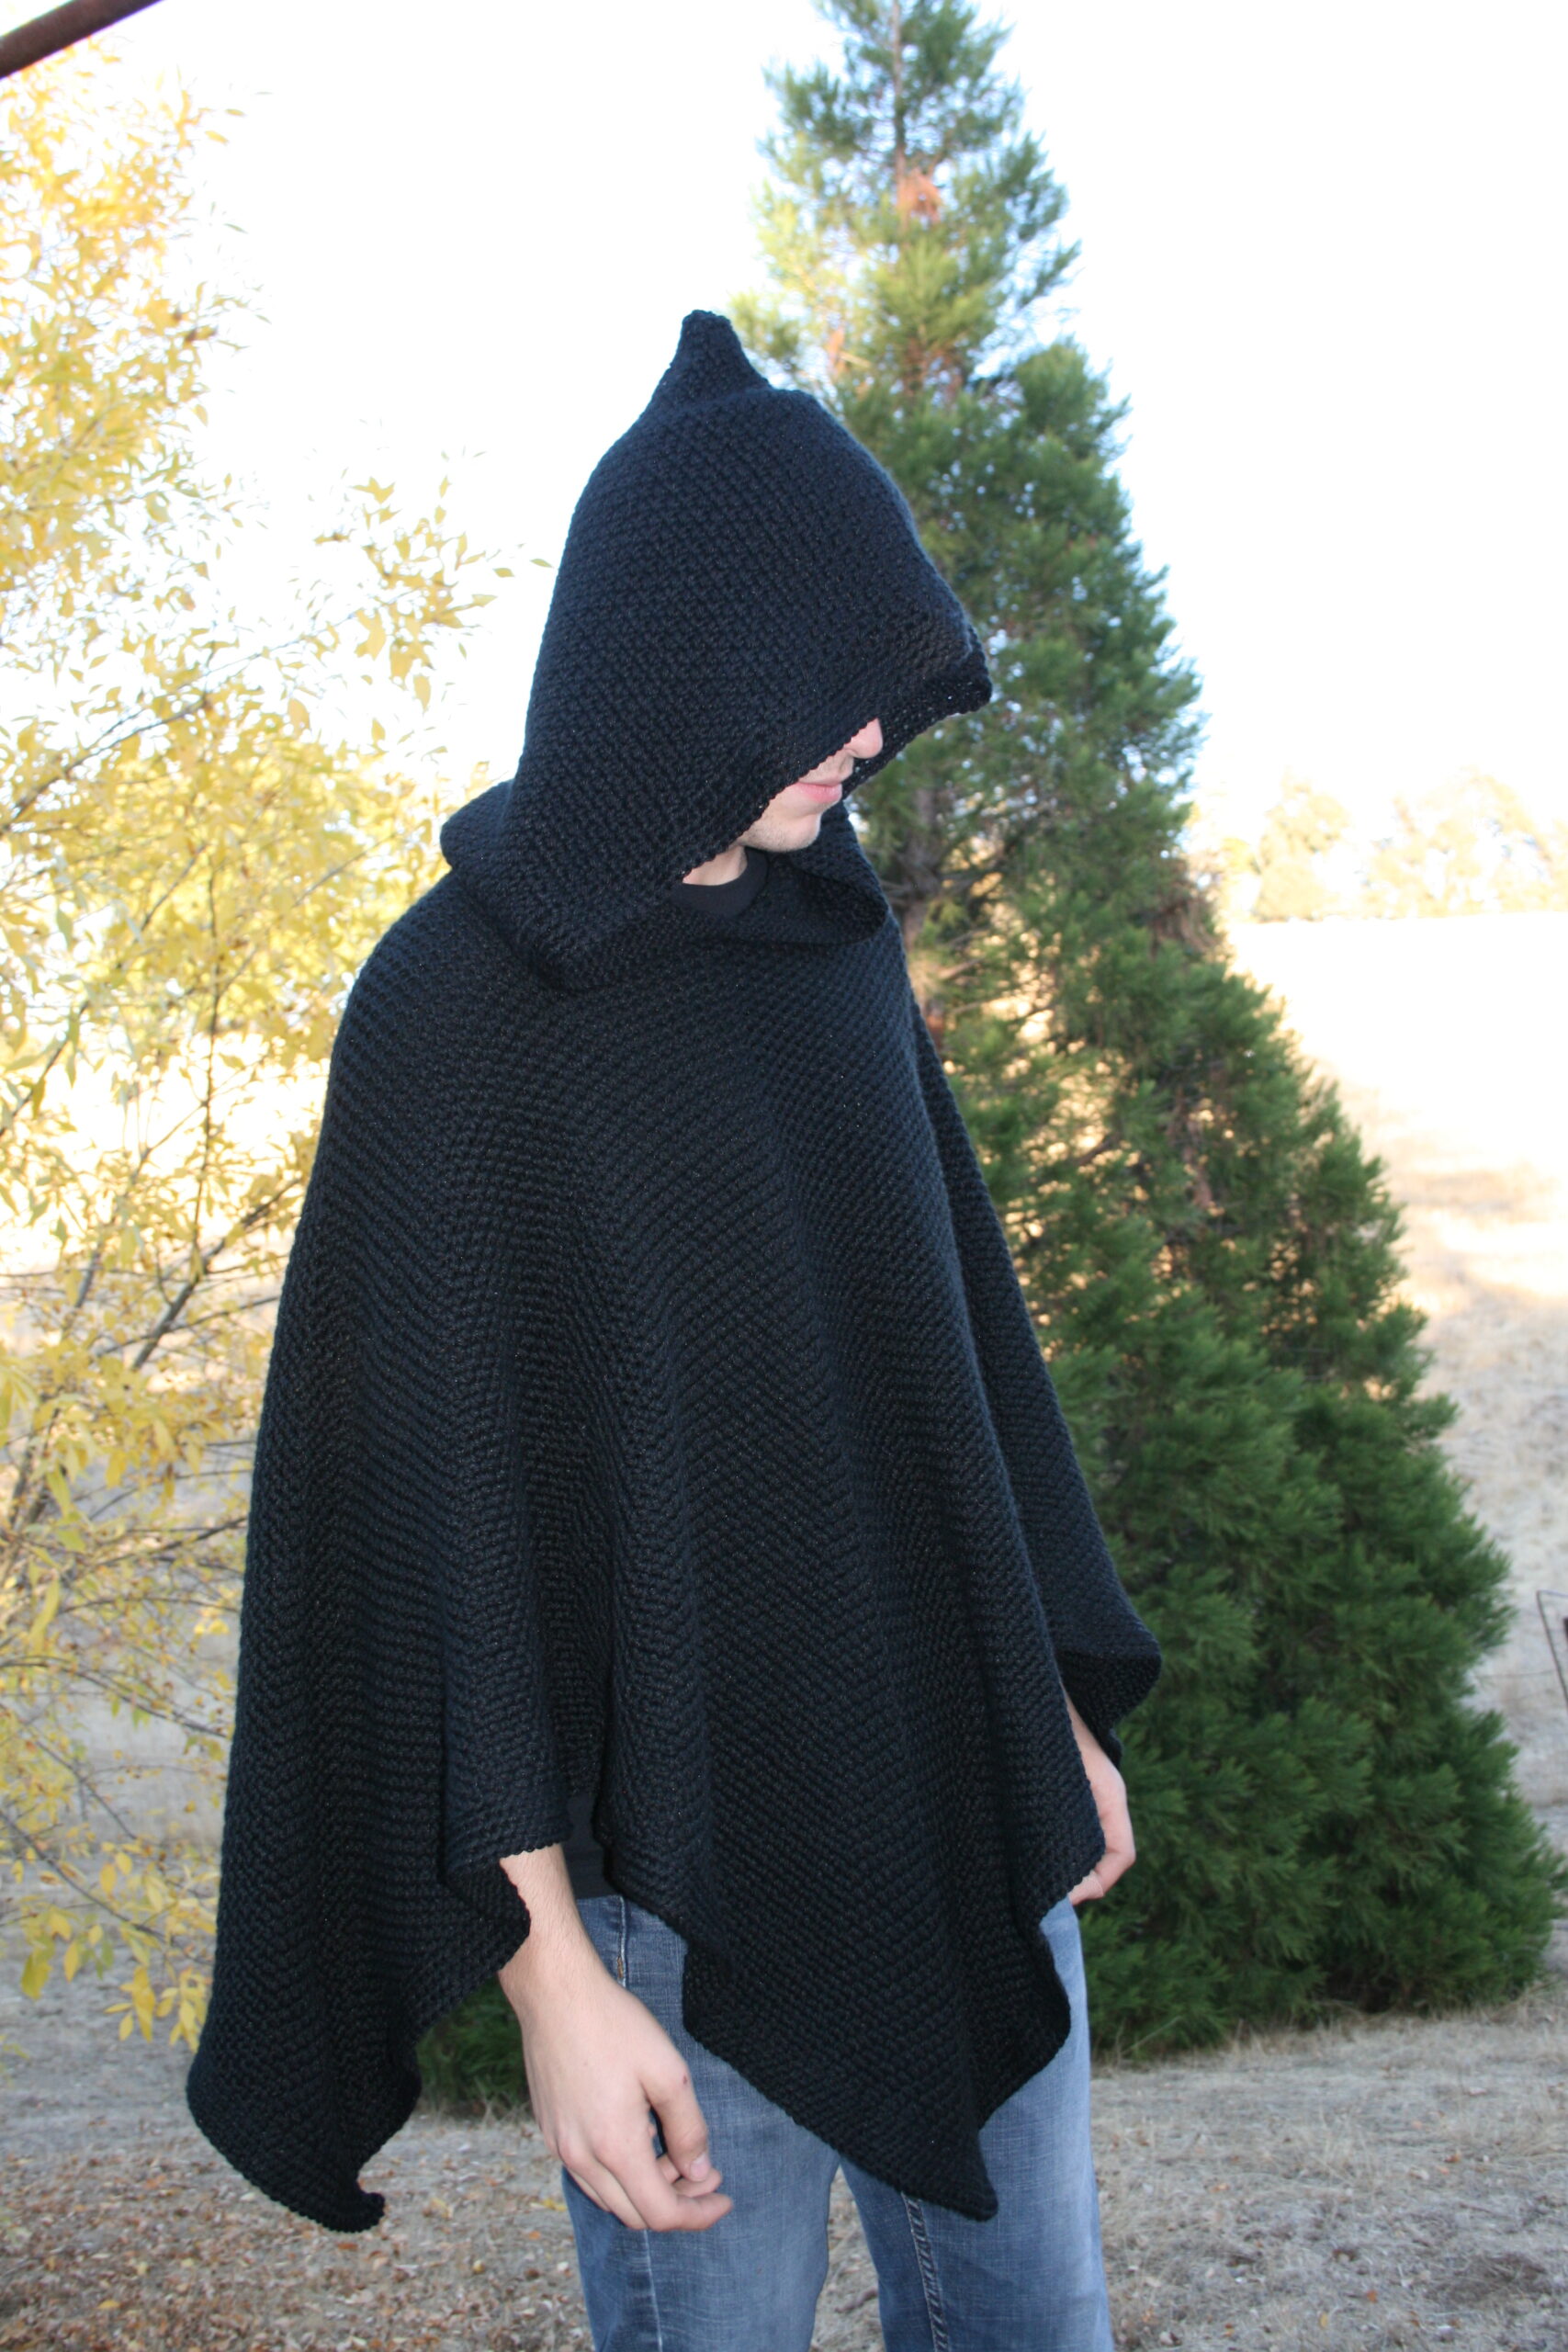
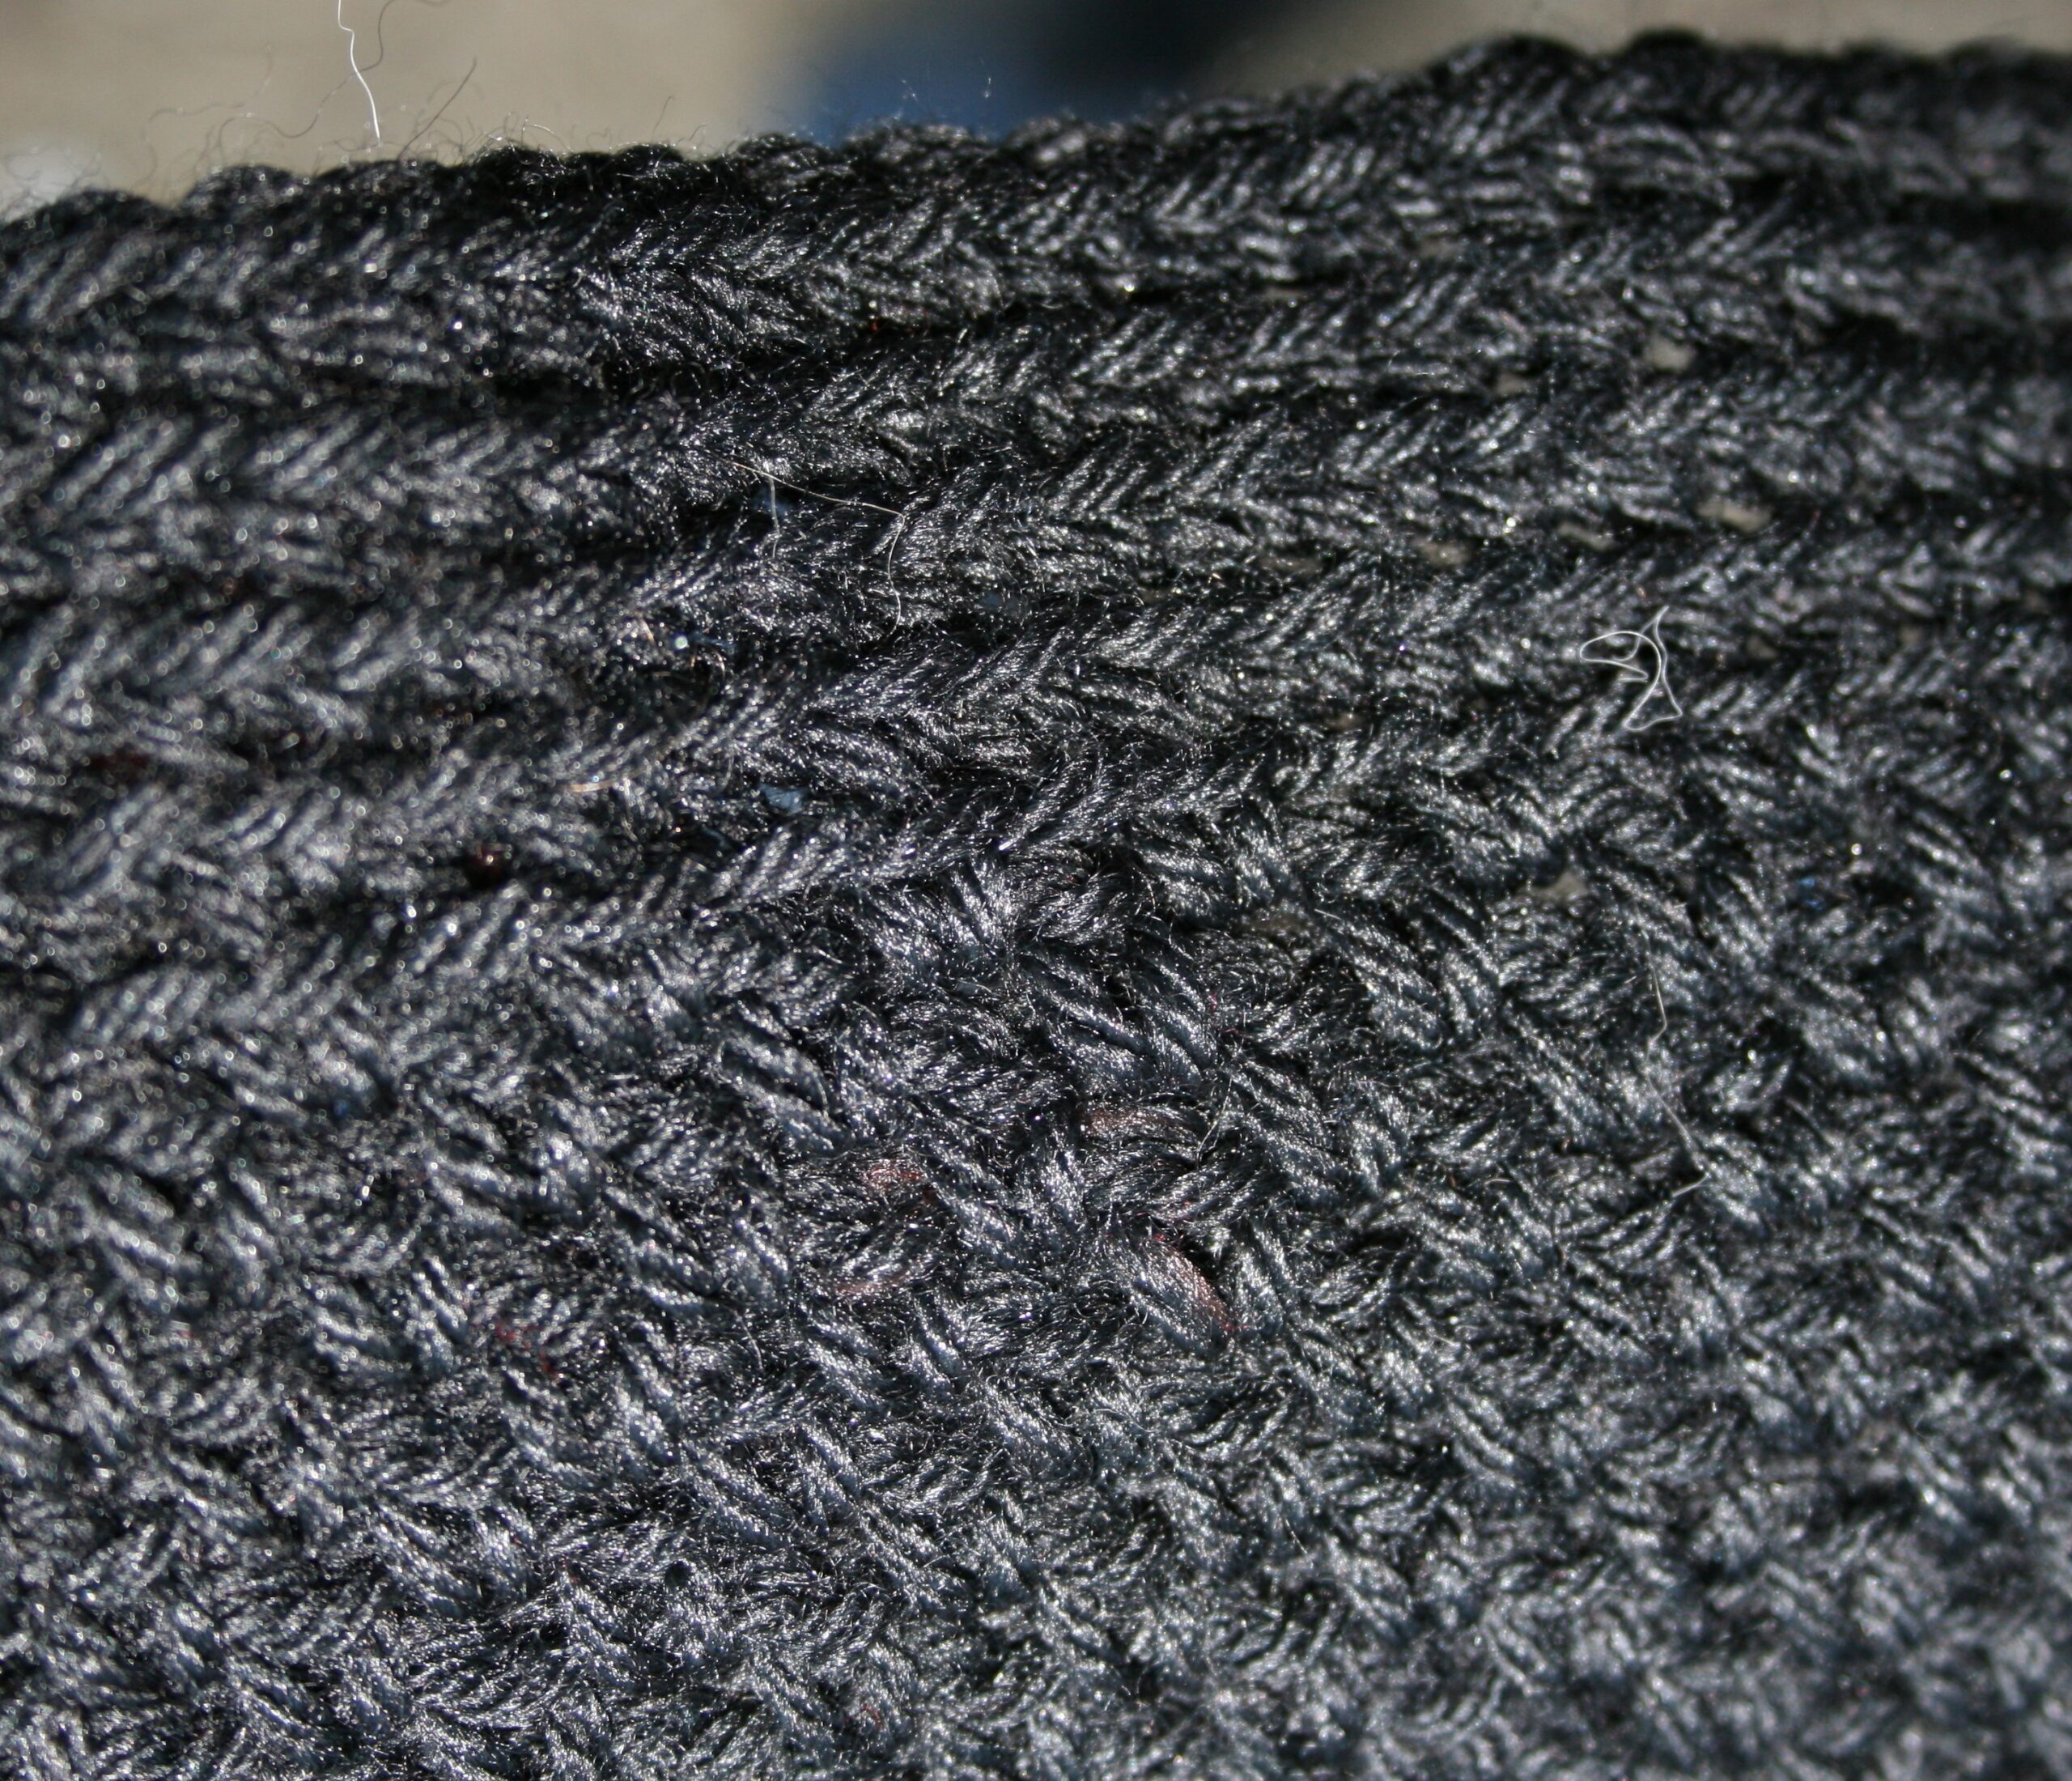
So, working in black yarn is a trial. This is because it can often be difficult to see the stitches. However when my young adult son asked for a hood poncho in black, how can I really say no? SO I hope you enjoy this working in black poncho pattern.
I have some tips that help to work in black, such as placing a white item (maybe a sheet, pillowcase, or even paper) behind the area I am working. Using some direct lighting, possibly over my shoulder, helps too. Another tip to use large hooks and create a drapey fabric.
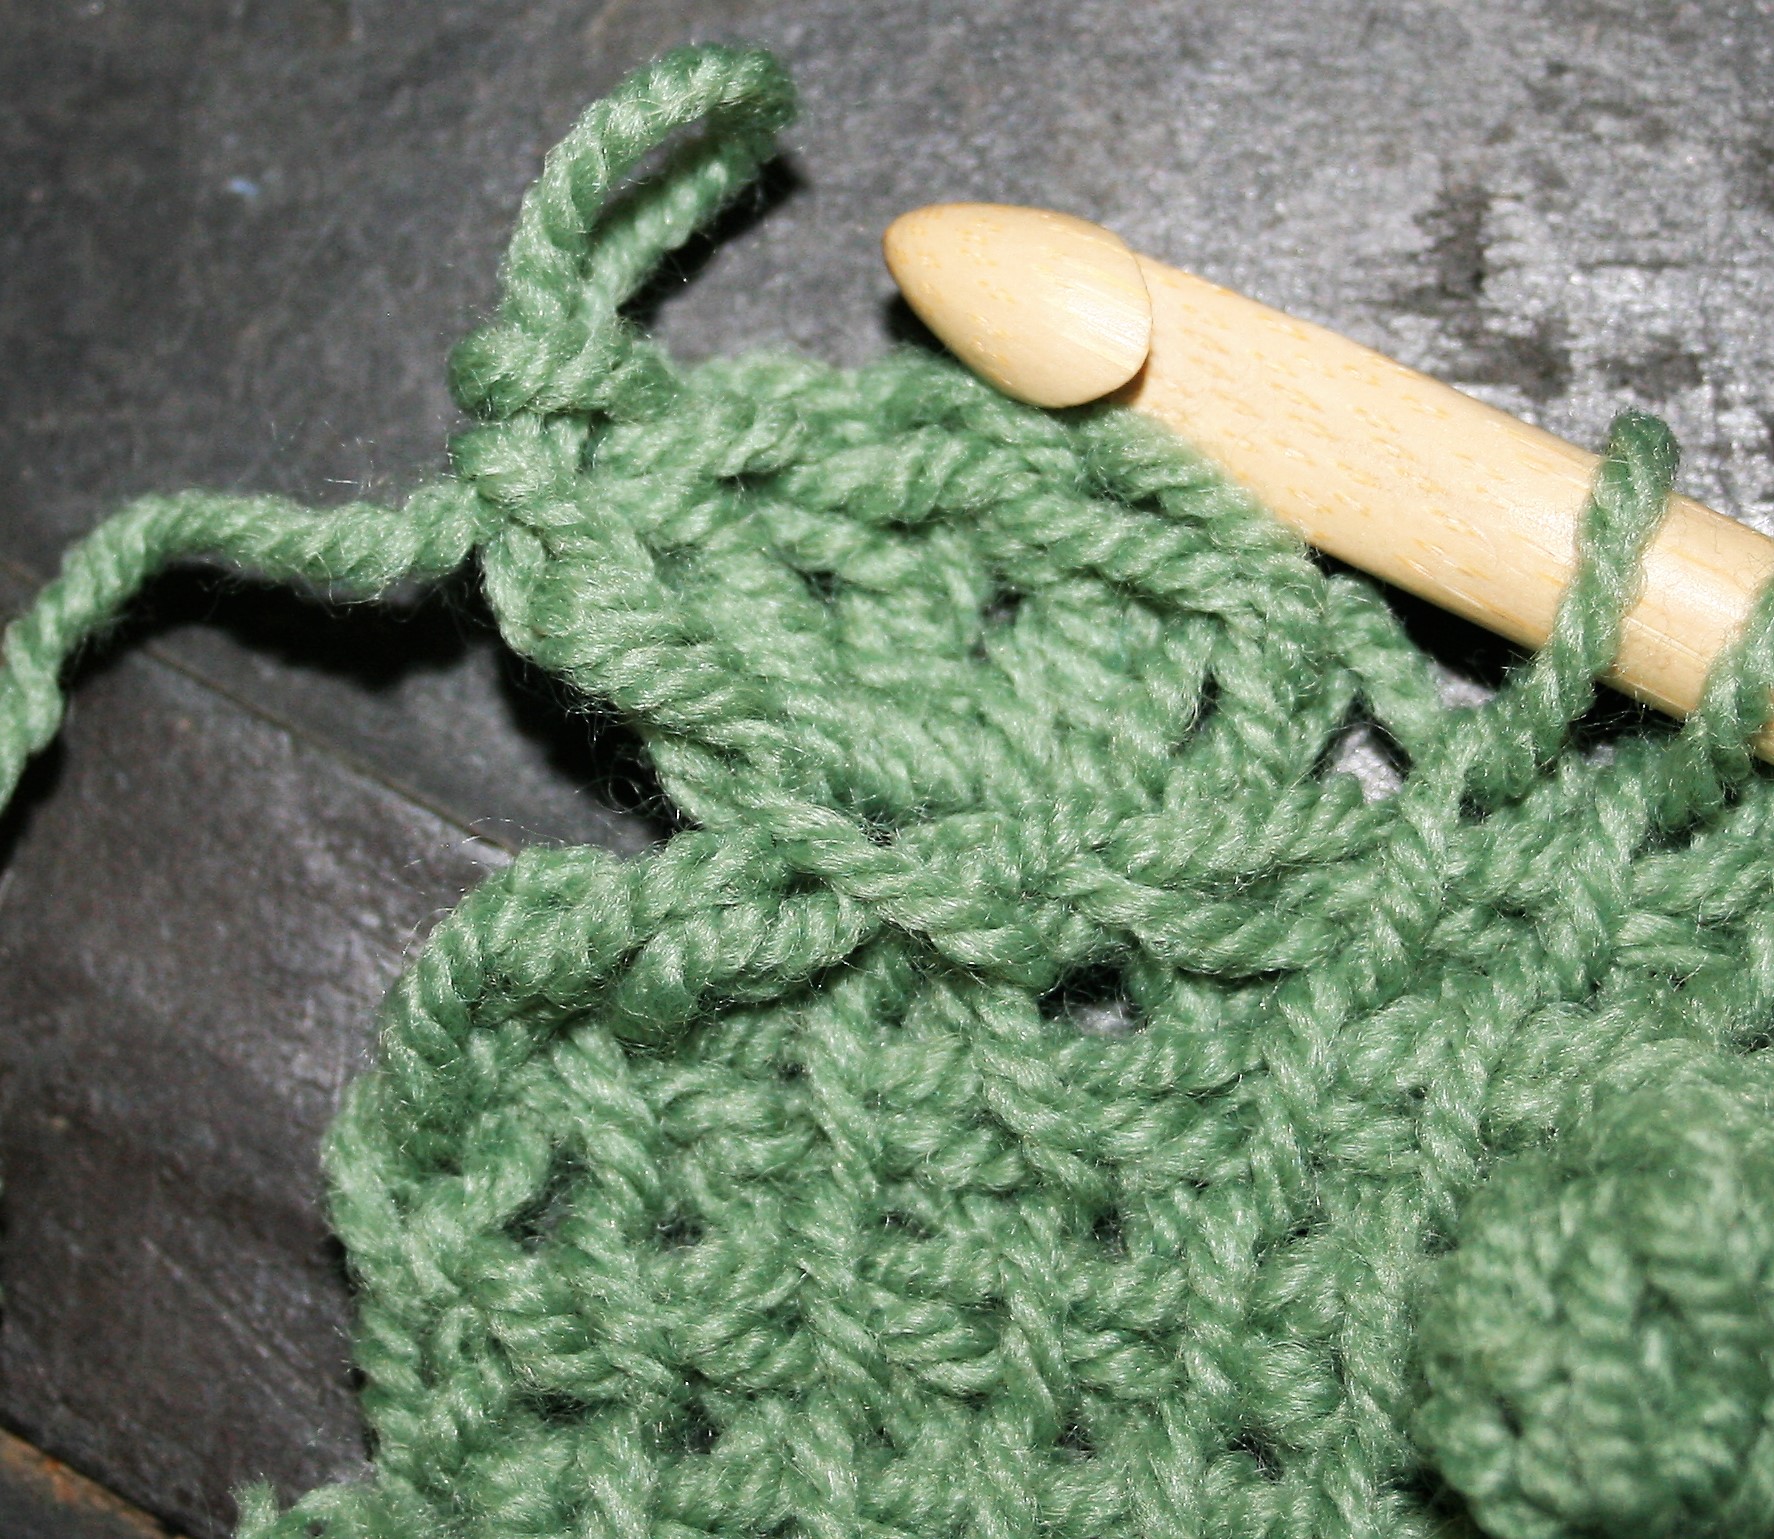
This poncho is worked from the neck downward, in the round in a spiral fashion. The first round is worked in a foundation single crochet to have a bit more stretch than a typical beginning chain.
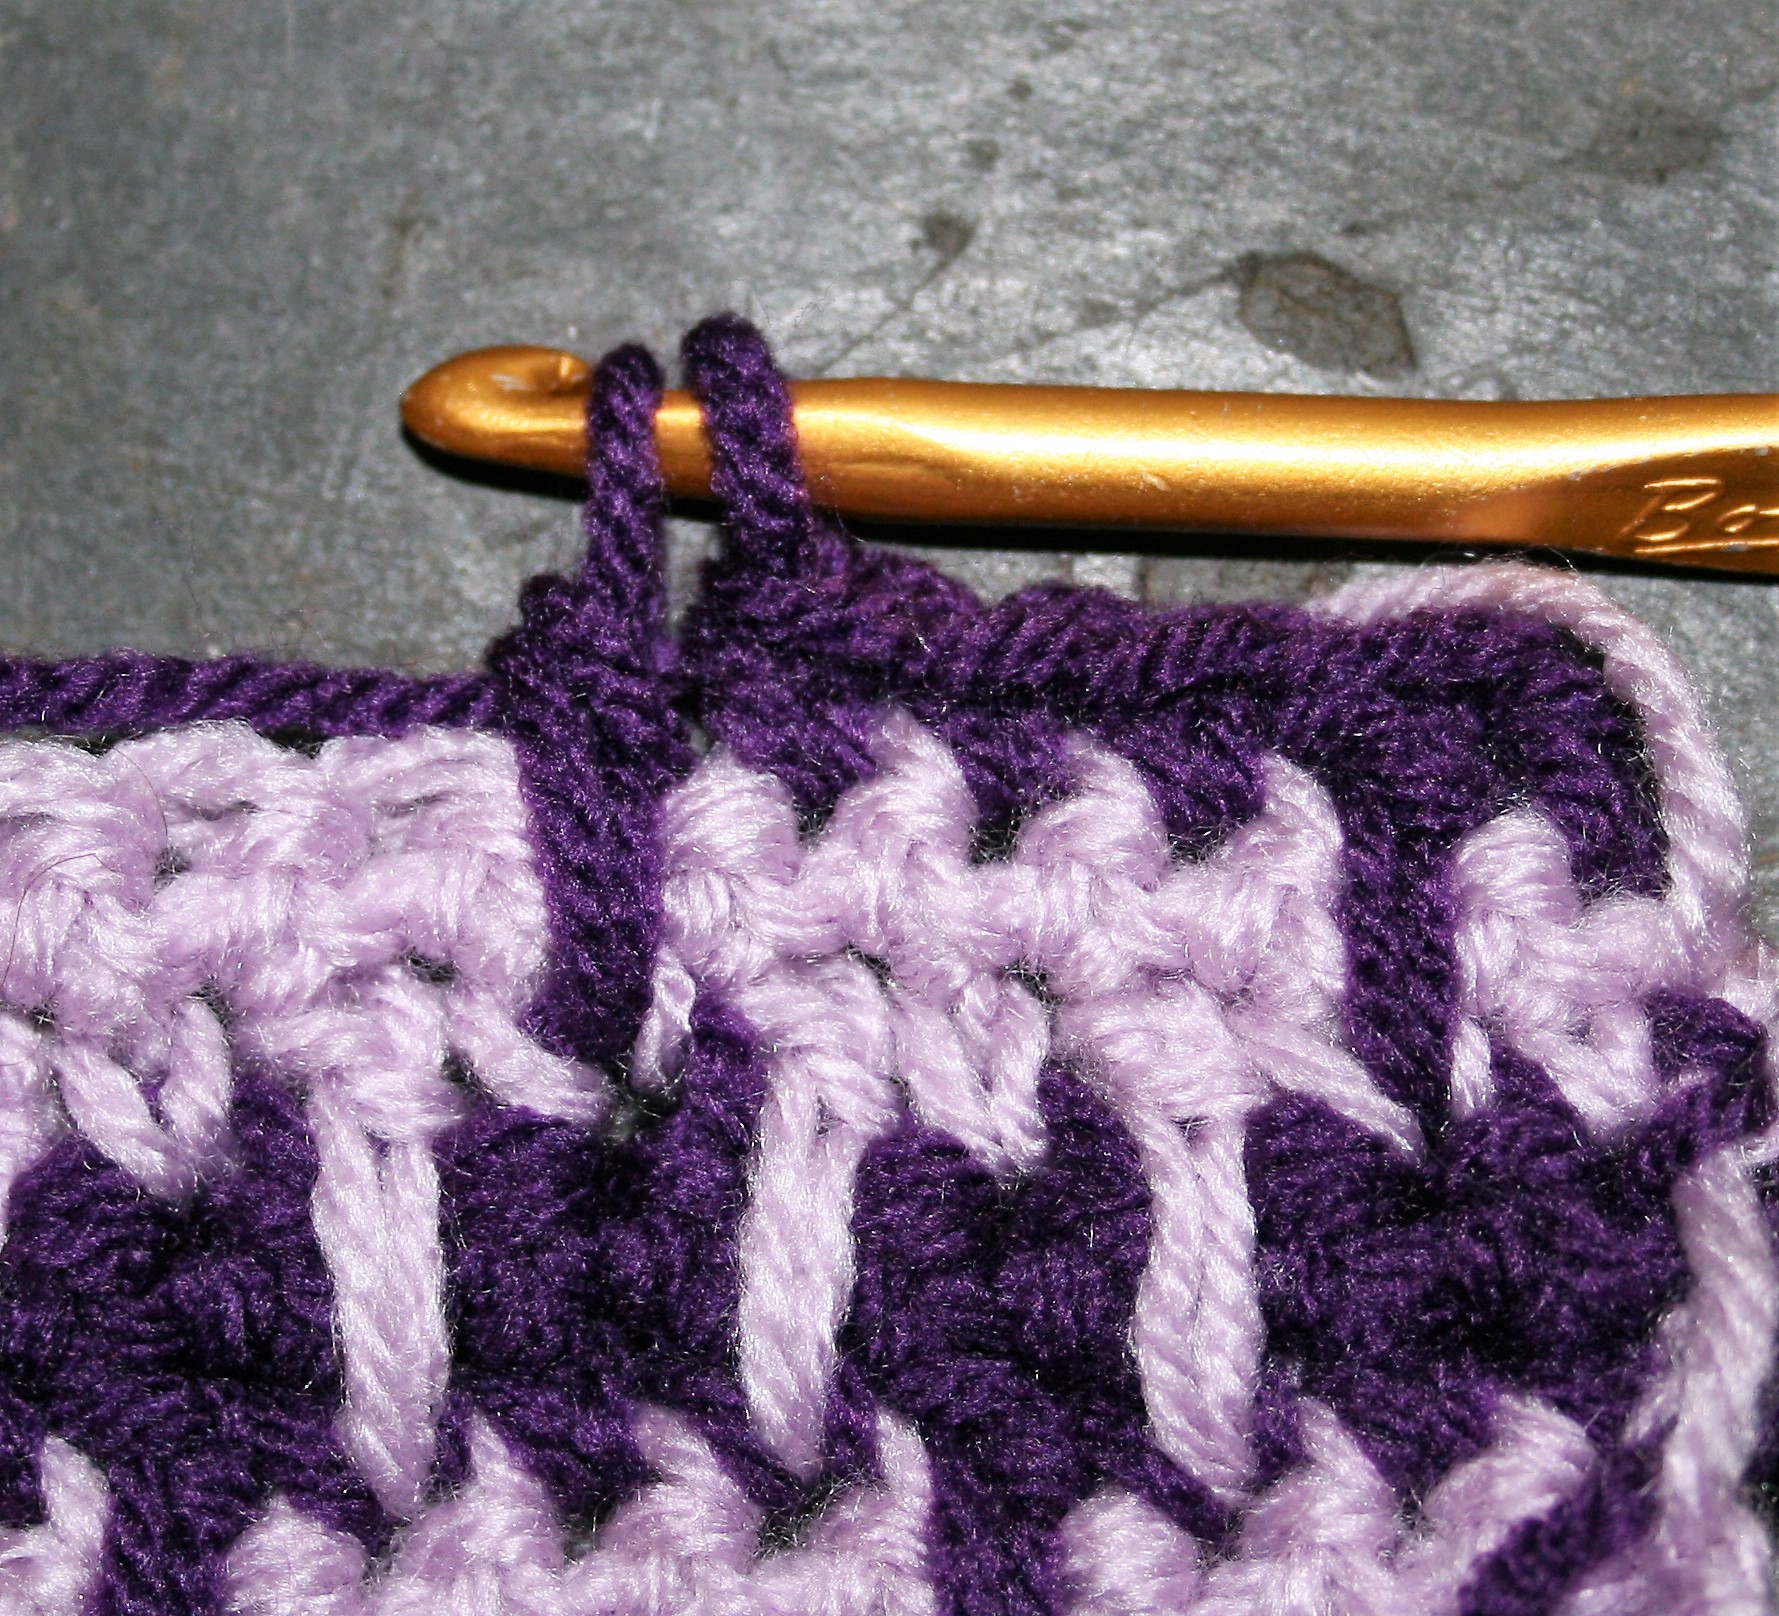
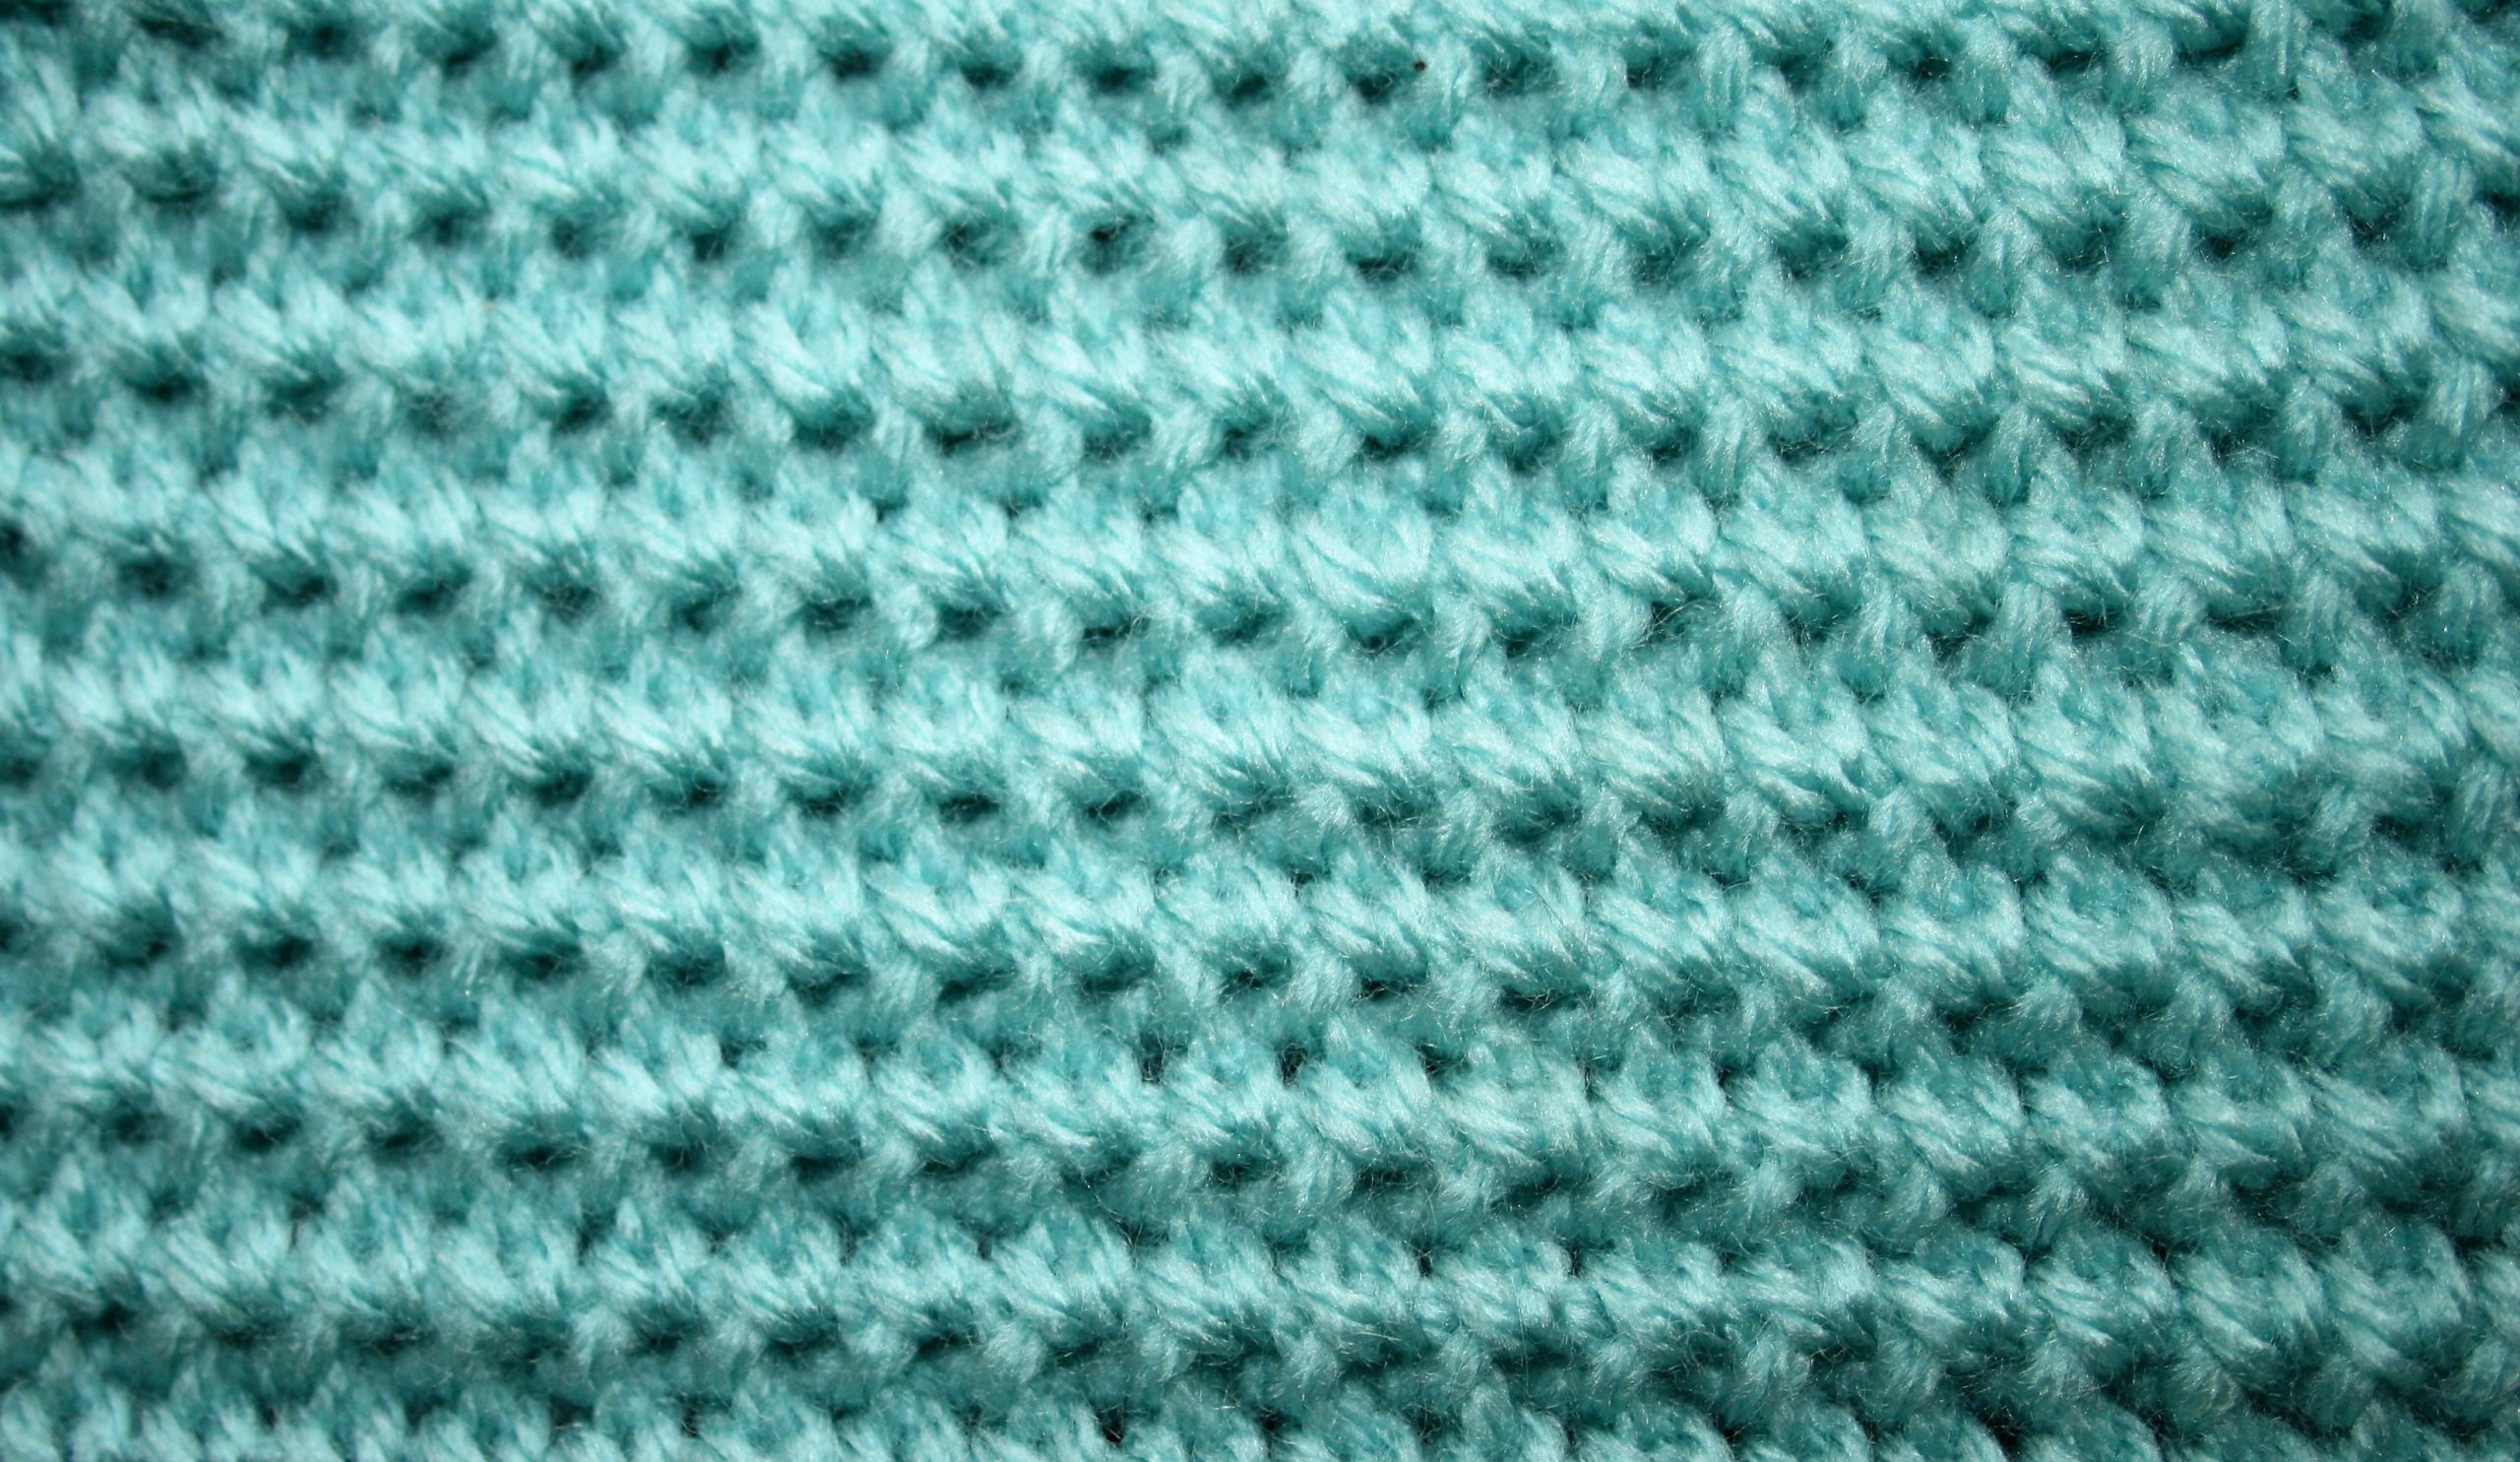
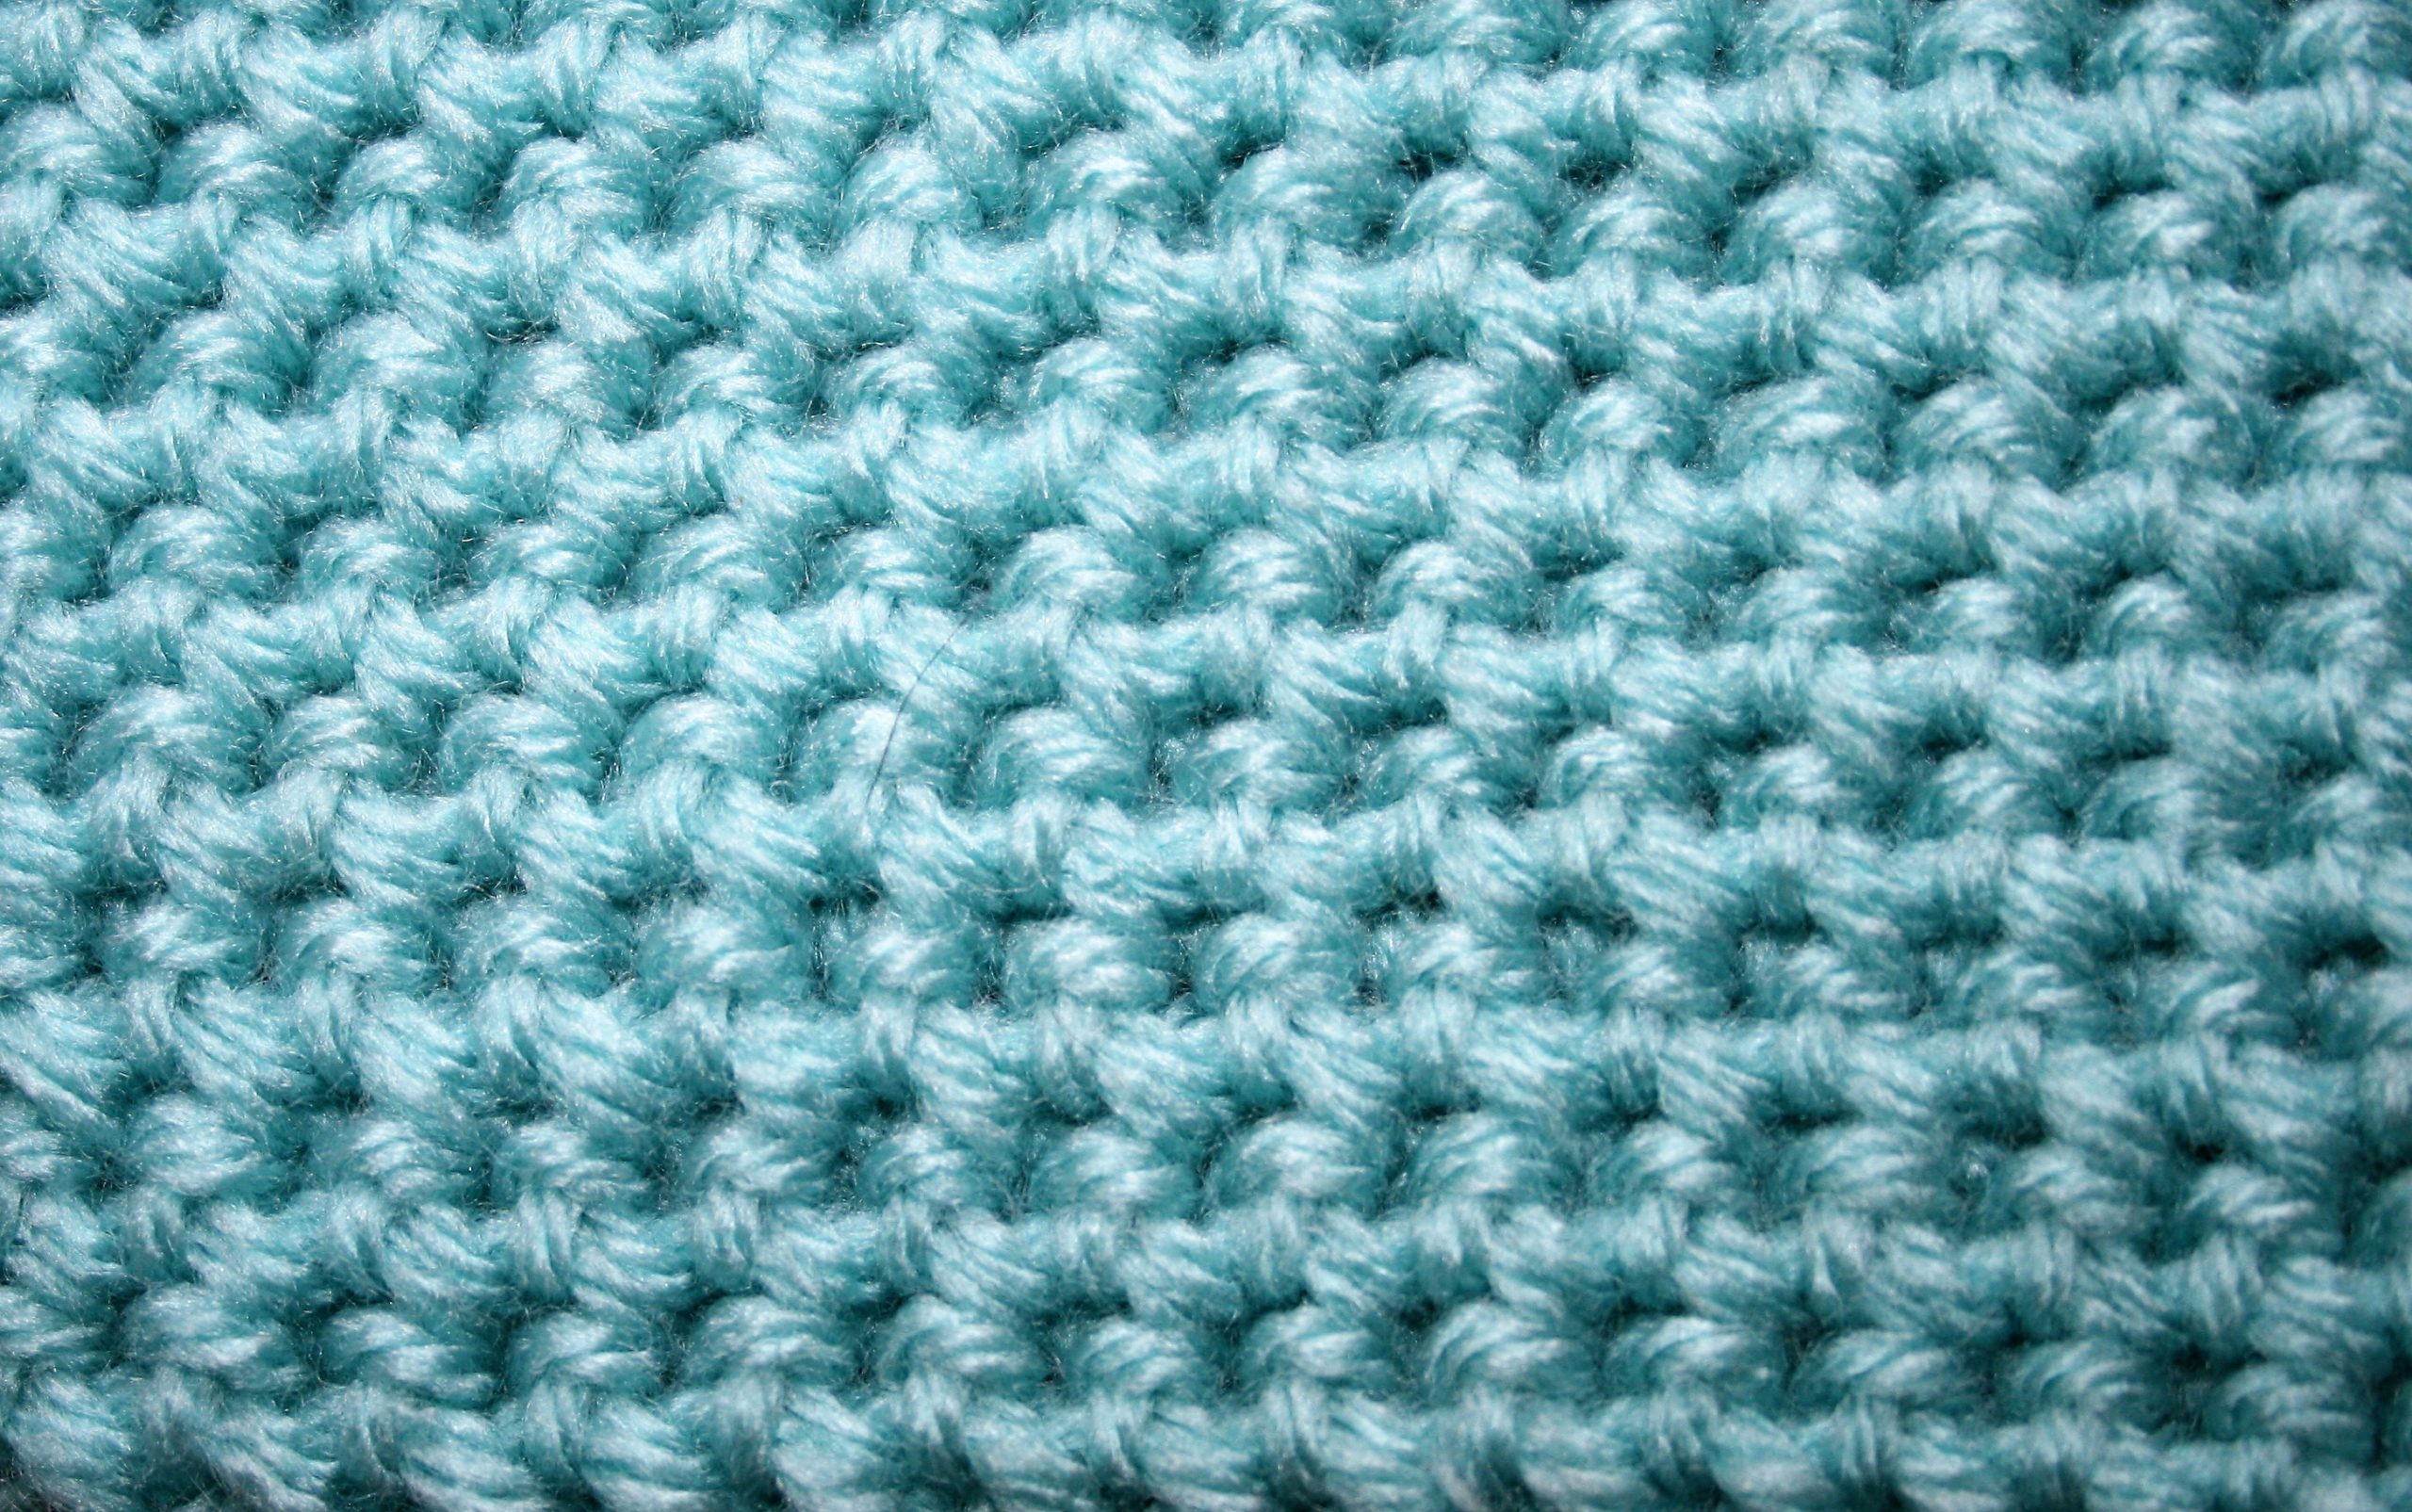
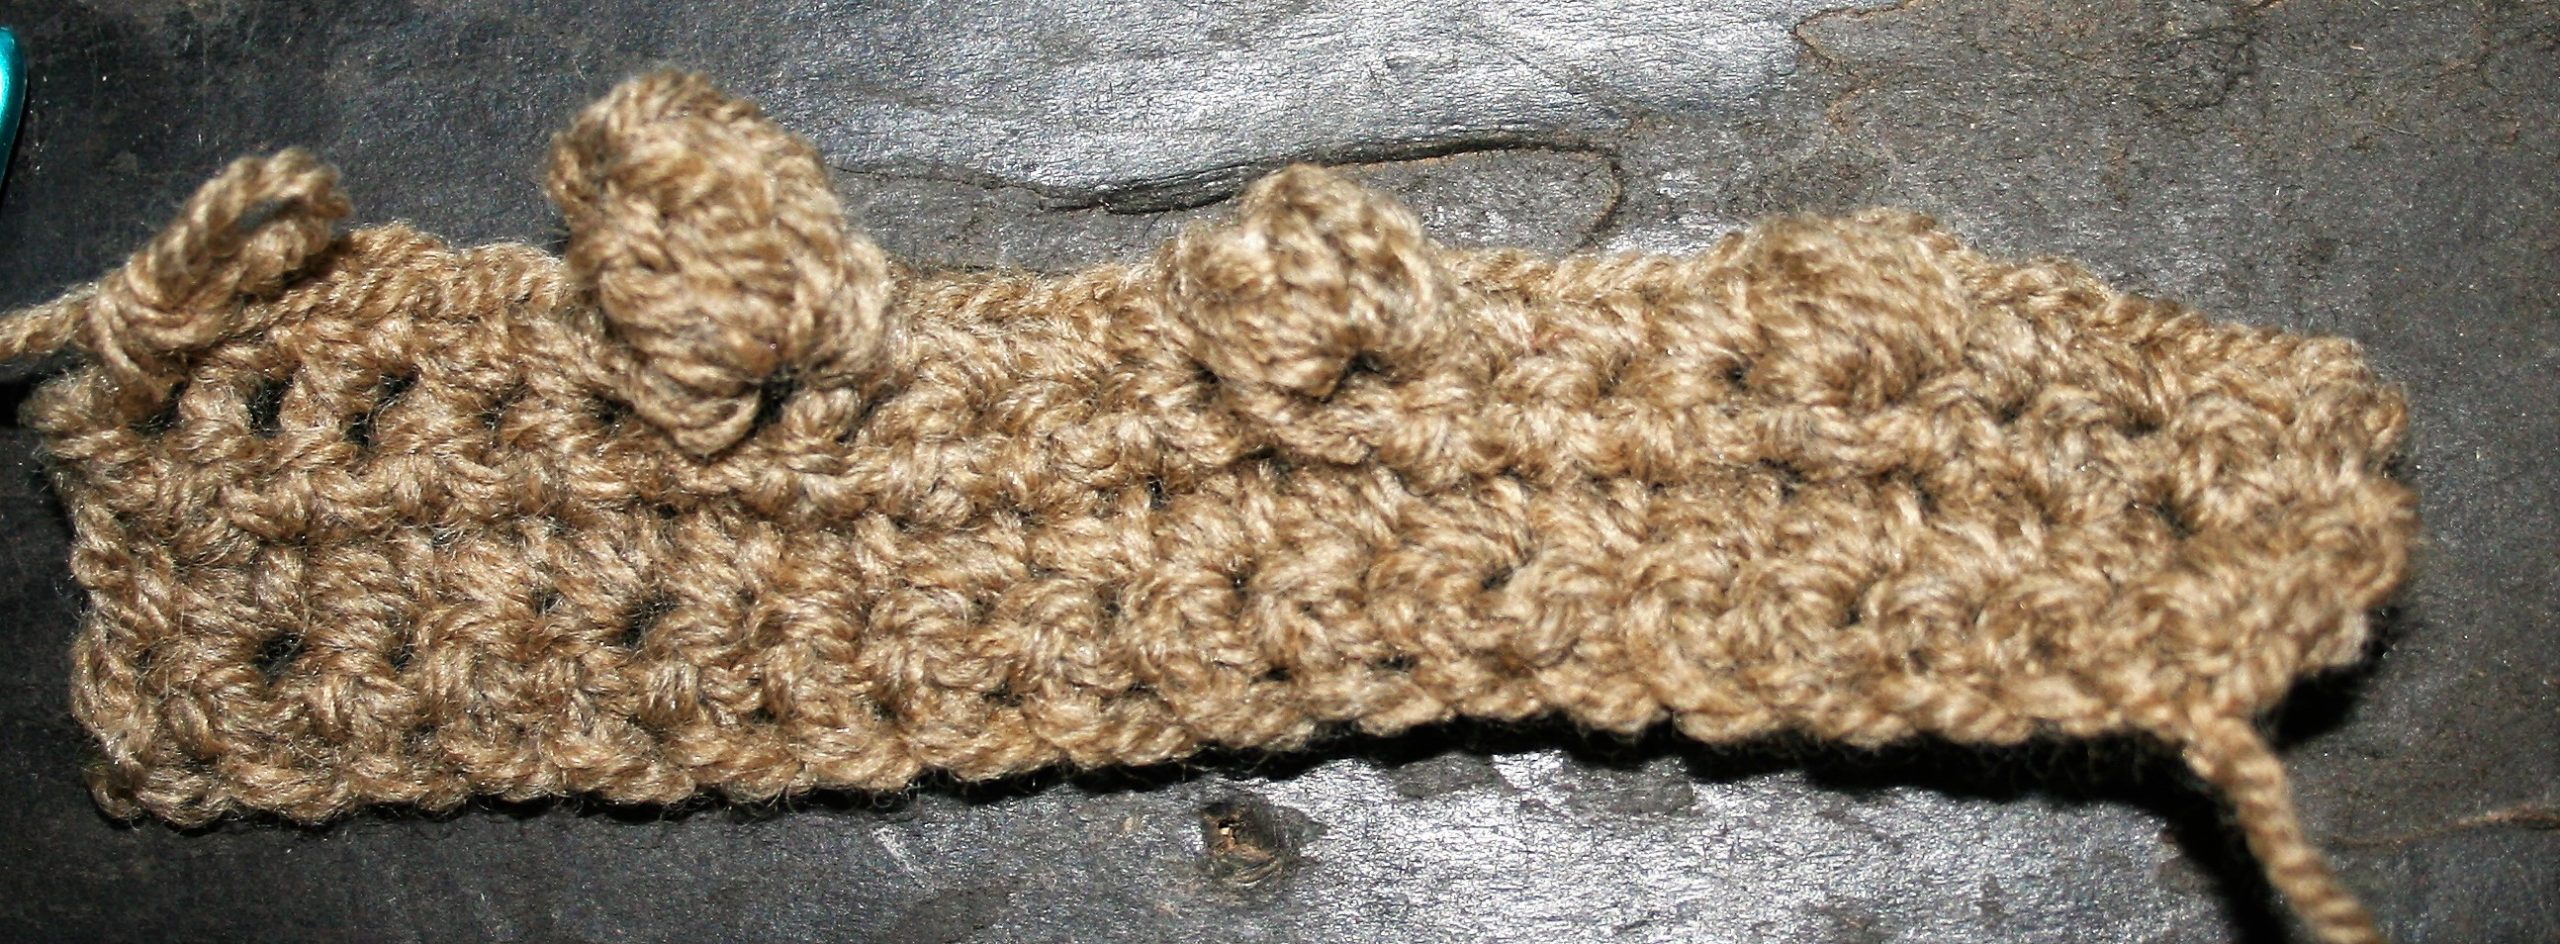
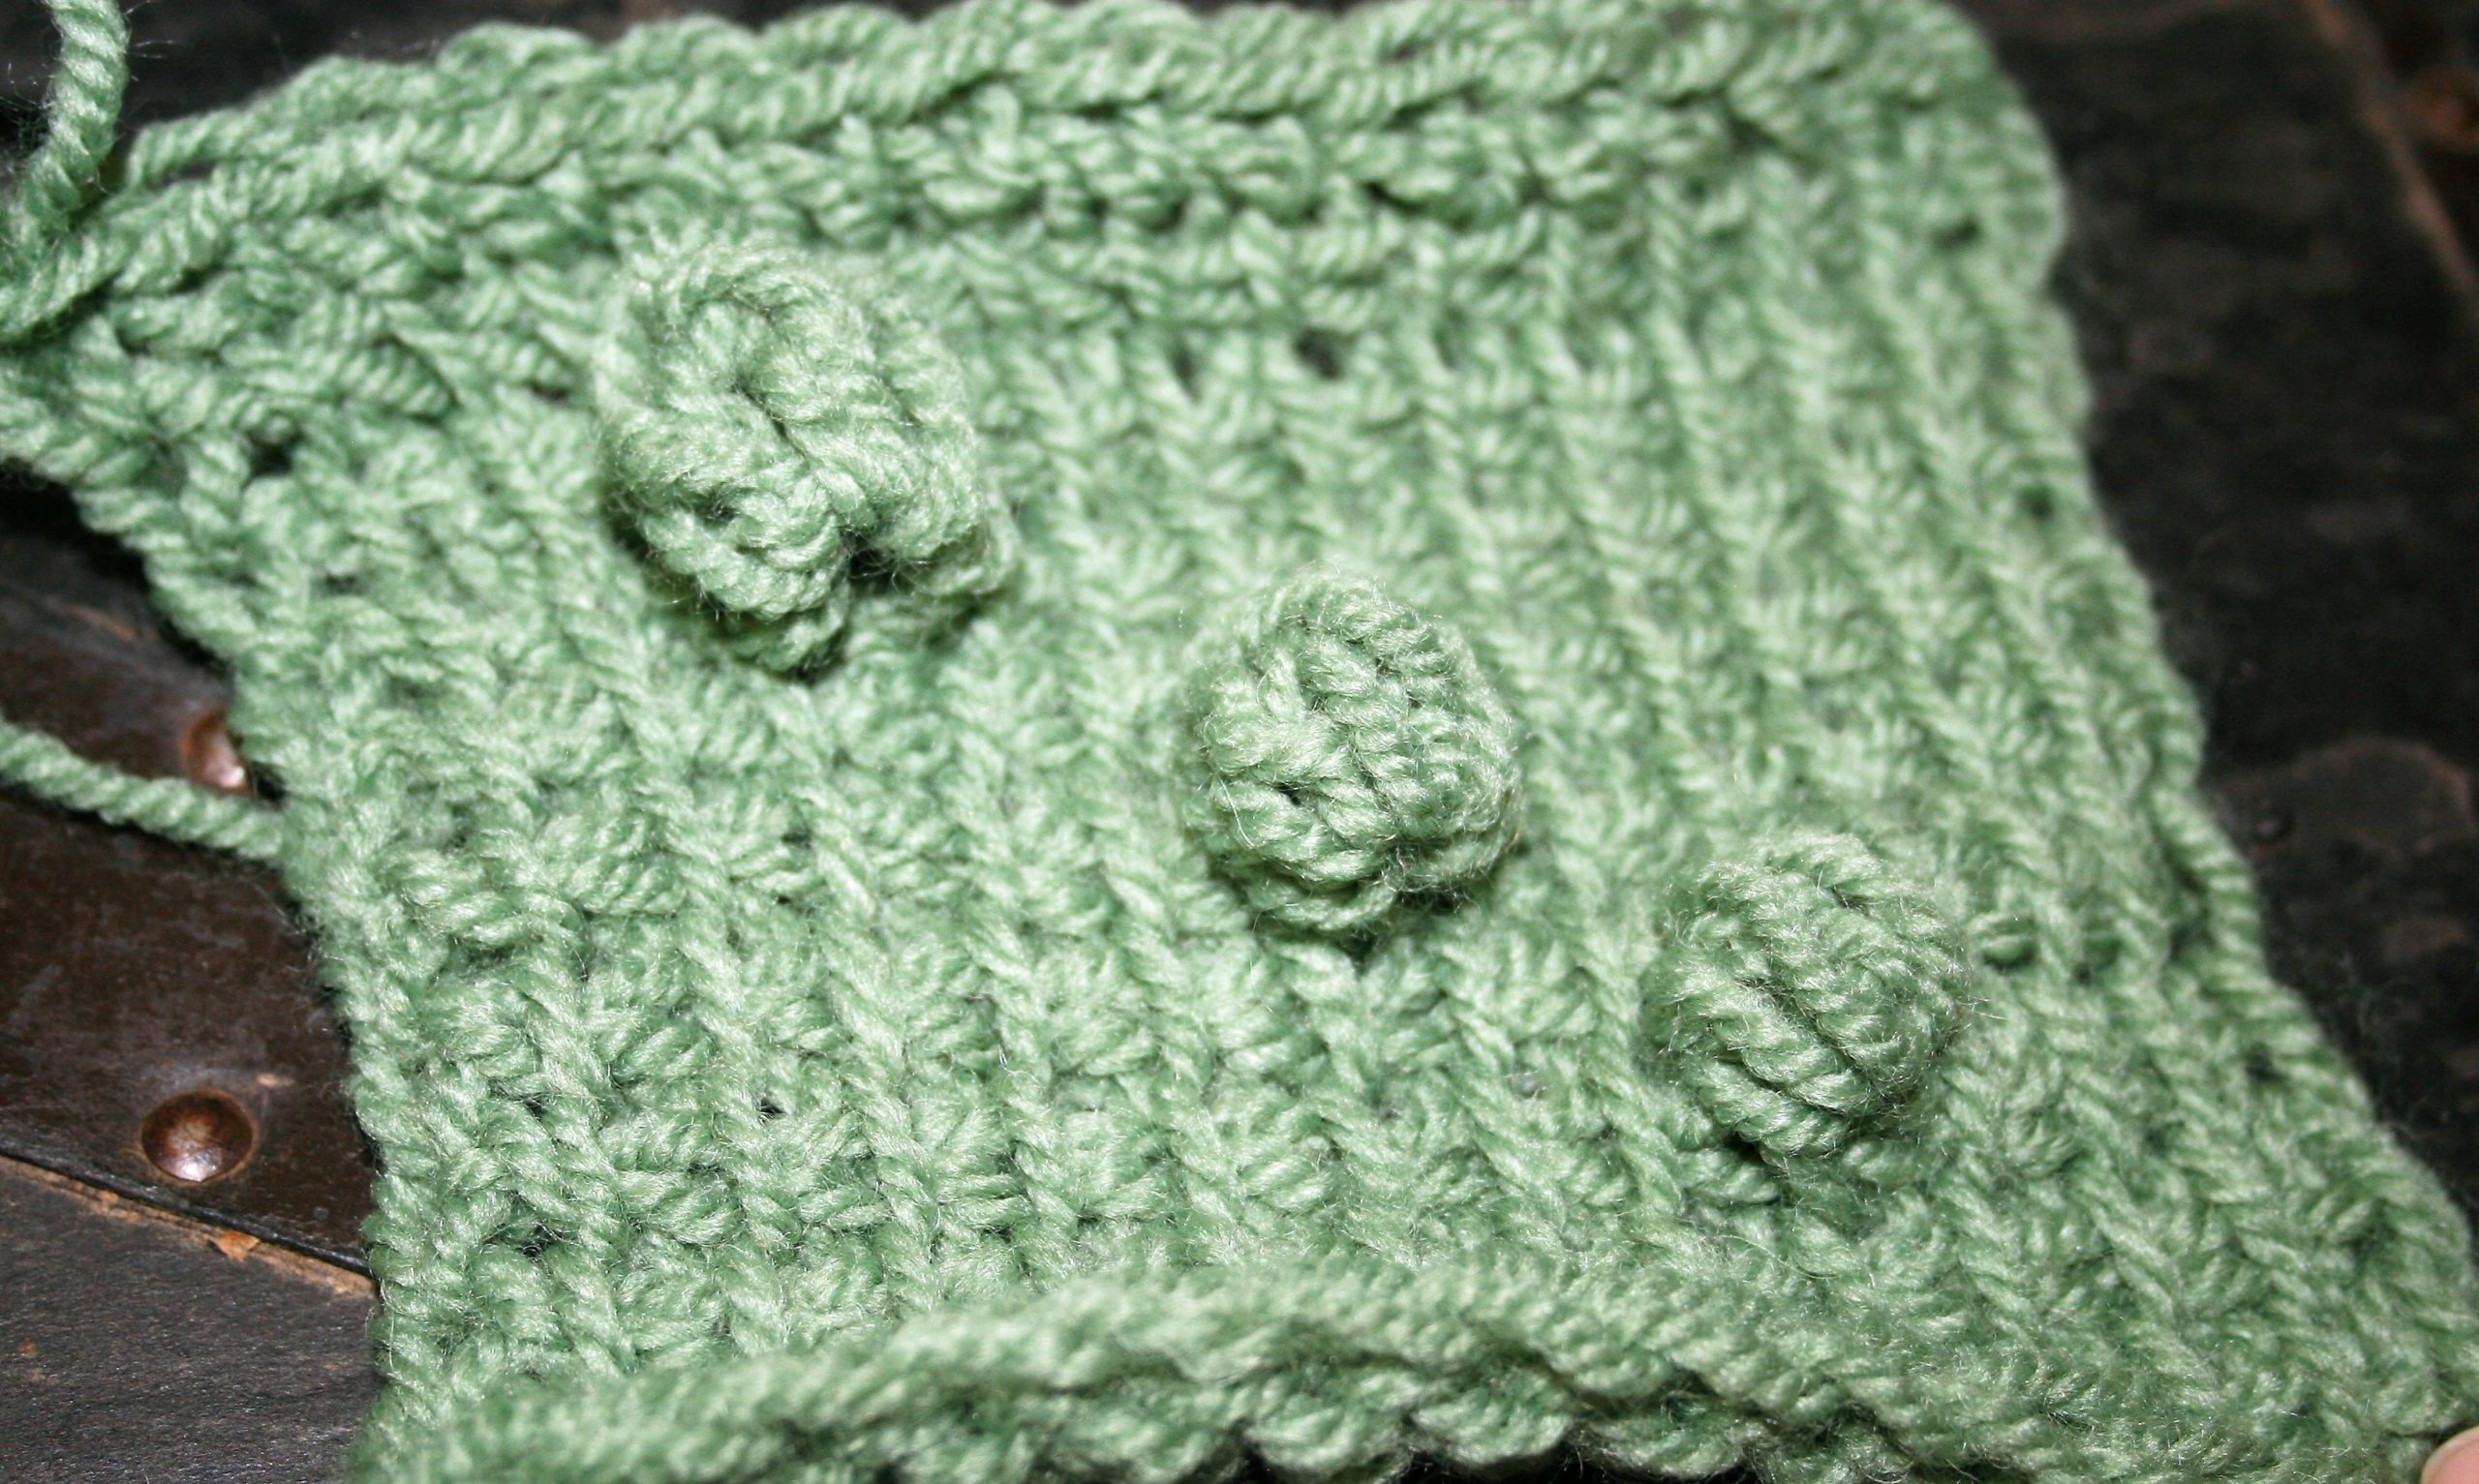
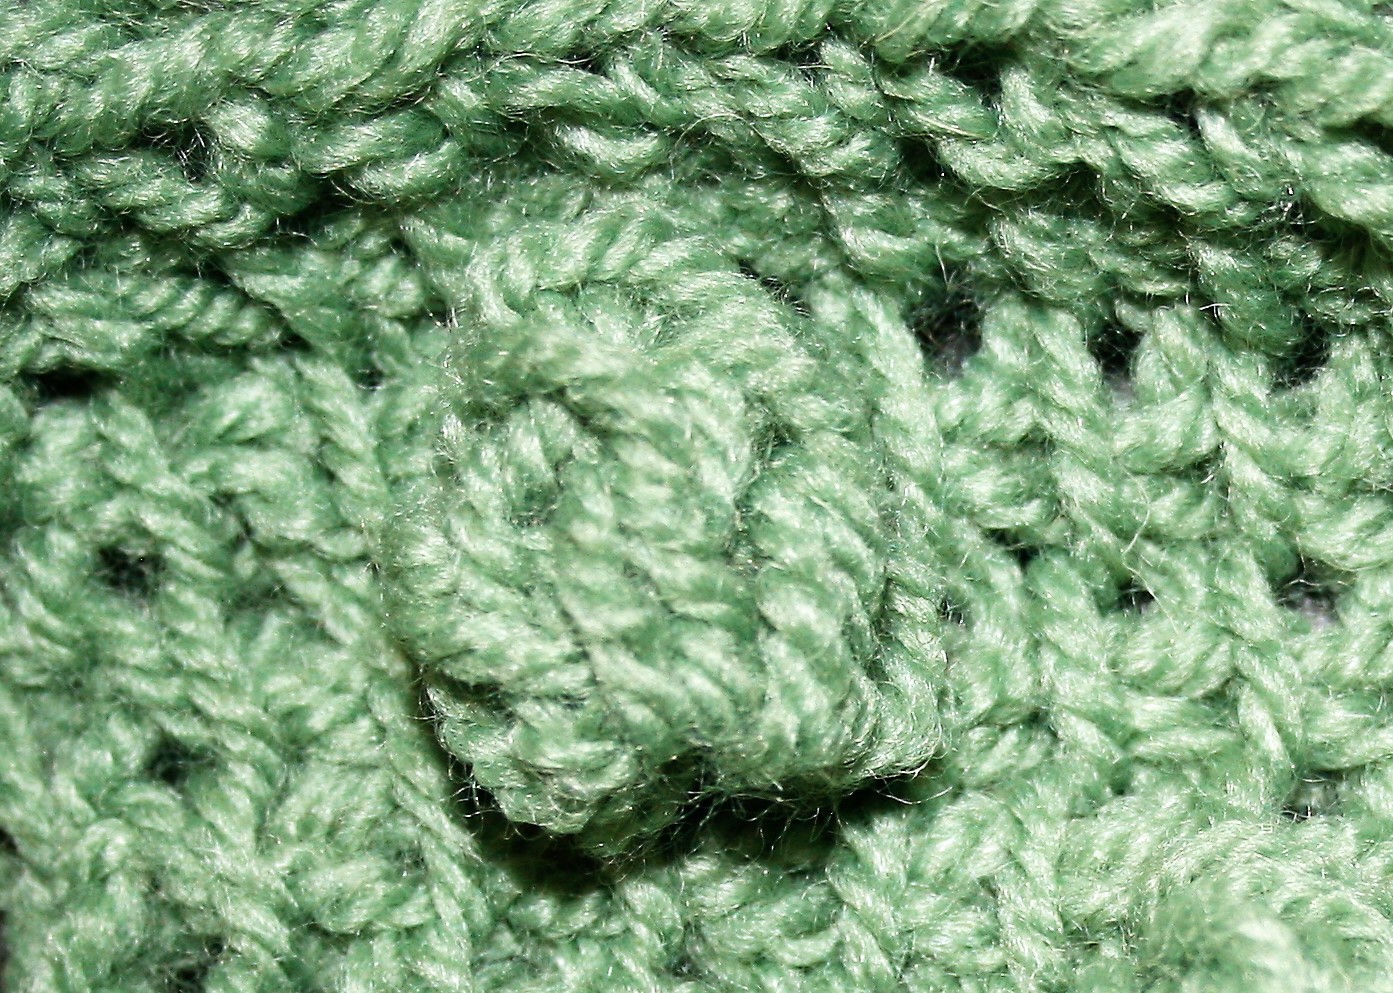
The stitch pattern is a simple single crochet, chain 1, skip 1 stitch. This stitch can sometimes be referred to as the “linen” stitch or “moss” stitch.

The Biker Hooded Poncho by Linda Dean
Skill Intermediate
Gauge 16 sc+ch1 sts/16 rows=4”
Materials
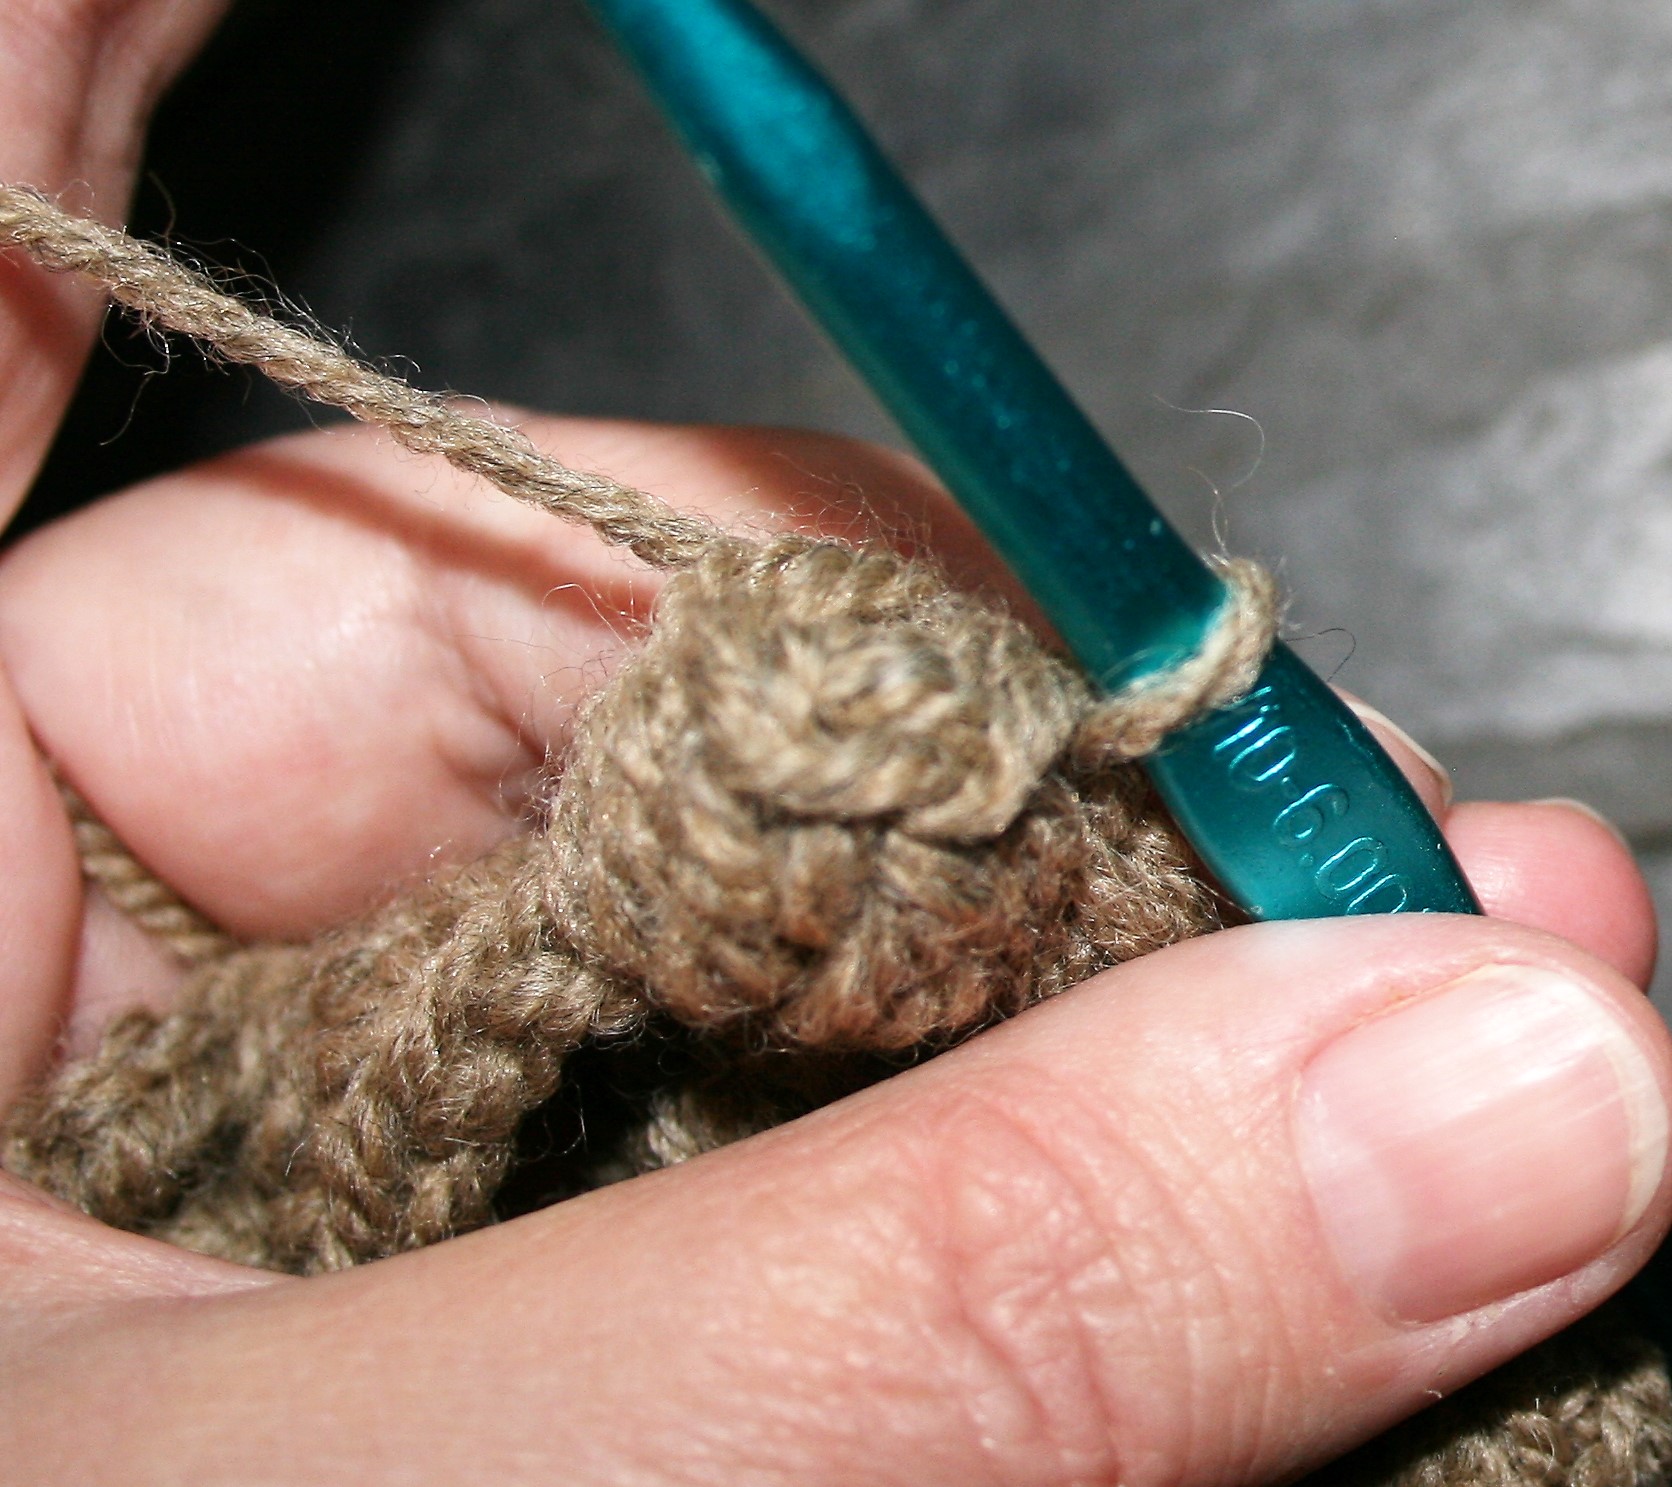
- K/10 ½ /6.5 mm crochet hook
- Berroco Vintage medium weight 52% Acrylic/40% Wool/8% Nylon yarn (218yrds/200m/3.5oz/100g) 10 skein color: #5145 Cast Iron
Special Stitches
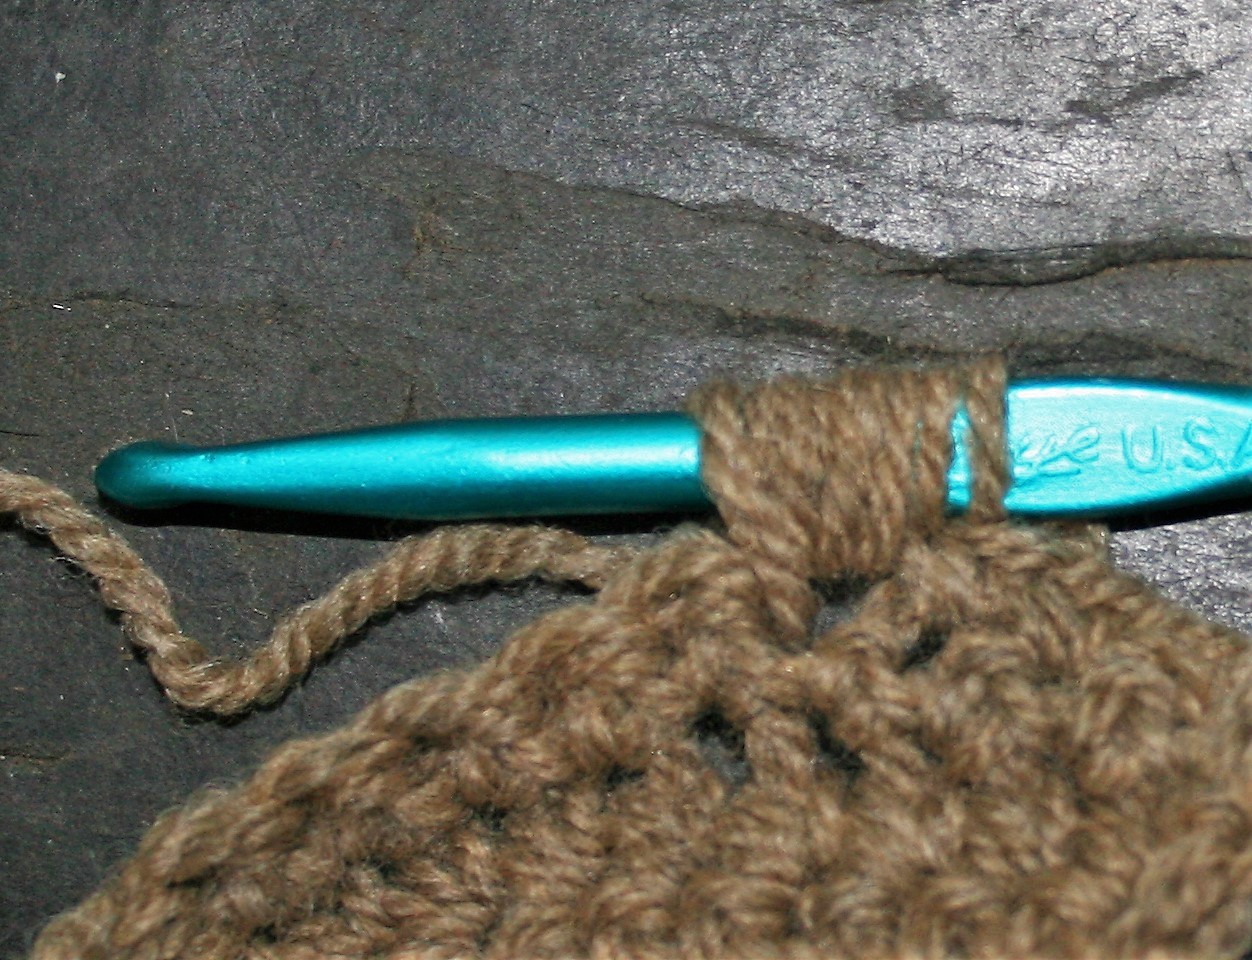
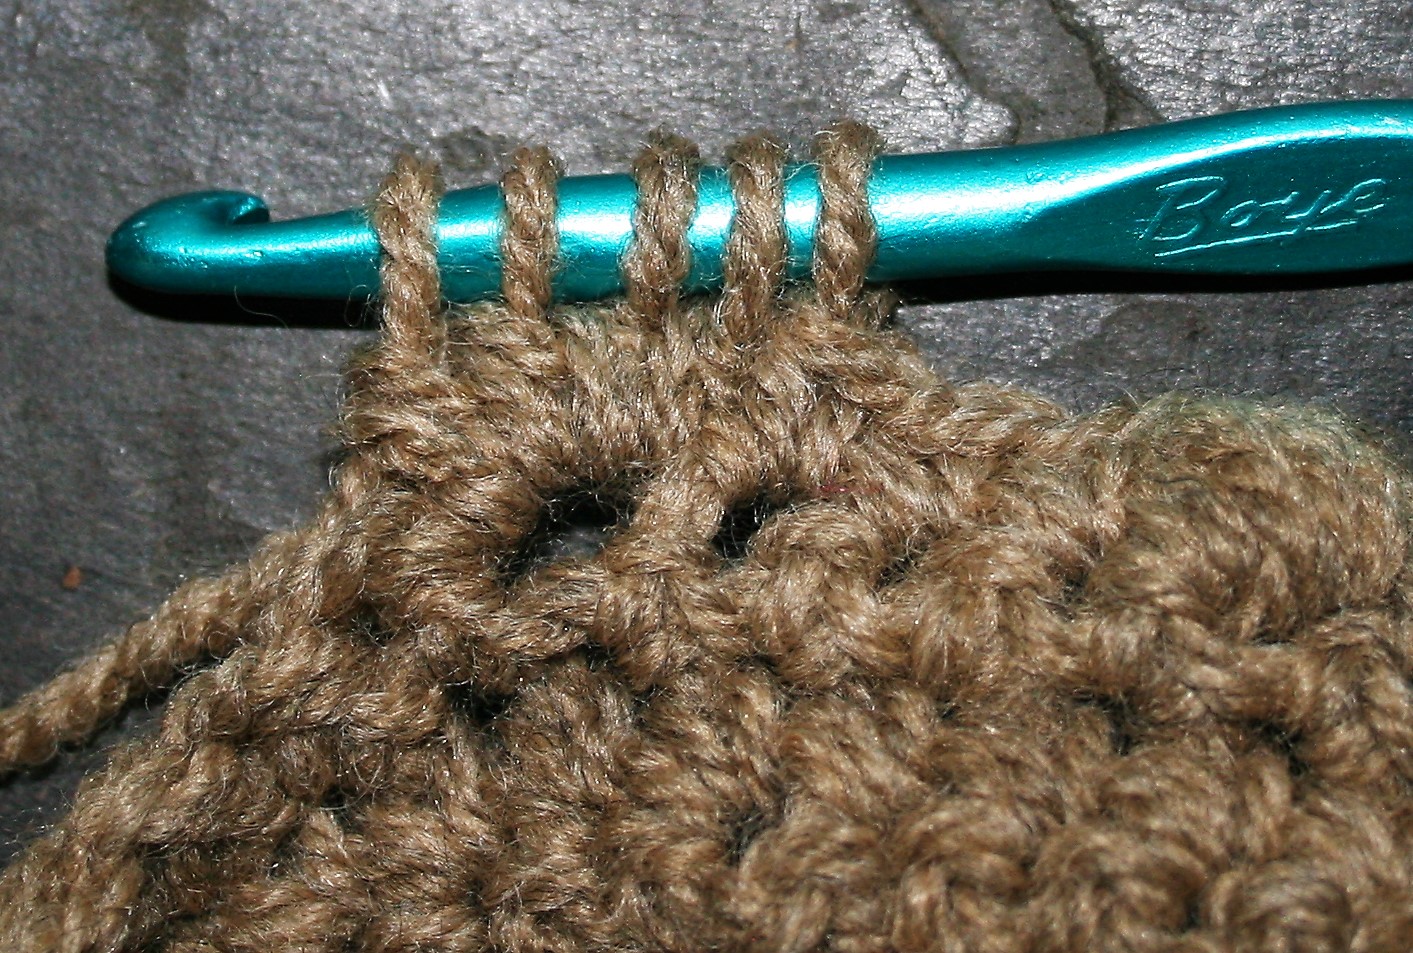
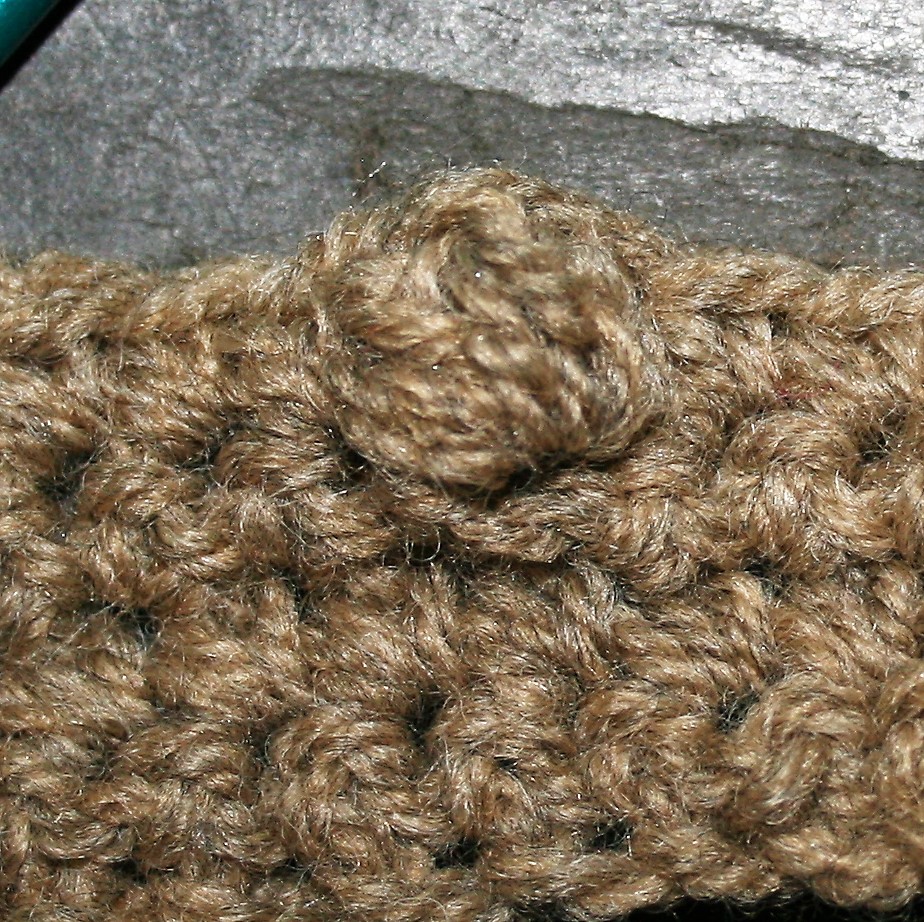
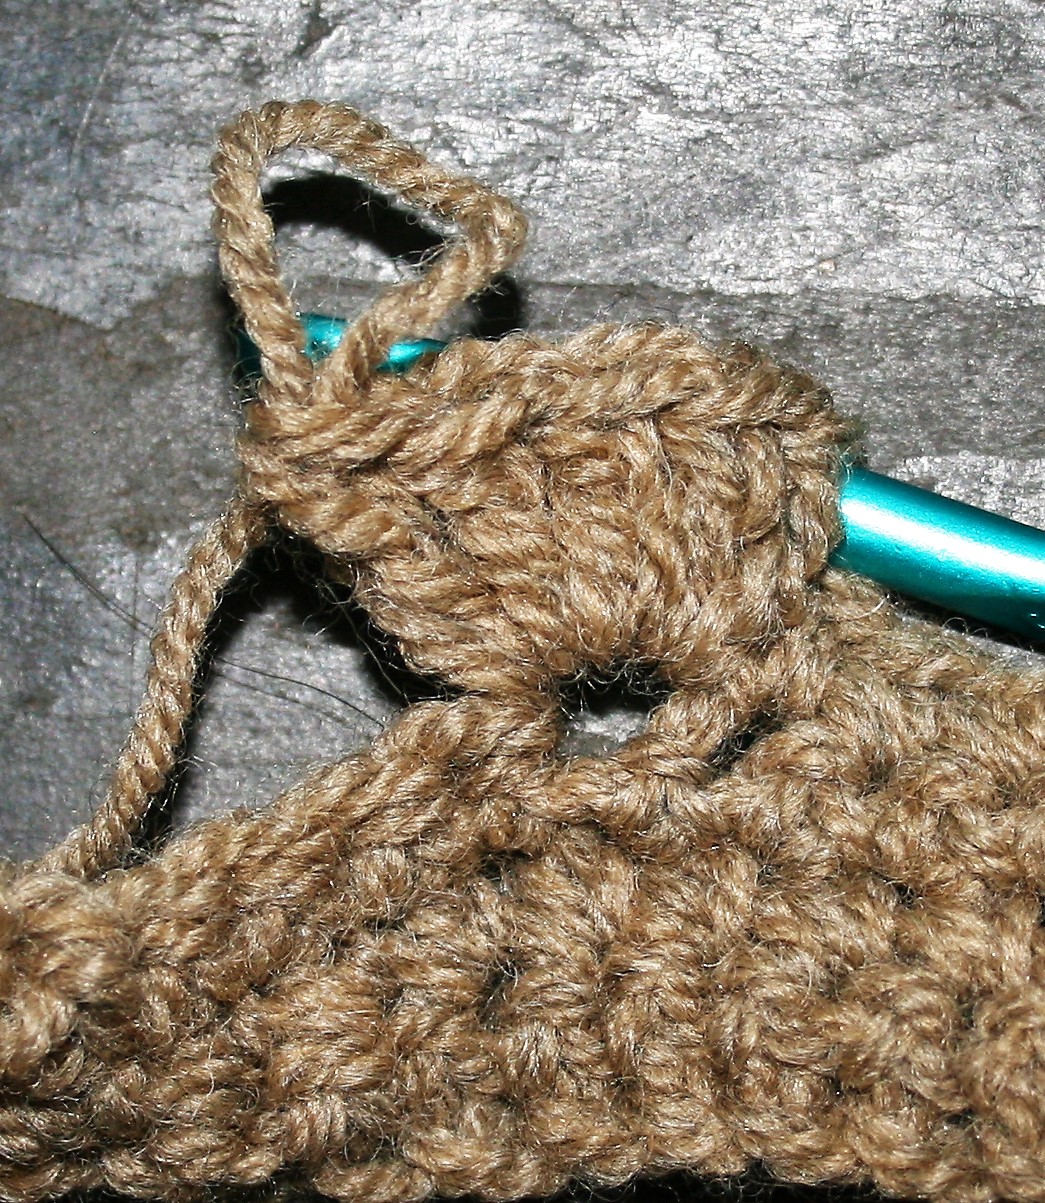
Fsc: Foundation single crochet (This technique creates a foundation chain and a row of single crochet stitches in one) –
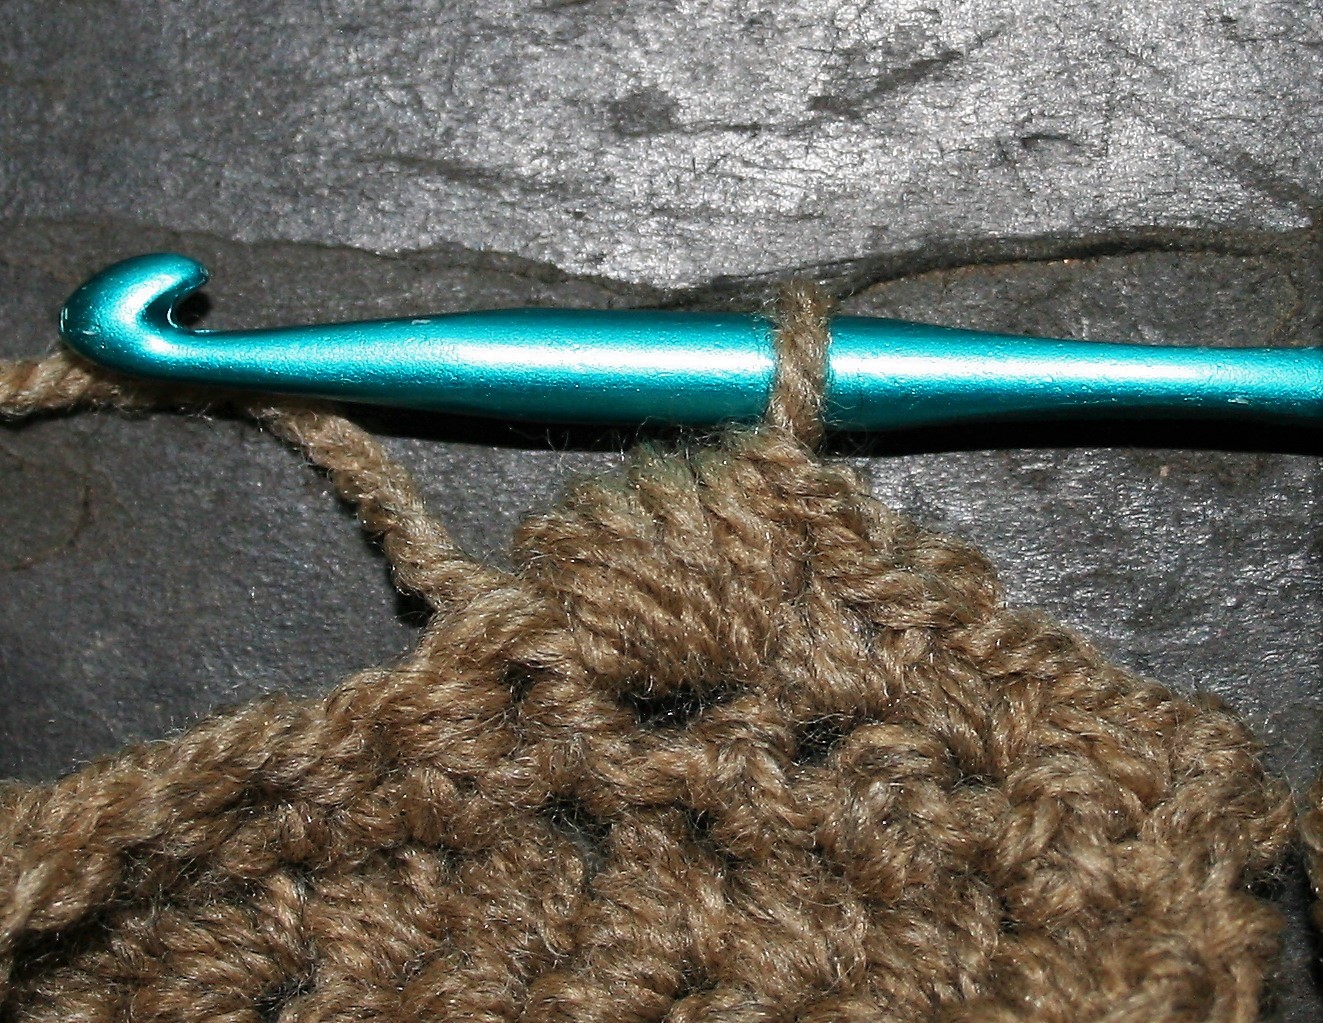
Step 1:Place a slip knot on hook, ch 2, insert hook in 2nd ch from hook and draw up a loop; yarn over and draw through one loop on hook (the “chain”); yarn over and draw through 2 loops on hook (the “single crochet”).
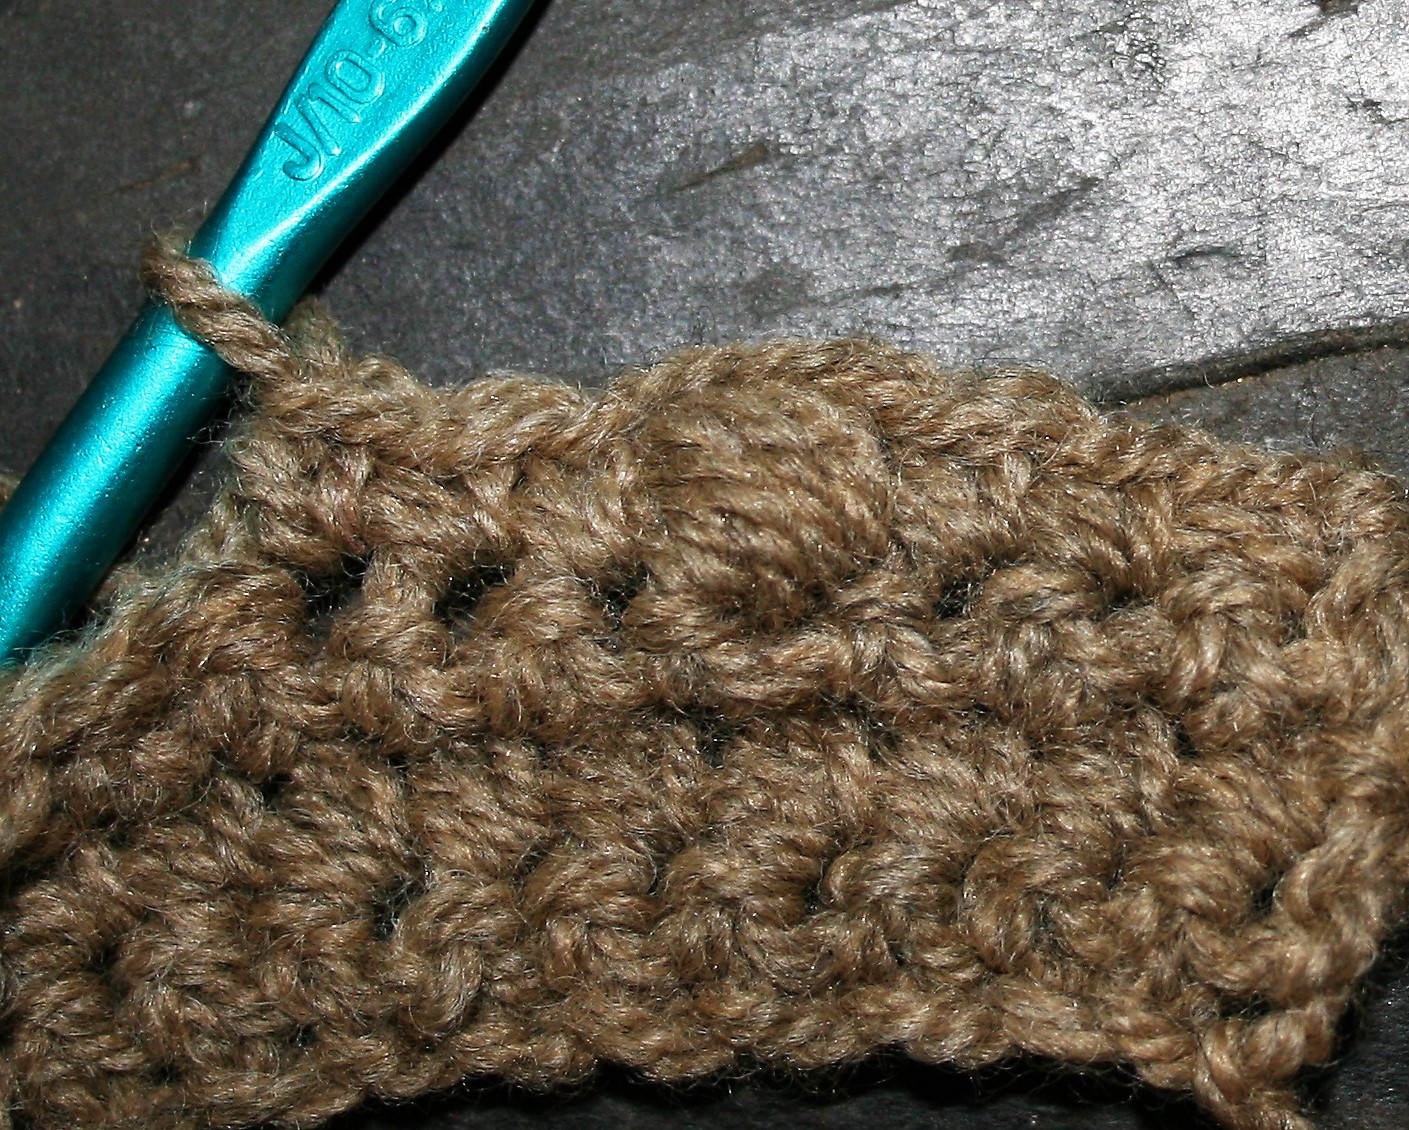
Step 2:Insert hook into the “chain” of the previous stitch and draw up a loop, yarn over and draw through one loop on hook (the “chain”), yarn over and draw through 2 loops on hook (the “single crochet”). Repeat for the length of foundation.
Start the Working in Black Poncho Pattern
Rnd 1: [Fsc 22 times, ch 2] 4 times, sl st to top of first st to join.
Now we start the stitch pattern
Rnd 2: Ch 1, sc in same st, {ch 1, sk 1, [sc in next st, ch 1, sk 1] across to ch-2 sp, (sc, ch 2, sc) in ch-2 sp} rep around, do not join.
Rnd 3: Sc in next ch-1 sp, {ch 1, sk 1, [sc in next ch-1 sp, ch 1, sk 1] across to ch-2 sp, (sc, ch 2, sc) in ch-2 sp} rep around.
Now we just keep repeating….
Rnds 4-78: Rep Rnd 3.
Rnd 79: {Working in back loops only, sc in each sc and ch across to ch-2 sp, (sc, ch 2, sc) in ch-2 sp} rep around.
Rnds 80-81: {Working in back loops only, sc in each sc across to ch-2 sp, (sc, ch 2, sc) in ch-2 sp} rep around. Fasten off.
Working in black poncho pattern- Hood
Row 1: Working on the opposite side of the foundation chain, join at any point opposite the ch-2 sp, ch 1, sc in same sp, [ch 1, sk 1, sc in next st] across to same st as join, turn.
We work the same stitch pattern, but now we work it back and forth instead of in the round- note the beginning and ending changes
Row 2: Ch 1, sc in same st, sc in next ch-1 sp, [ch 1, sc in next ch 1 sp] around to last st, sc in last st, turn.
Row 3: Ch 1, sc in same st, ch 1, [sc in next ch-1 sp, ch 1] across to last 2 sts, sc in last st, turn.
Some more repeating
Rows 4-70: Rep Rows 2-3. Fasten off.
Fold the last row in half so that the last st and first st are together. Seam along row.
Hood Edging
Rnd 1: Working in the edge of the rows of hood, with RS facing, join to Row 1, sc in each row end around, do not join.
Rnds 2-4: Working in the back loop of sts, sc in each st around. Fasten off.