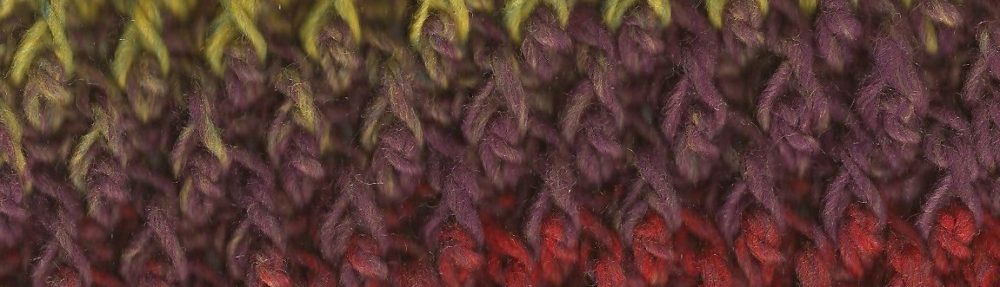
Yarnsgiving is a fun time of year! A time to think of practical gift giving and sharing of your favorite craft with those you care about.
You can find many other free patterns for yarnsgiving here.
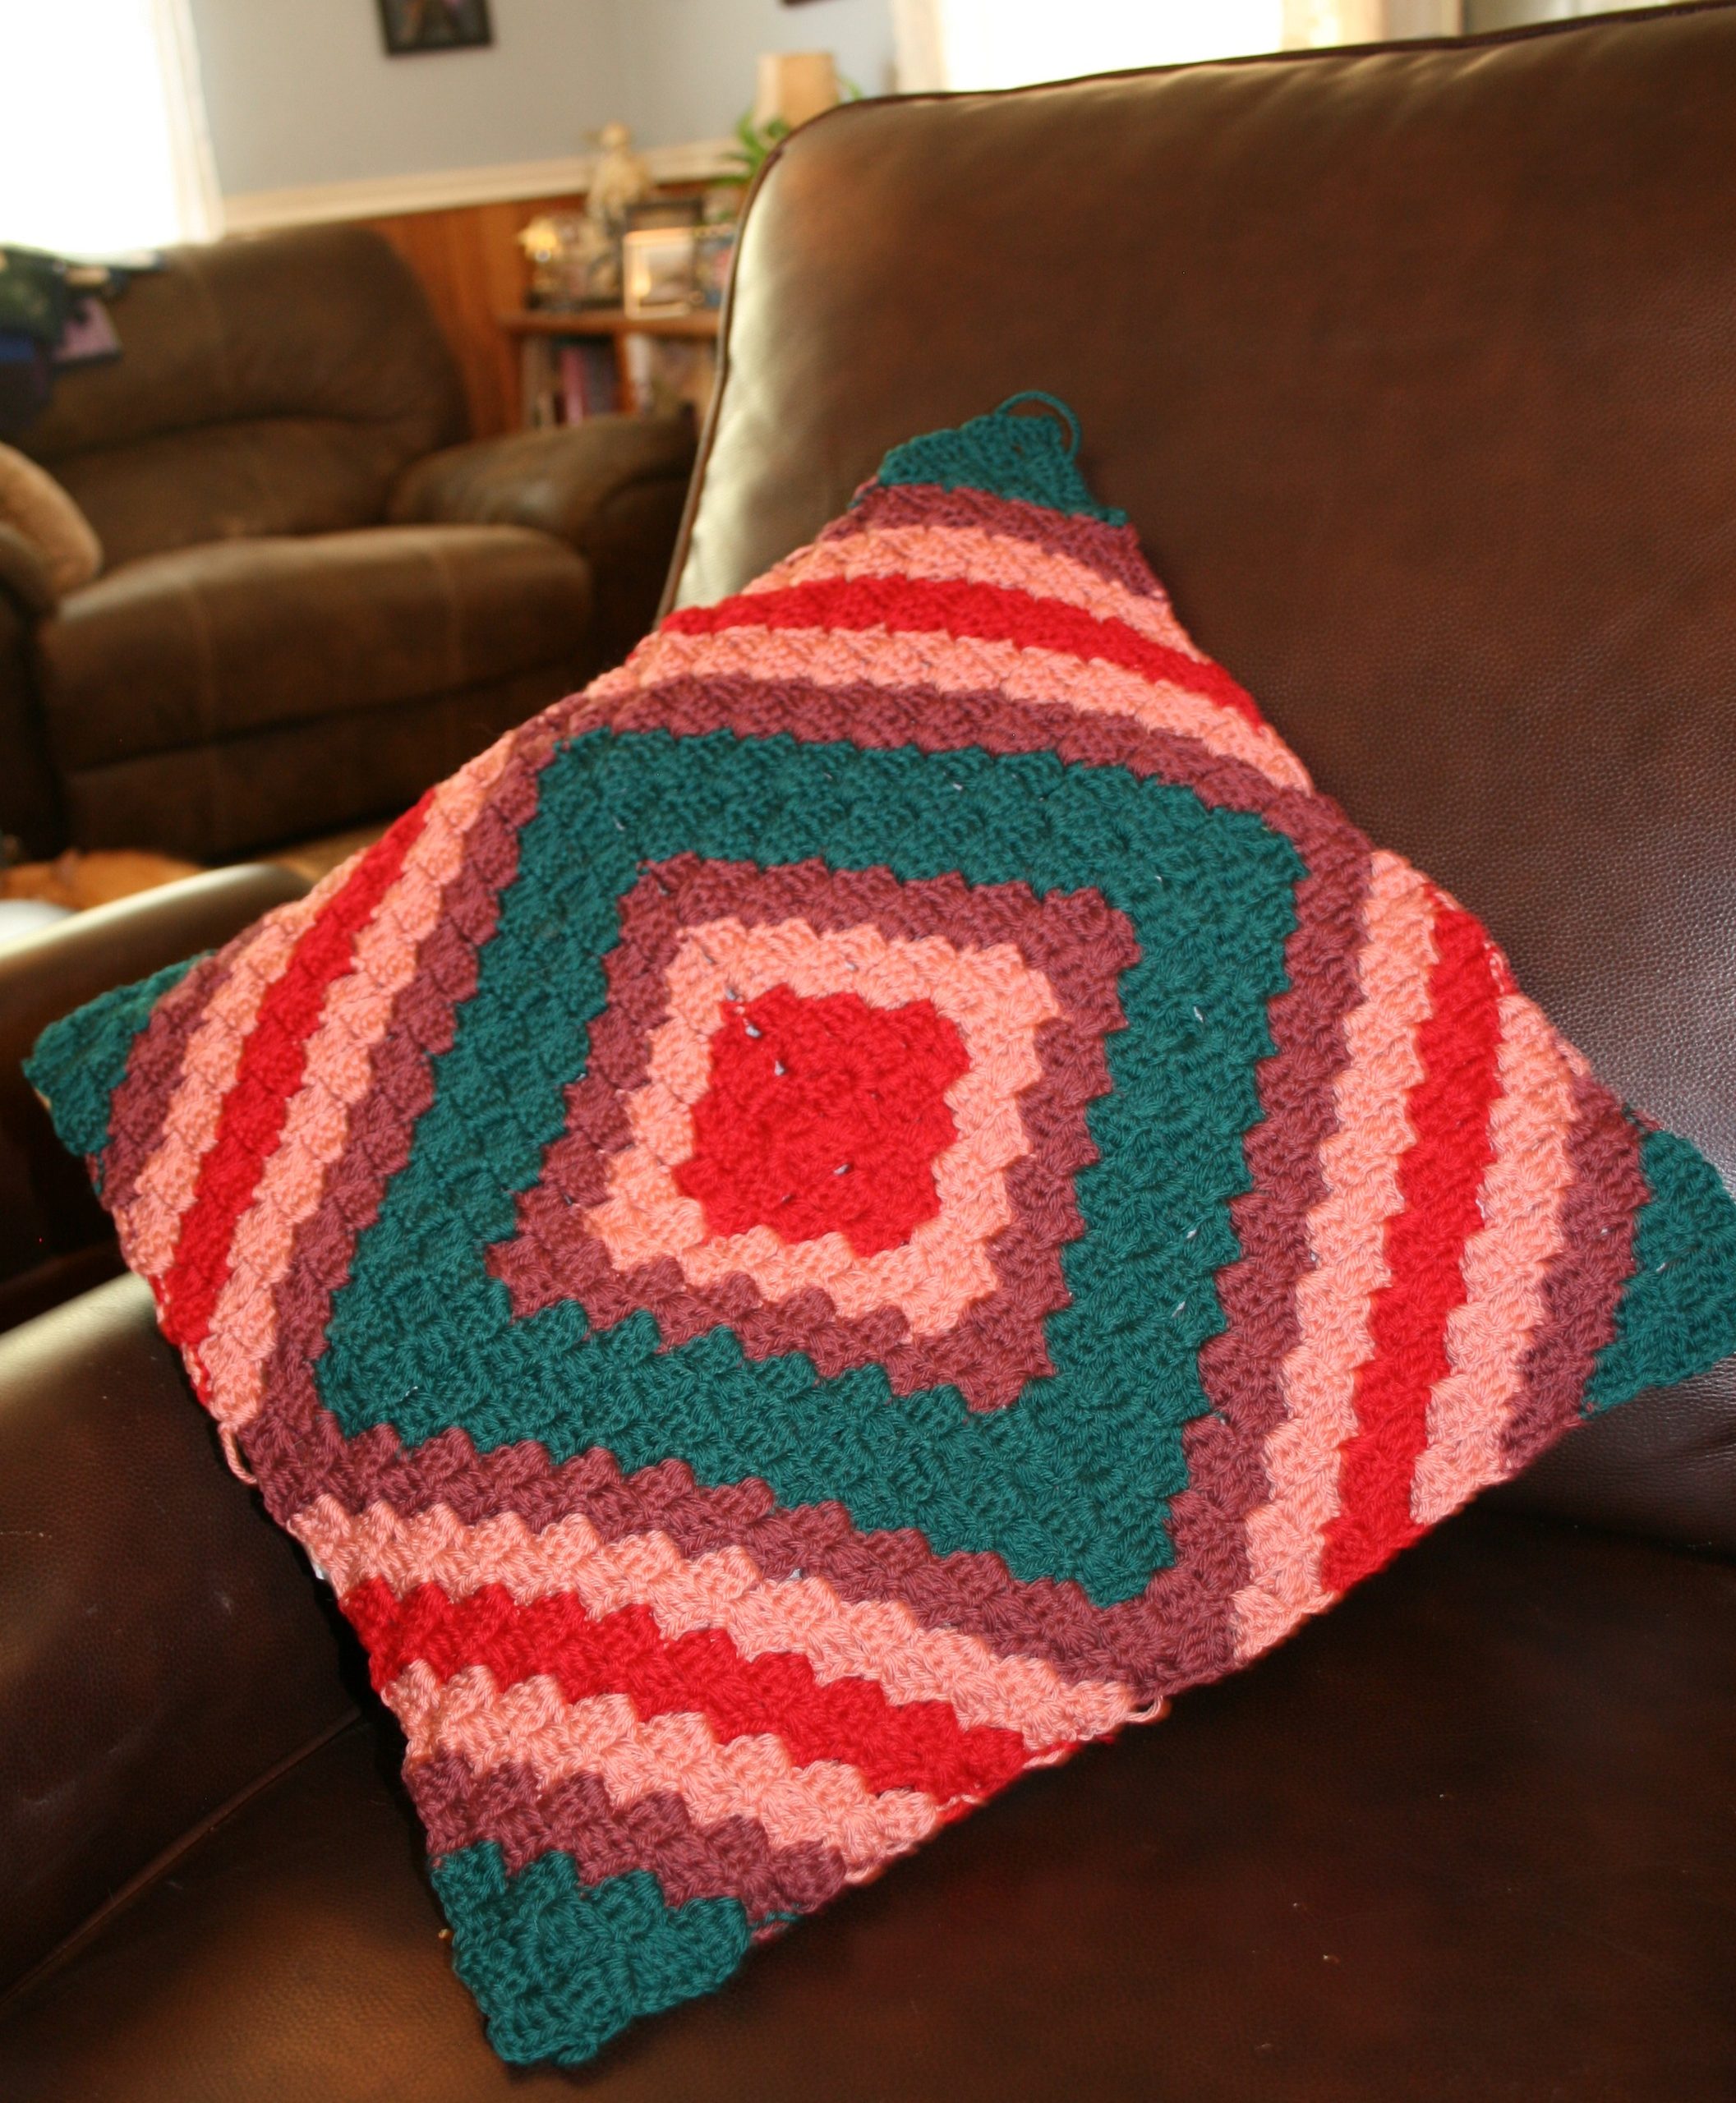
My contribution this year is the Make U Smile Pillow. It is worked as Corner to Corner (C2C) in the Round. Then squared up to a diamond on point.
Historically, I have many students who love this approach to Corner to Corner and I personally have it as my new go-to for scrap blankets. Once you get past the first couple of rounds it become an easy methodical project.
Materials
- Cascade Yarns, Cascade 220; 100% Peruvian Highland Wool medium weigh yarn (100g/3.5ox/220yrd/200m) 1 skein each color: #9404 Ruby (A), #9681 Crabapple (B), #1077 Oxblood Red (C), #8893 Hunter Green (D)
- 5mm/H/6 size crochet hook
- 18″ (46cm) pillow form
- yarn needle
Make 2
If you need a visual on how to work this technique, please check out my step by step tutorial here.
Rnd 1: With A, ch 7, dc in 4th ch from hook, dc in each ch across, rotate block, ch 3, 5 dc around post of last st created, rotate block, ch 3, 5 dc around post of last st created, rotate block, ch 3, 4 dc around post of last st created, sl st to nearest corner of first block, turn. – 4 blocks
From a Square to a Cross
Rnd 2: Ch 6, dc in 4th ch from hook, dc in rem chs, sl st to corner of block below, [rotate, ch 3, 4 dc around post of block a rnd below, rotate, ch 3, 3 dc around post of last st created, sl st to corner of block below] 3 times, rotate, ch 3, 3 dc around post of block a rnd below, sl st to top of first block, turn. – 8 blocks (2 per side)
Rnd 3: Ch 6, dc in 4th ch from hook, dc in rem chs, sl st to corner of block below, rotate, [ch 3, 3 dc around post of block a rnd below, sl st to corner of block, ch 3, 4 dc around post of block a rnd below, rotate, 3 dc around post of last st created, sl st to corner] 3 times, rotate, ch 3, 3 dc in post of block a rnd below, sl st to top of first block, turn, change to B. -12 blocks (3 per side)
Just keep filling in the “Steps”
Rnd 4: Ch 6, dc in 4th ch from hook, dc in rem chs, sl st to corner of block below, rotate, [ch 3, 3 dc around post of block a rnd below (step), rep on next steps, until block is even with next block, ch 3, 4 dc around post of block a rnd below, rotate, ch 3, 3 dc around post of last block created] rep 3 times, ch 3, 3 dc around post of block a rnd below (step), rep on next steps, until last block of rnd, ch 3, 3 dc around post of block a rnd below, sl st to top of first block, turn. – 16 blocks(4 per side)
Just repeat the stitch pattern, but change to colors
Rnd 5: Rep Rnd 4, change to C
Rnds 6-13: Rep Rnd 4 working the following color sequence:
Rnds 6-7: C
Keep changing colors
Rnds 8-11: D
Rnds 12-23: C – 52 blocks (13 per side)
Fasten off.
Putting the Diamond on Point
To put the diamond on point, you use the decrease technique of the Corner to Corner method. If you need a visual, please check out my friend Moogly’s video.
Row 1: Turn fabric so that the wrong side of the last round is facing, working down 1 side, join color B to the first “step” of side, [ch 3, 3 dc around post of block below, sl st to next block] across to next corner, turn. DO NOT create a “block” on the top of the next corner. -12 blocks
Lose a Block on each row
Row 2: Sl st across stitches just made, ch 3, 3 dc around post of block just made, sl st to next block, [ch 3, 3 dc around post of block below, st sl to next block] across until no more “steps” remain. -11 blocks
Row 3: Change to A, sl st across stitch just made, ch 3, 3 dc around post of block just made, sl st to next block, [ch 3, 3 dc around post of block below, sl st to next block] across until no more “steps” remain. -10 blocks
Repeat the process
Rows 4-12: Rep process of Row 3 following the color sequence of:
Row 4: A
Work teh colors outward
Rows 5-6: B
Rows 7-8: C
Almost there….
Rows 9-12: D
Repeat on each side. Fasten off. Weave in ends, block.
Work it on each side and Finish!
Seam 3 sides of blocks together, insert 18” pillow form and seam remaining side.