
Help me help local communities by creating blocks for Warm Up America, by making 1 block for yourself and 1 for a community project with this free pattern, so 1 your Me and 1 for You. This block, Solid Crochet Lattice, will help build your skills and looks great. I just ask that make one for donation.
Donations can be made to Warm Up America as a nation wide organization. They encourage local donations, but will also except donations to be sent to their office so that blocks can be assembled and then blankets can be donated through the United States.
Even if you do not want to participate with Warm Up America, please consider creating blocks, or blankets for your local community. There are various places in every community that accept donations.
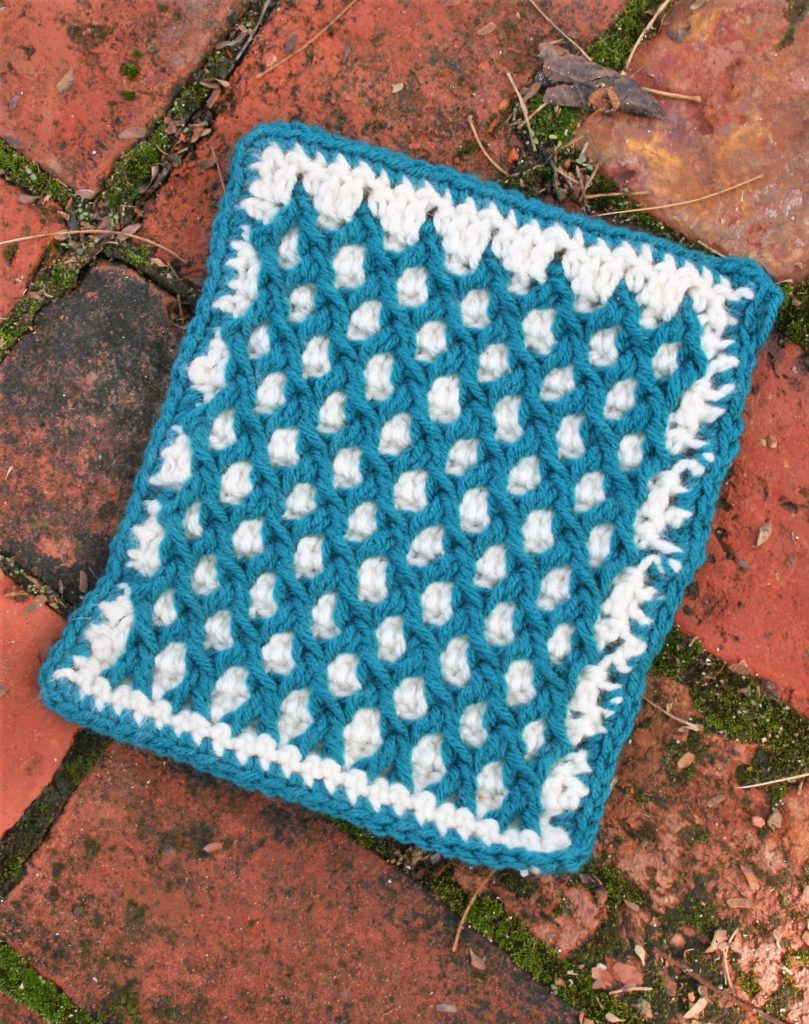
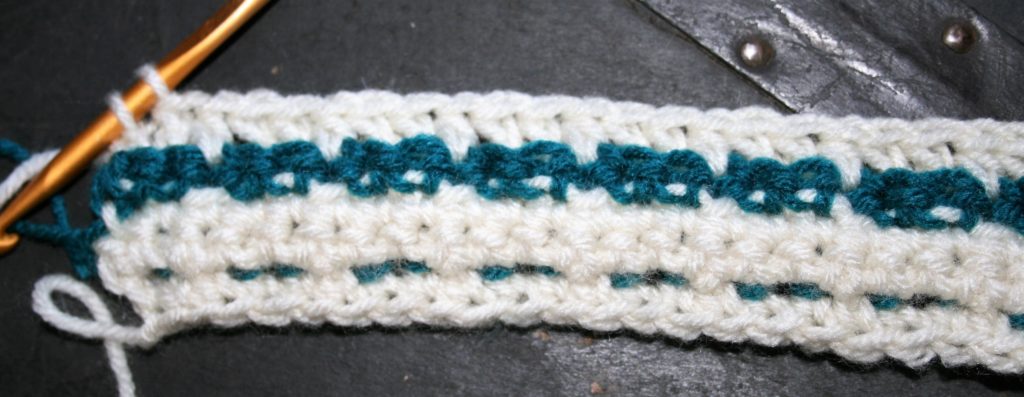
This block uses 2 double crochet stitches worked together, as they are in a decrease, but over a space of stitches and rows below the working row (utilizing a front post stitch). This creates a raised texture to the fabric that has a trellis like effect.
This stitch pattern reminds me of fancy pastry techniques, but maybe that is because I have caught many baking shows as of late.
Gauge
Gauge: Square measures 7”x 9”
Materials
- Medium weigh yarn, two colors (A), (B)
- I/9/5.50 mm crochet hook
Special Stitches
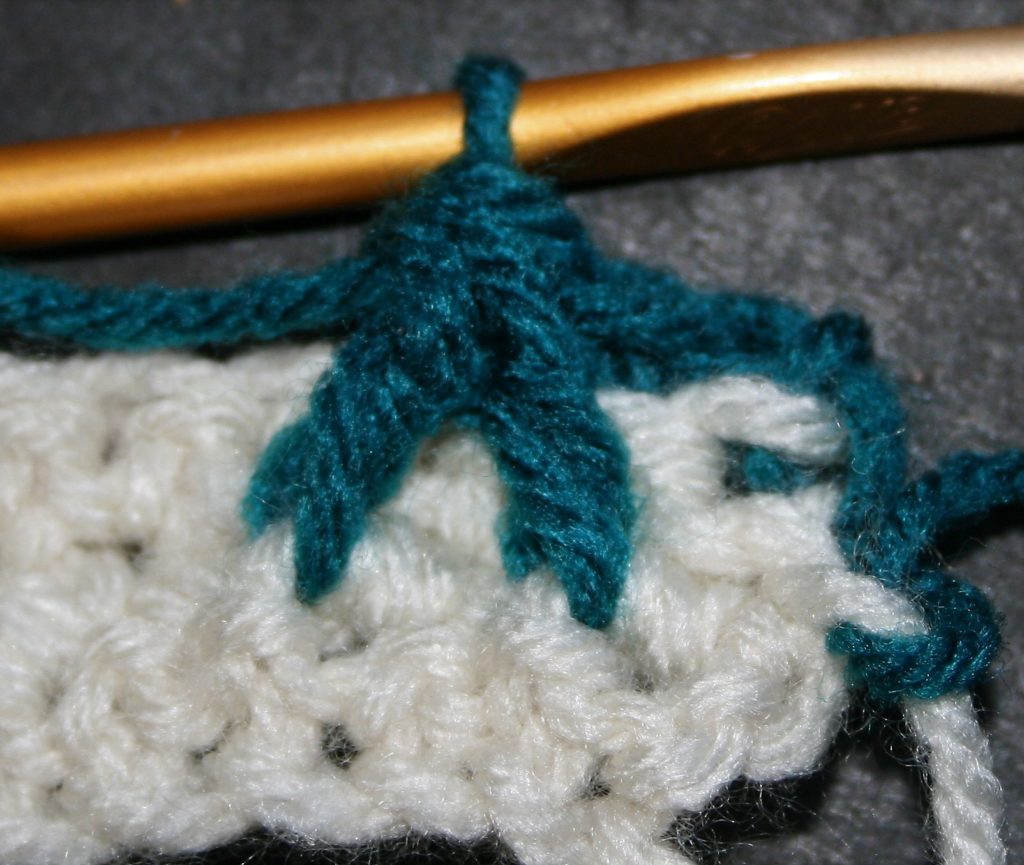
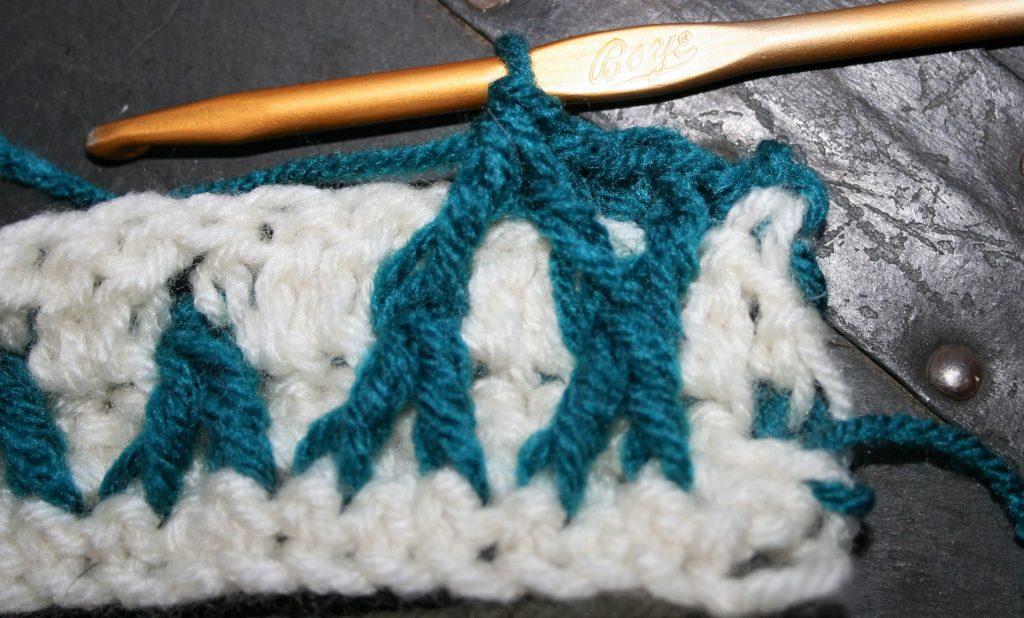
Front Post Double Crochet 2 Together (fpdc2tog): Yo, insert hook around indicated stitch inserting from the front to back of post, returning hook from back to front of fabric , yo, pull up a loop, yo, pull through 2, yo, insert hook into next indicated stitch, yo, pull up a loop, yo, pull through 2 loops, yo, pull through 3 loops on hook.
Solid Lattice Block
With Color A, ch 24
Row 1: Sc in 2nd ch from hook, sc in each ch across, turn. -23 sc
We repeat a simple stitch a bit…
Row 2: Ch 1, sc in same st, sc in each st across, turn.
Row 3: Ch 1, sc in same st, sc in each st across, change to color B, turn.
Focus on something different…
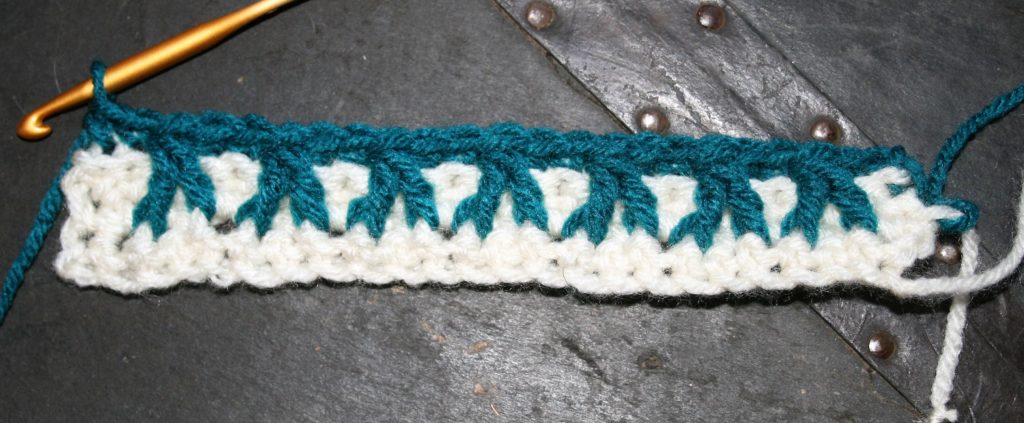
Row 4: Ch 1, back loop single crochet (blsc) in next 2 sts, [working around posts of stitches in Row 1 fpdc2tog over post 1 stitch behind working loop, skip 1 post and complete stitch around next post, blsc in next 2 sts,] repeat 7 times, change to color A, turn.
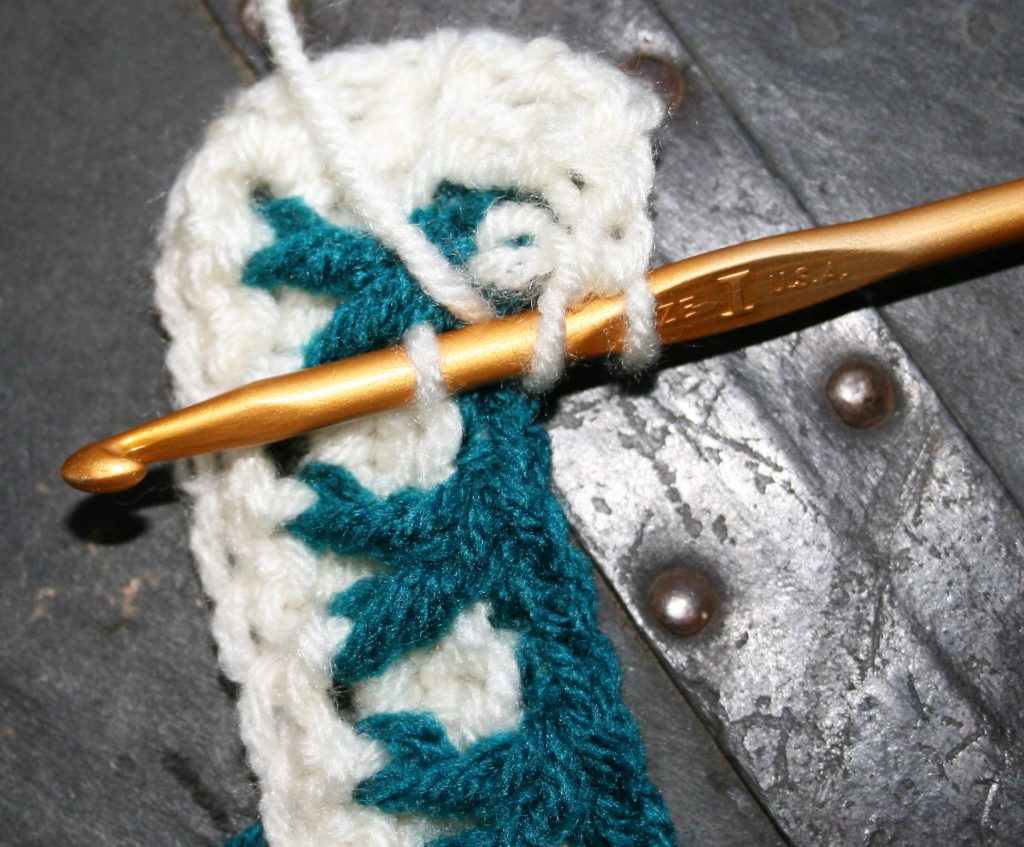
Row 5: Ch 1, working in the unused loops 2 rows below dc in next 2 sts, [hdc in next st, working in unused loops 2 rows below dc in next 2 sts] repeat 7 times, change to color B, turn.
Row 6: Ch 1, blsc in same st, fpdc around fpdc2tog 2 rows below, blsc in next 2 sts, [fpdc2tog around fpdc2tog 2 rows below, blsc in next 2 sts] 6 times, fpdc around fpdc2tog 2 rows below, sl st to last st, change to color A, turn.
Row 7: Ch 2, hdc in same fpdc, working in unused loops 2 rows below dc in next 2 sts, [hdc in next st, working in unused loops 2 rows below dc in next 2 sts] 6 times, hdc in next st, dc in unworked loop 2 rows below, change to color B, turn.
Row 8: Ch 1, blsc in next 2 sts, [fpdc2tog around fpdc2tog 2 rows below, blsc in next 2 sts] repeat 7 times, change to color A, turn.
Have you noticed the bit of pattern…all odd rows worked in color A and making a back ground…
Row 9: Ch 1, working in the unused loops 2 rows below dc in next 2 sts, [hdc in next st, working in unused loops 2 rows below dc in next 2 sts] repeat 7 times, change to color B, turn.
Rows 10-24: Rep Rows 6-9.
Edging
Rnd 1: Join with B to any corner, working around edges of block, sc evenly working 3 sc in each corner. Fasten off. Weave in ends