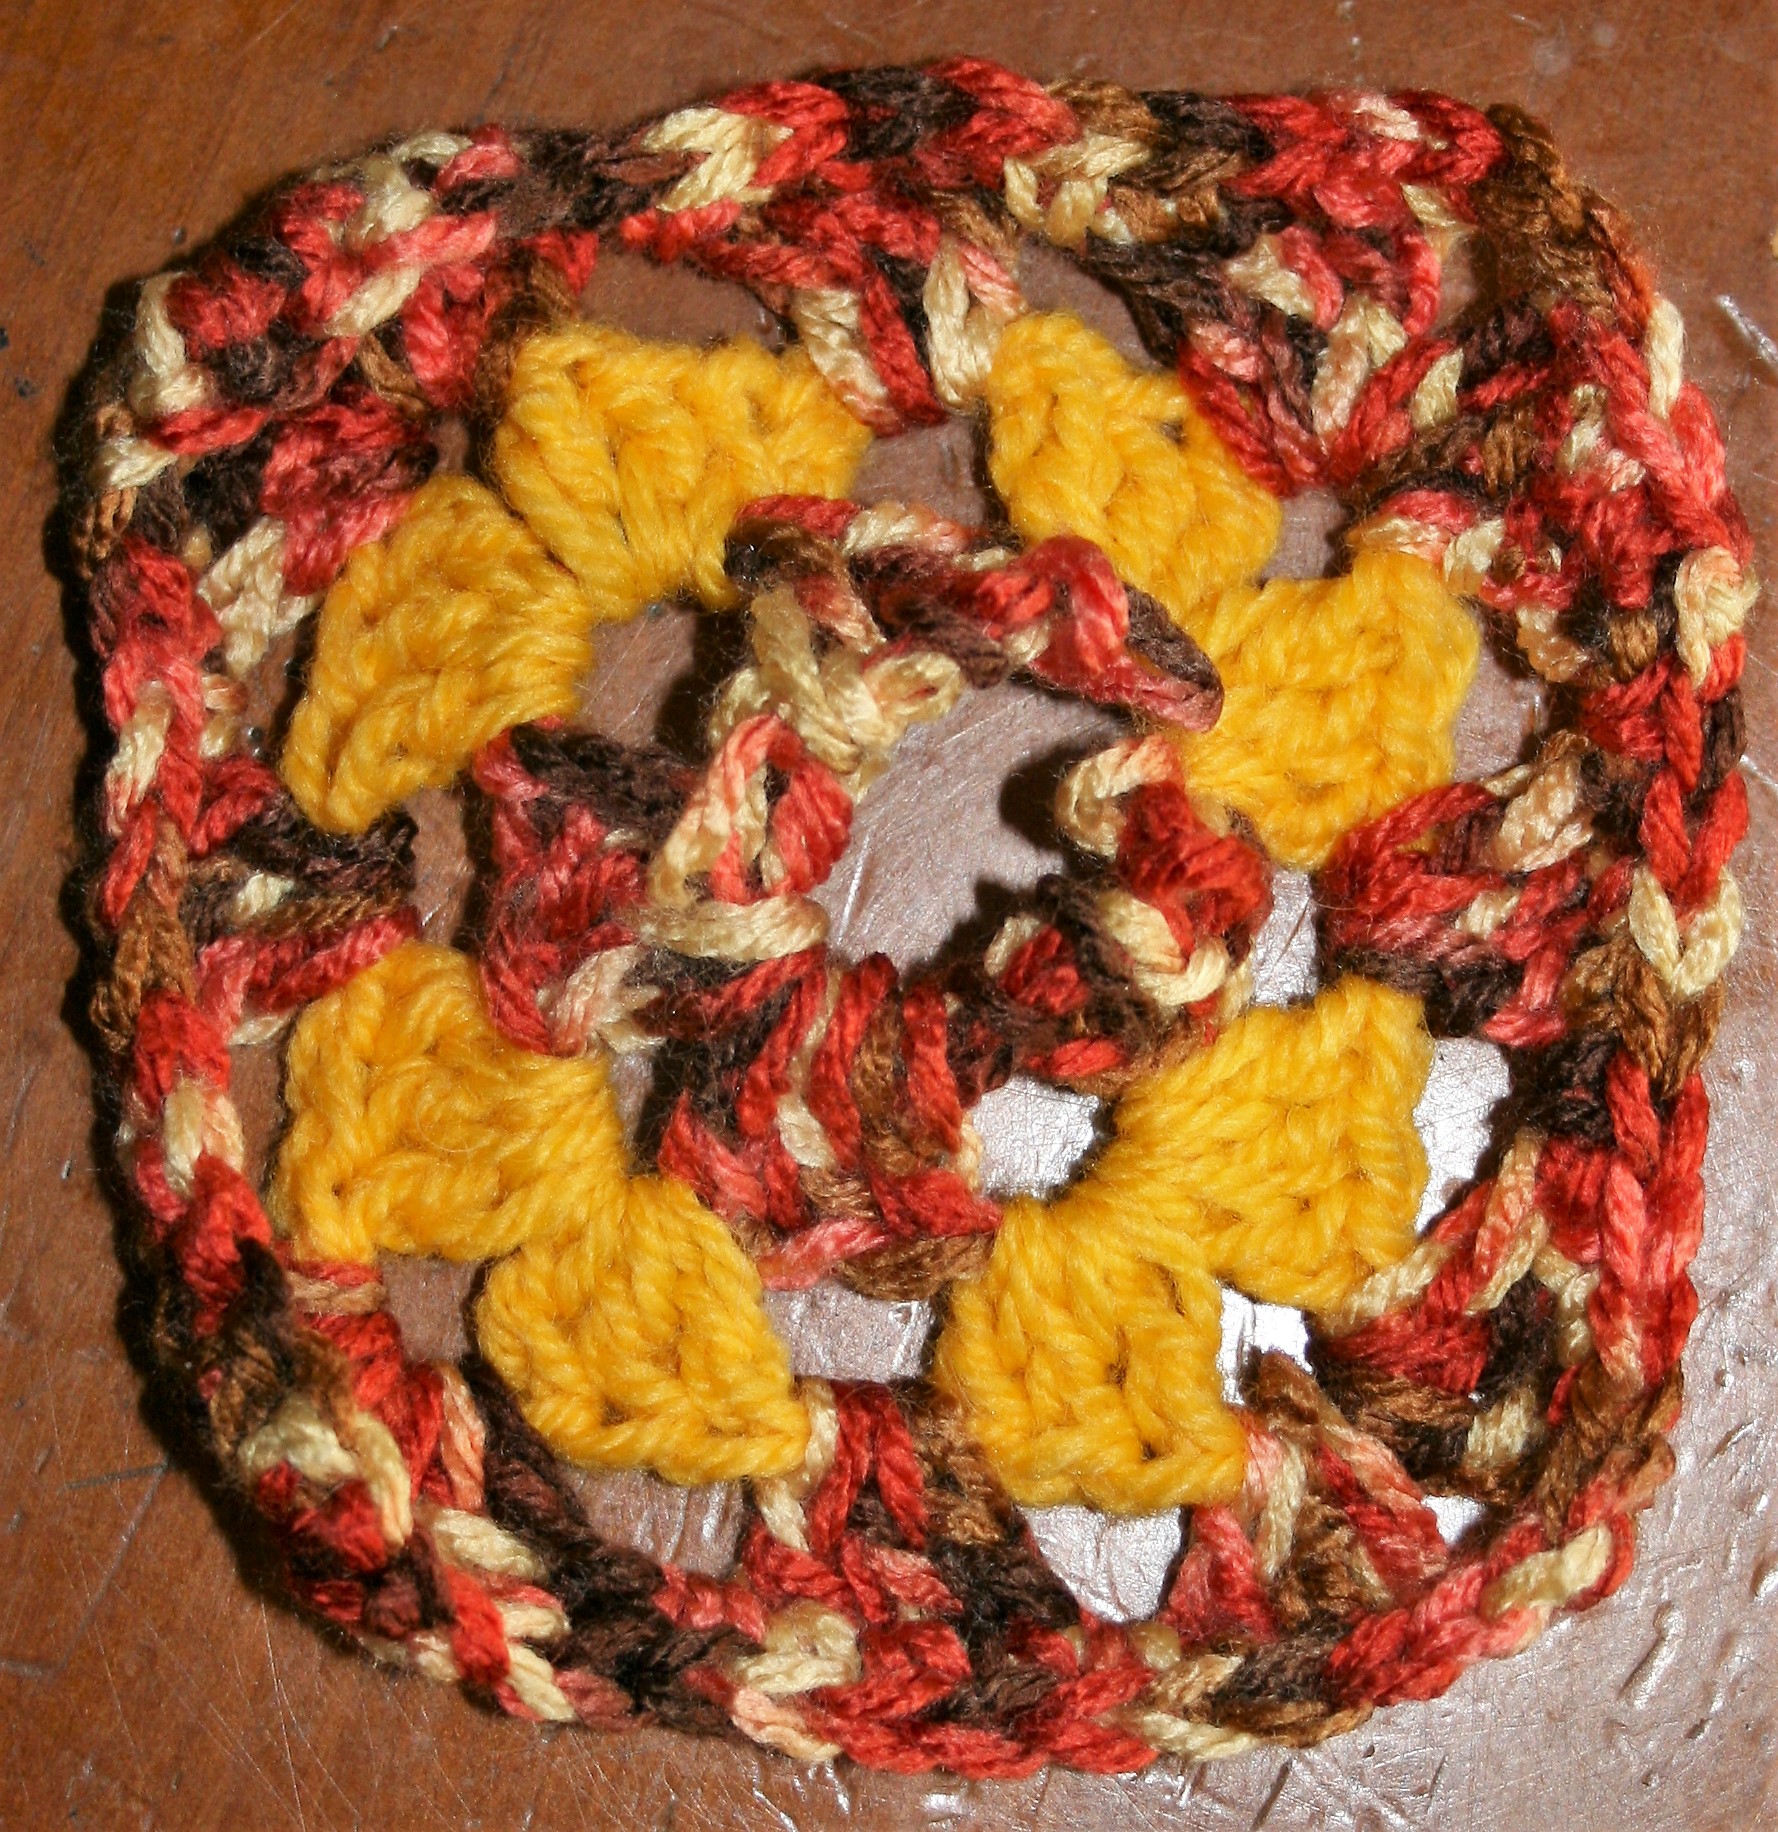
Repairing a crochet granny square can be an easy fix. Often the center of a granny square is the weakest point. There is a lot of stress with many stitches worked around a small piece of yarn.
To begin this repair, find yarn that matches the damaged area. I find this to be the most difficult part of doing a repair. Often you will not find the exact yarn that was originally used, so try to match these three criteria as close as possible:
- Color- hue and tone
- Yarn weight- super fine, fine, light, medium, etc.
- Fiber content – what is it made of, cotton, wool, synthetic
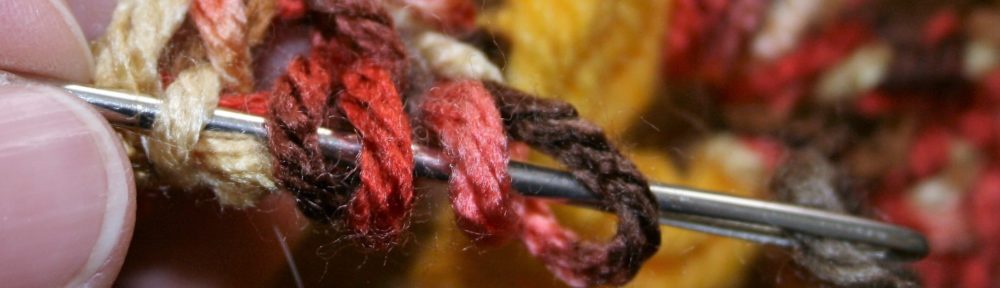
After finding a yarn, cut a sting about 12” (30cm), and thread a yarn needle.
Begin repairing a crochet granny square
The first step is to pick up all the “feet” of the stitches in the first round. These loops may have a bit of a twist, and that is fine, just ensure that the threaded yarn is worked through even loop at the base of the stitches.
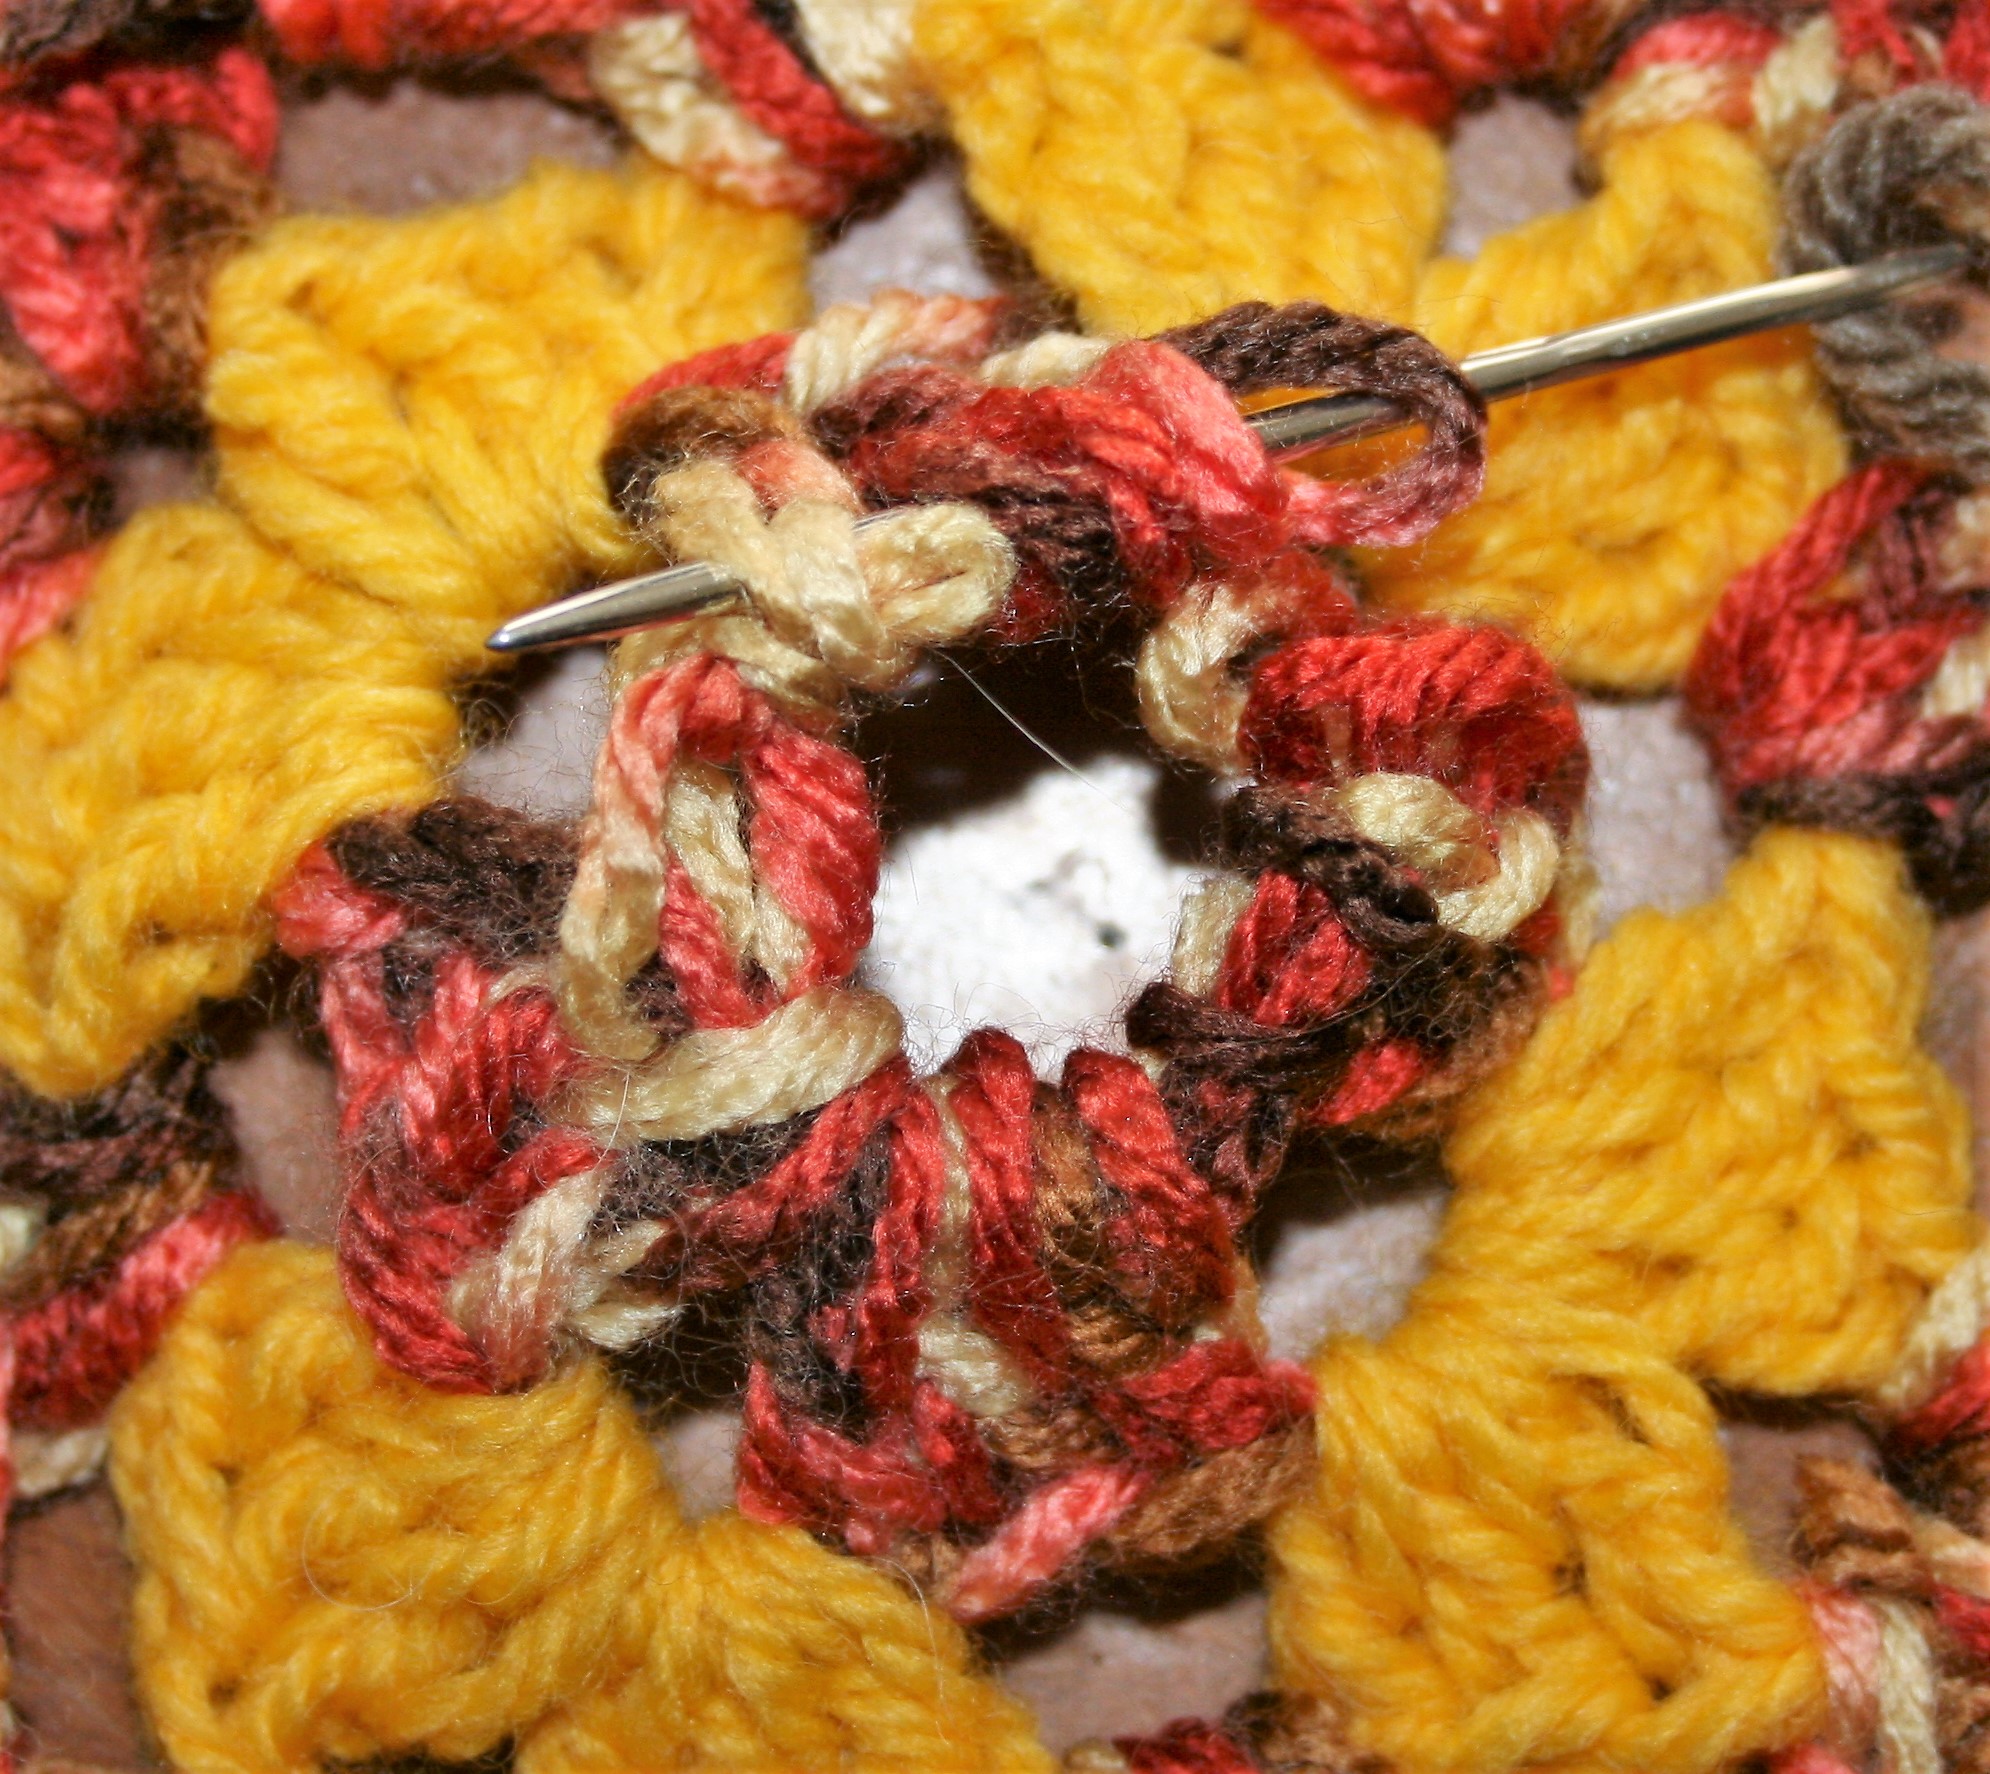
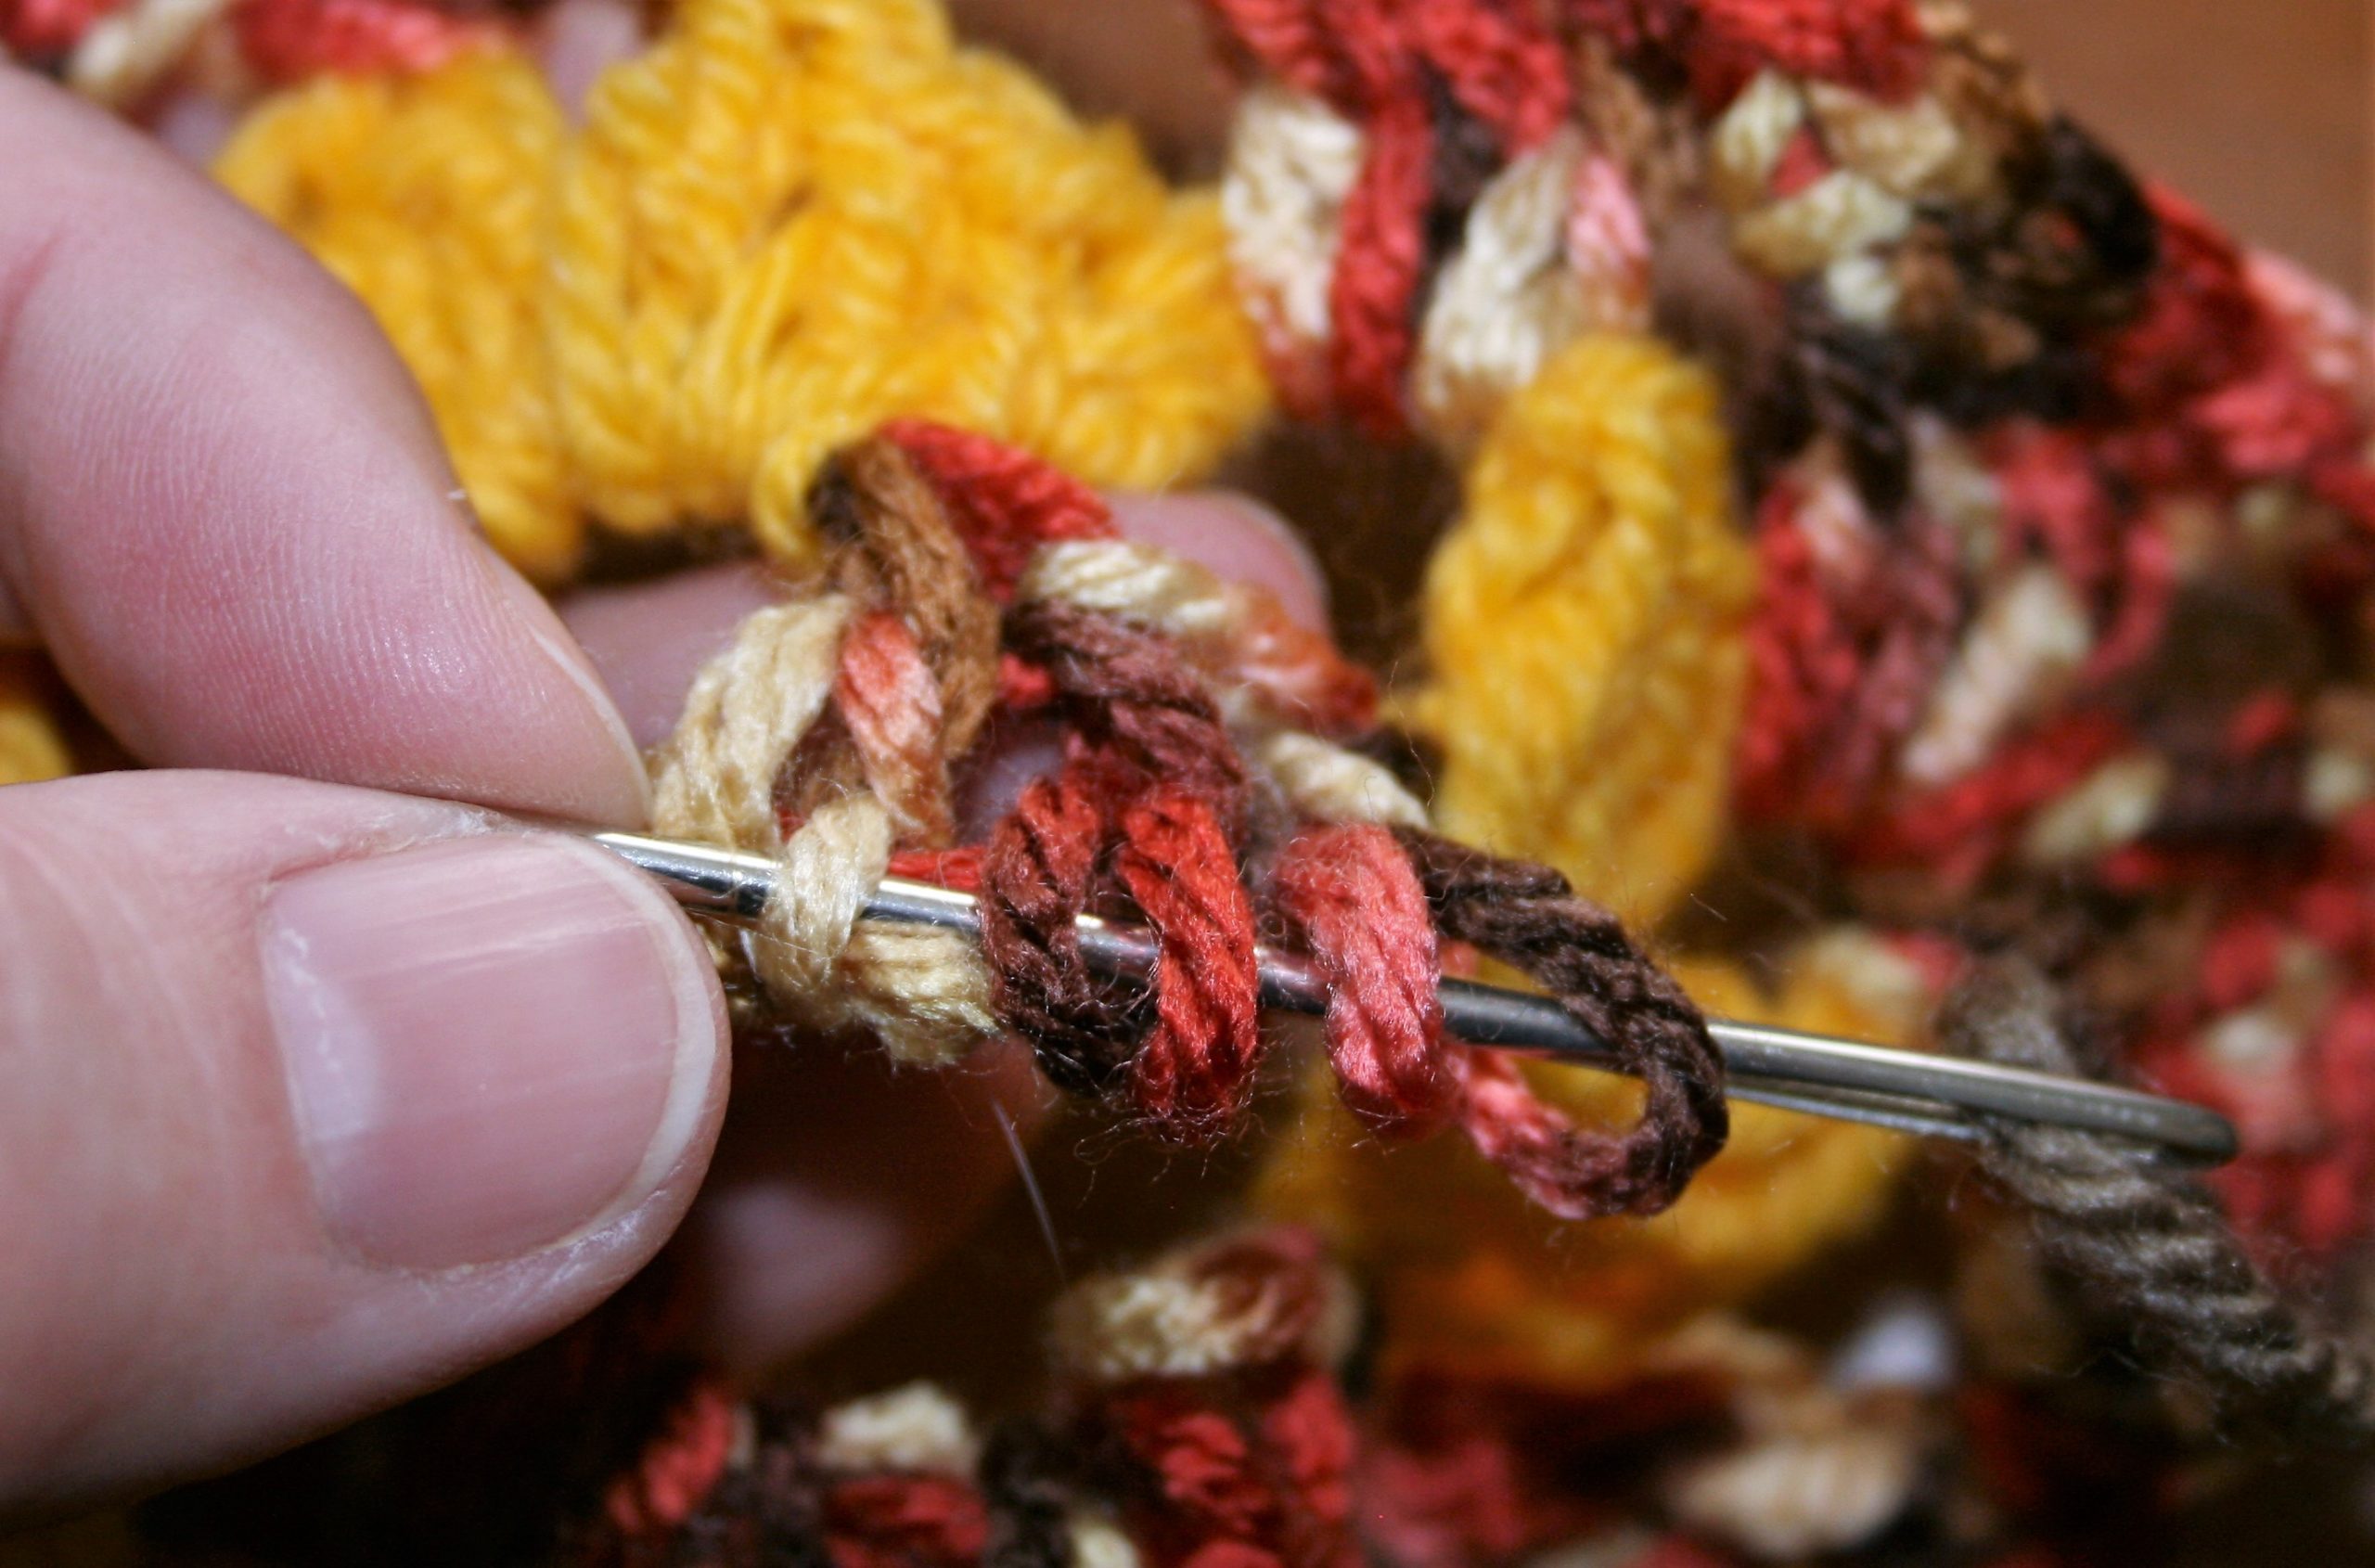
If stitches are missing in the round, use the threaded yarn to secure loops of remaining stitches to ensure that they do not unravel further. After creating a loop of yarn you can rework the stitches in these missing locations.
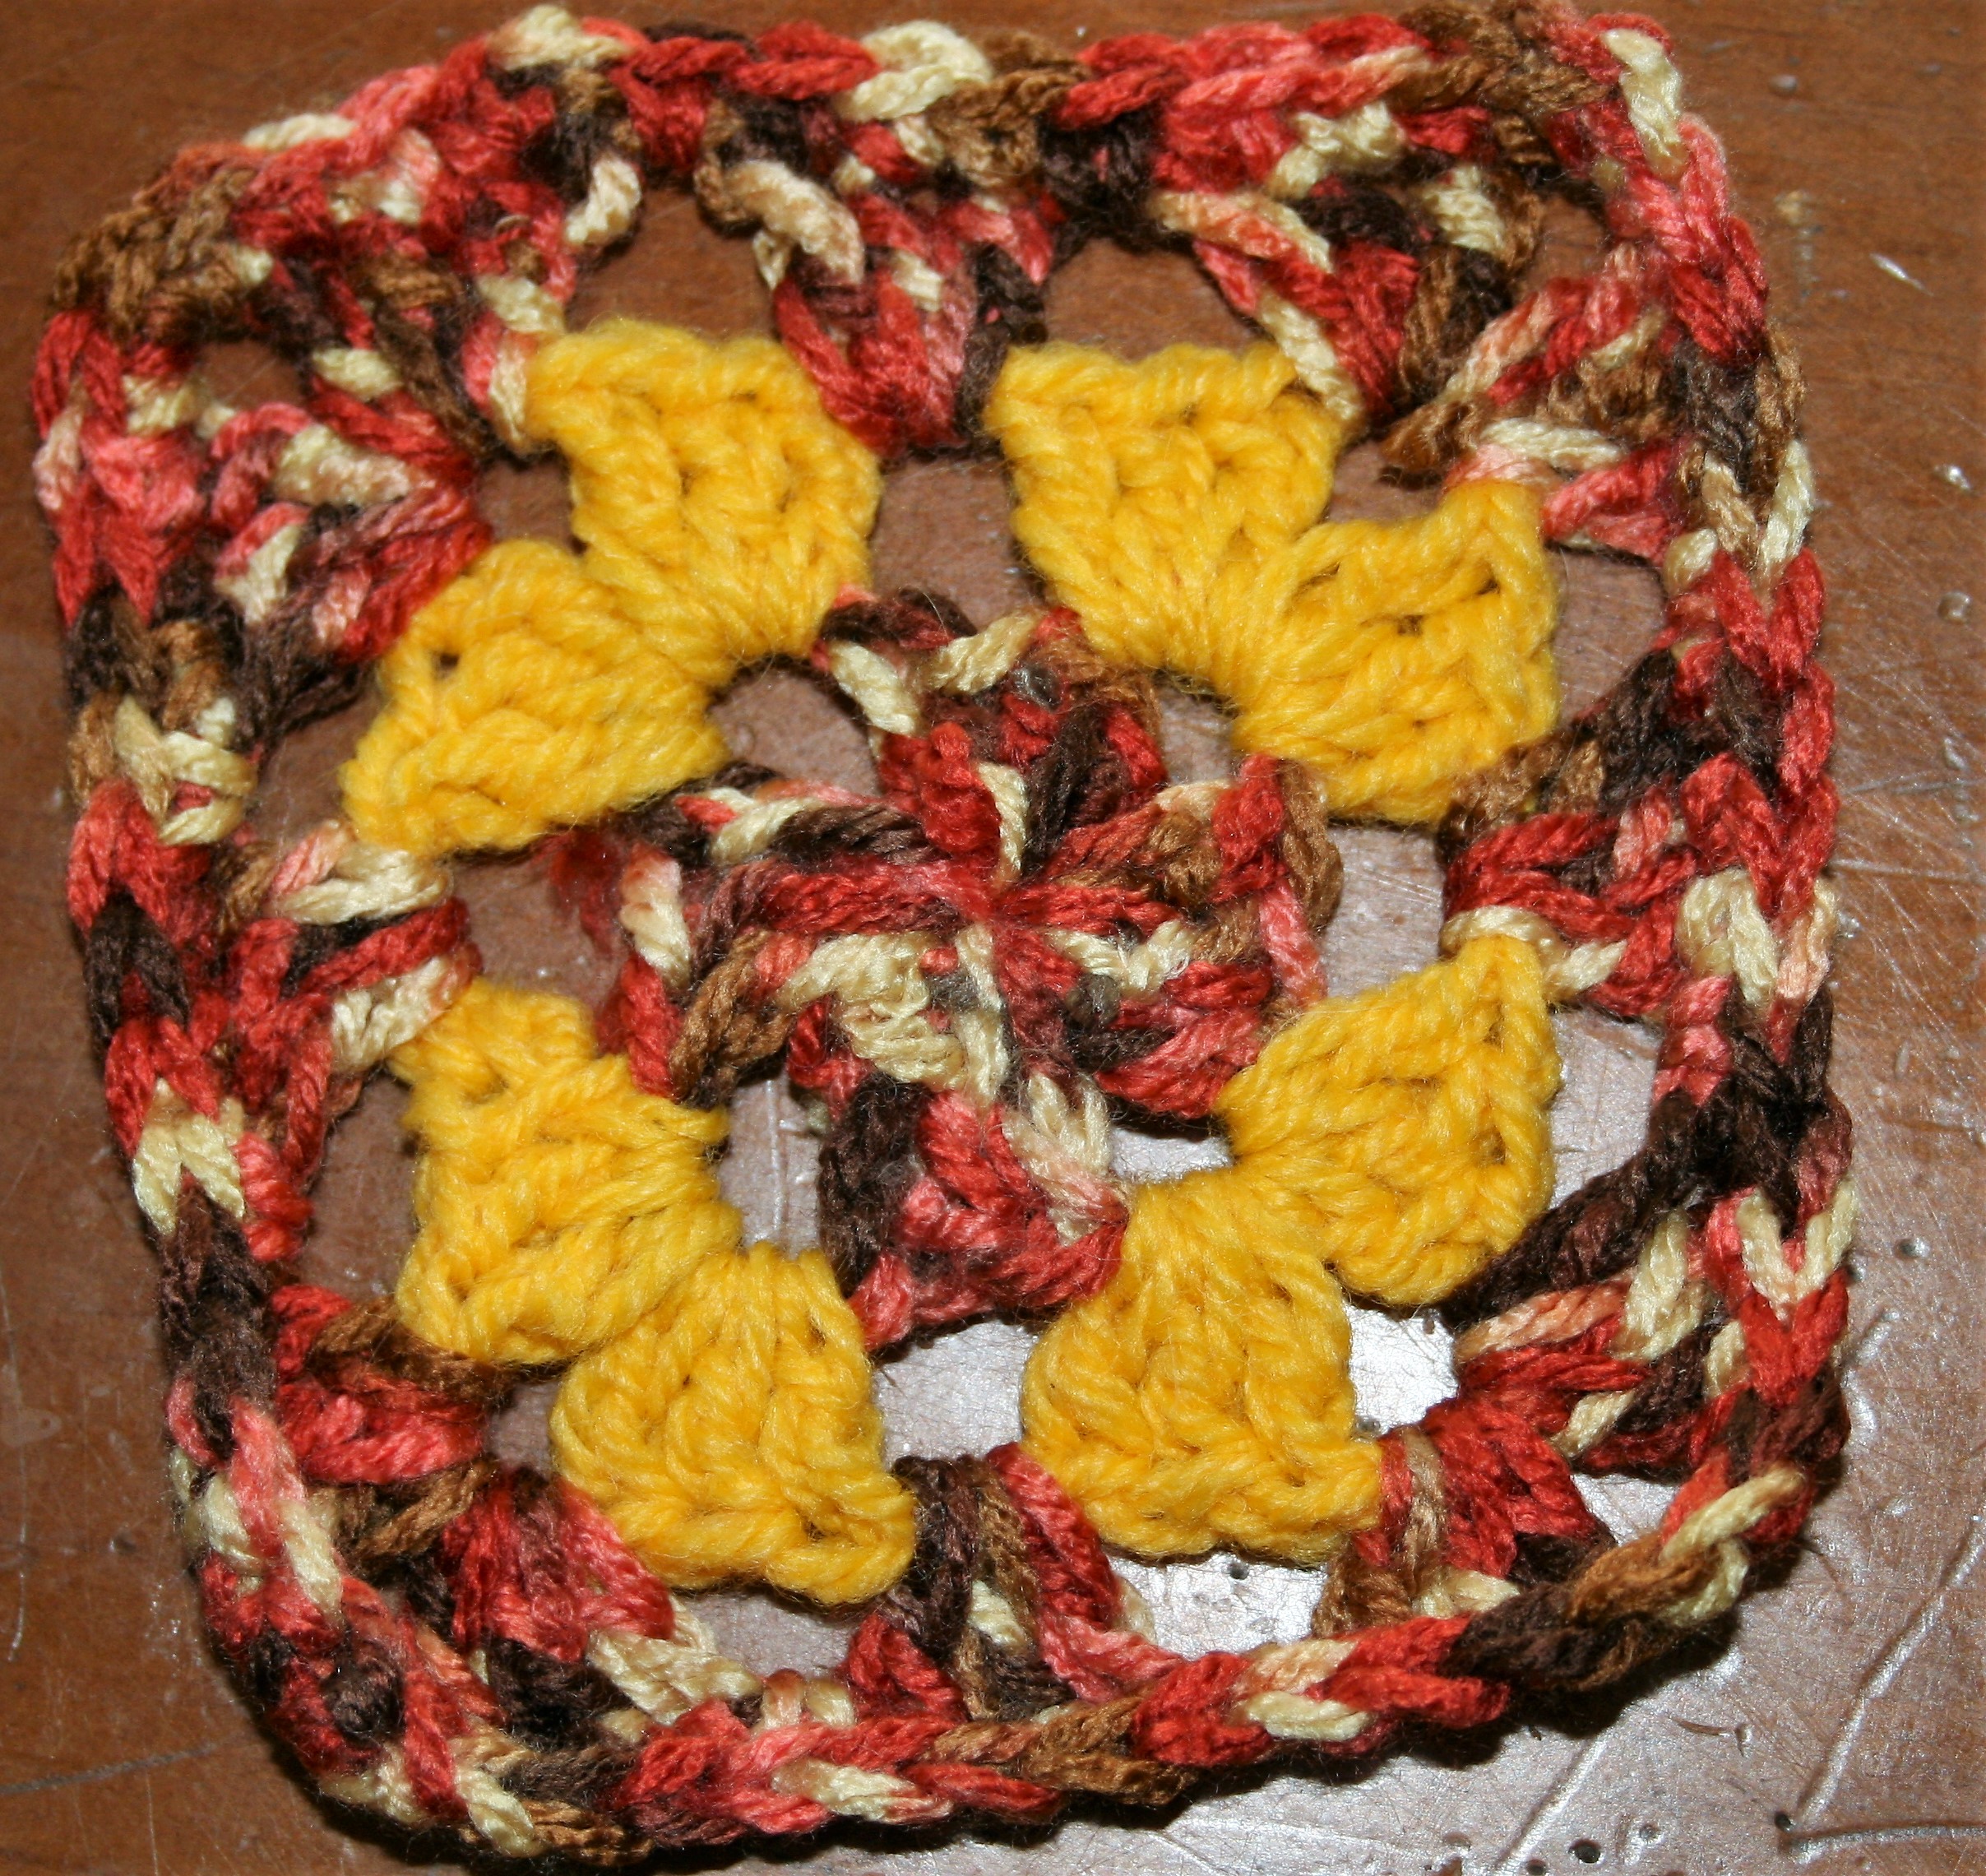
Pull the yarn tightly in the center, and weave the yarn through a second time. Tie the ends of the yarn together to create a knot, and then weave in the ends.
If you want to cut sections out of the granny square, or understand more about stitch structure to fix it, check out “Cutting Crochet“.