Gotta Love that Shawl- Free Pattern

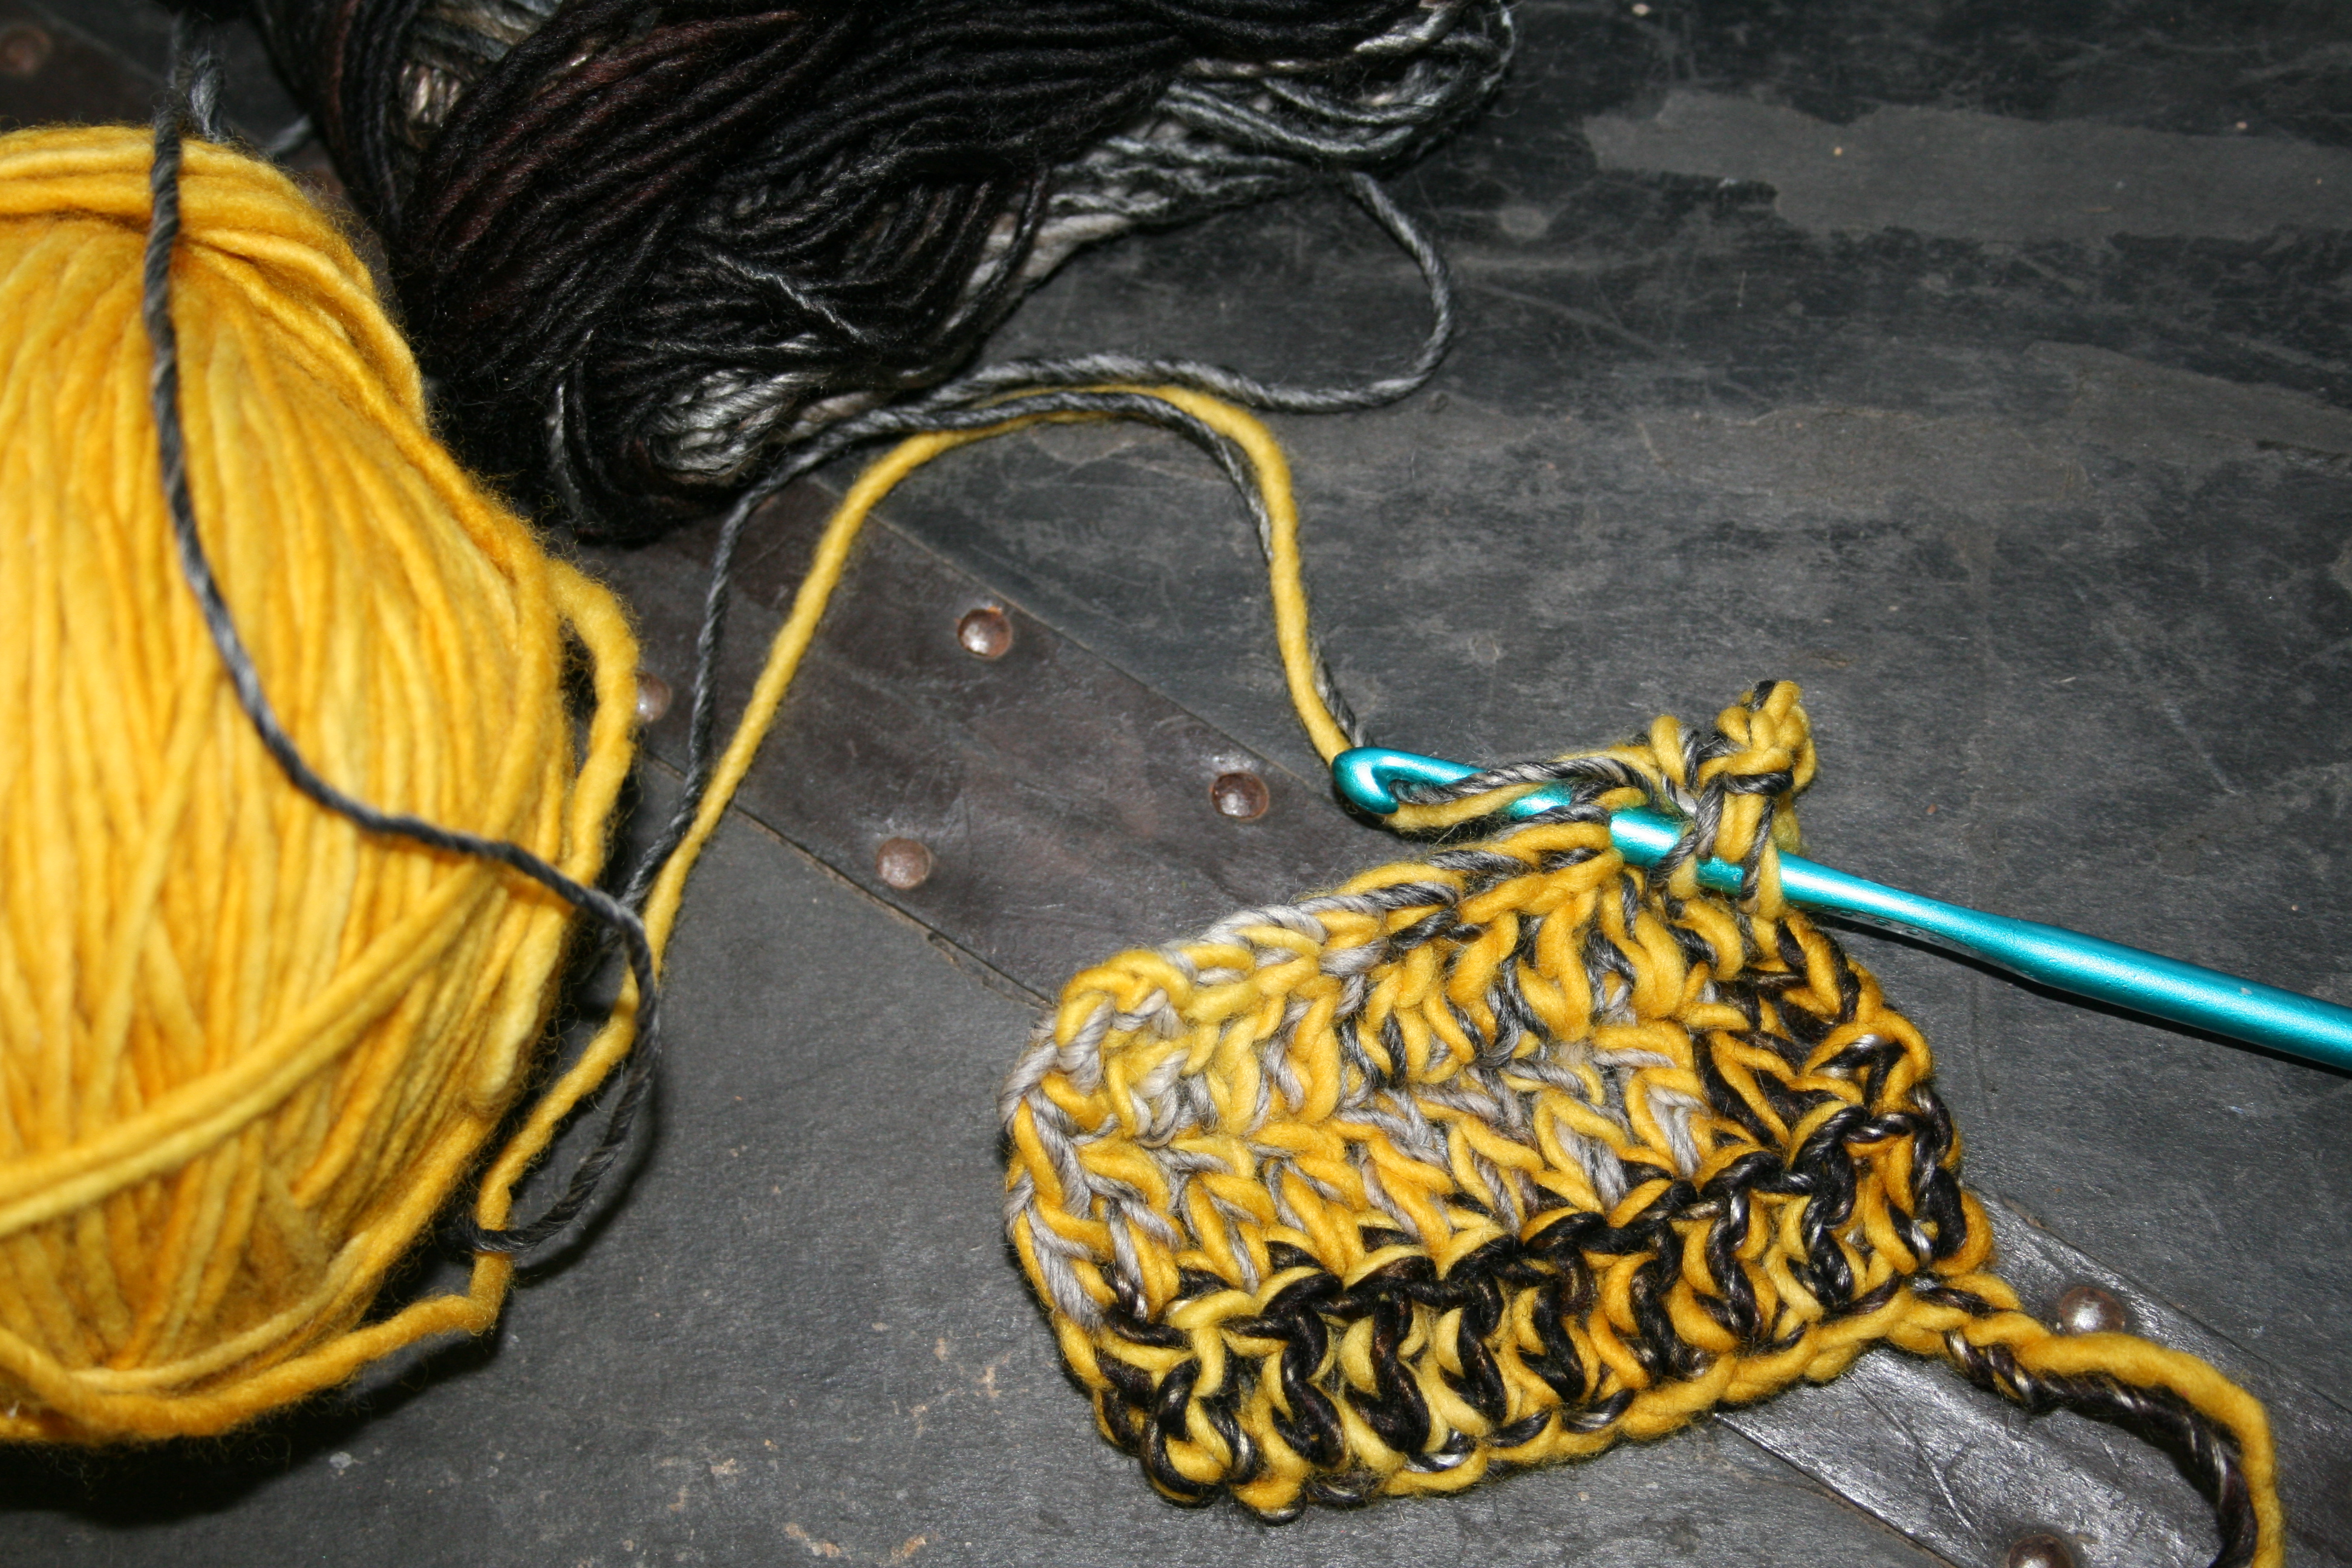
Since I have been playing around with some stitches, and attempting to finish some yarn in my stash, I have a free pattern to share. Gotta Love that Wrap is worked entirely of Love Knots! If you are not familiar with the stitch I have a tutorial here.

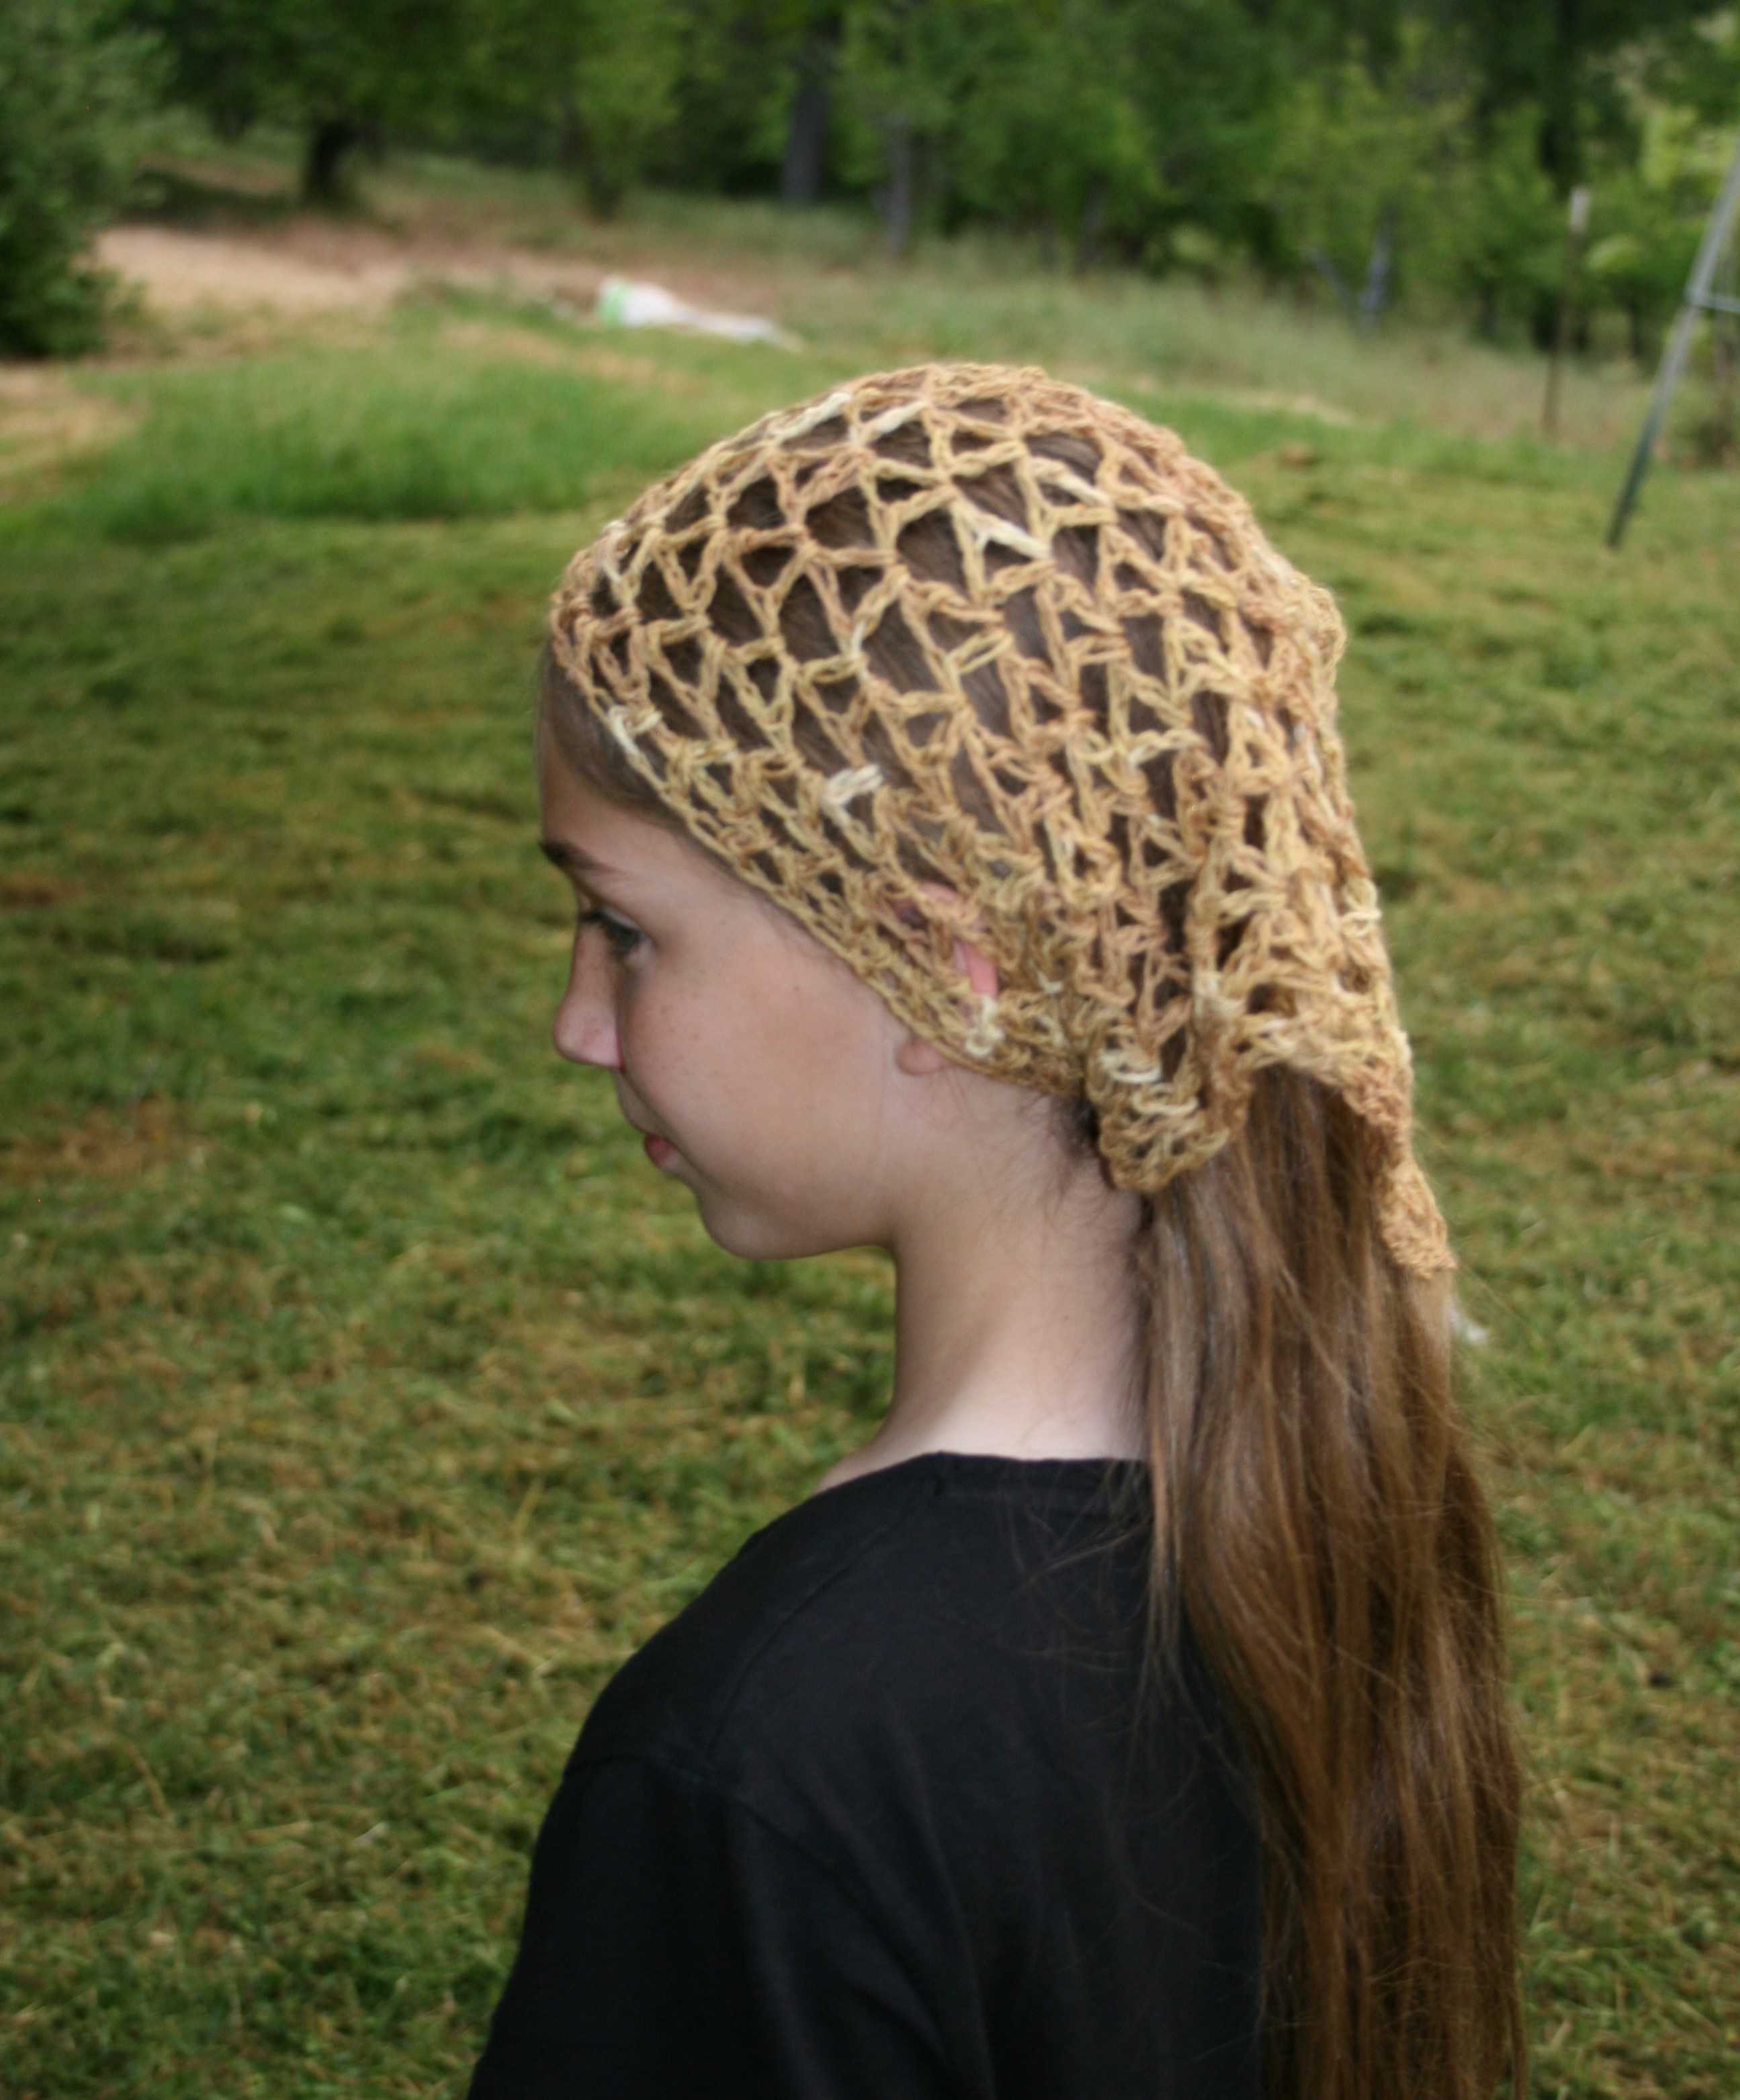
I love how you can use this pattern really with any yarn, although I prefer it with lighter weight yarns. The Wrap in phots here was actually worked up in Plymouth Yarns Linaza, which is 50% alpaca, 25% linen and 25% Tencel, so it really hold the shape of the knot.

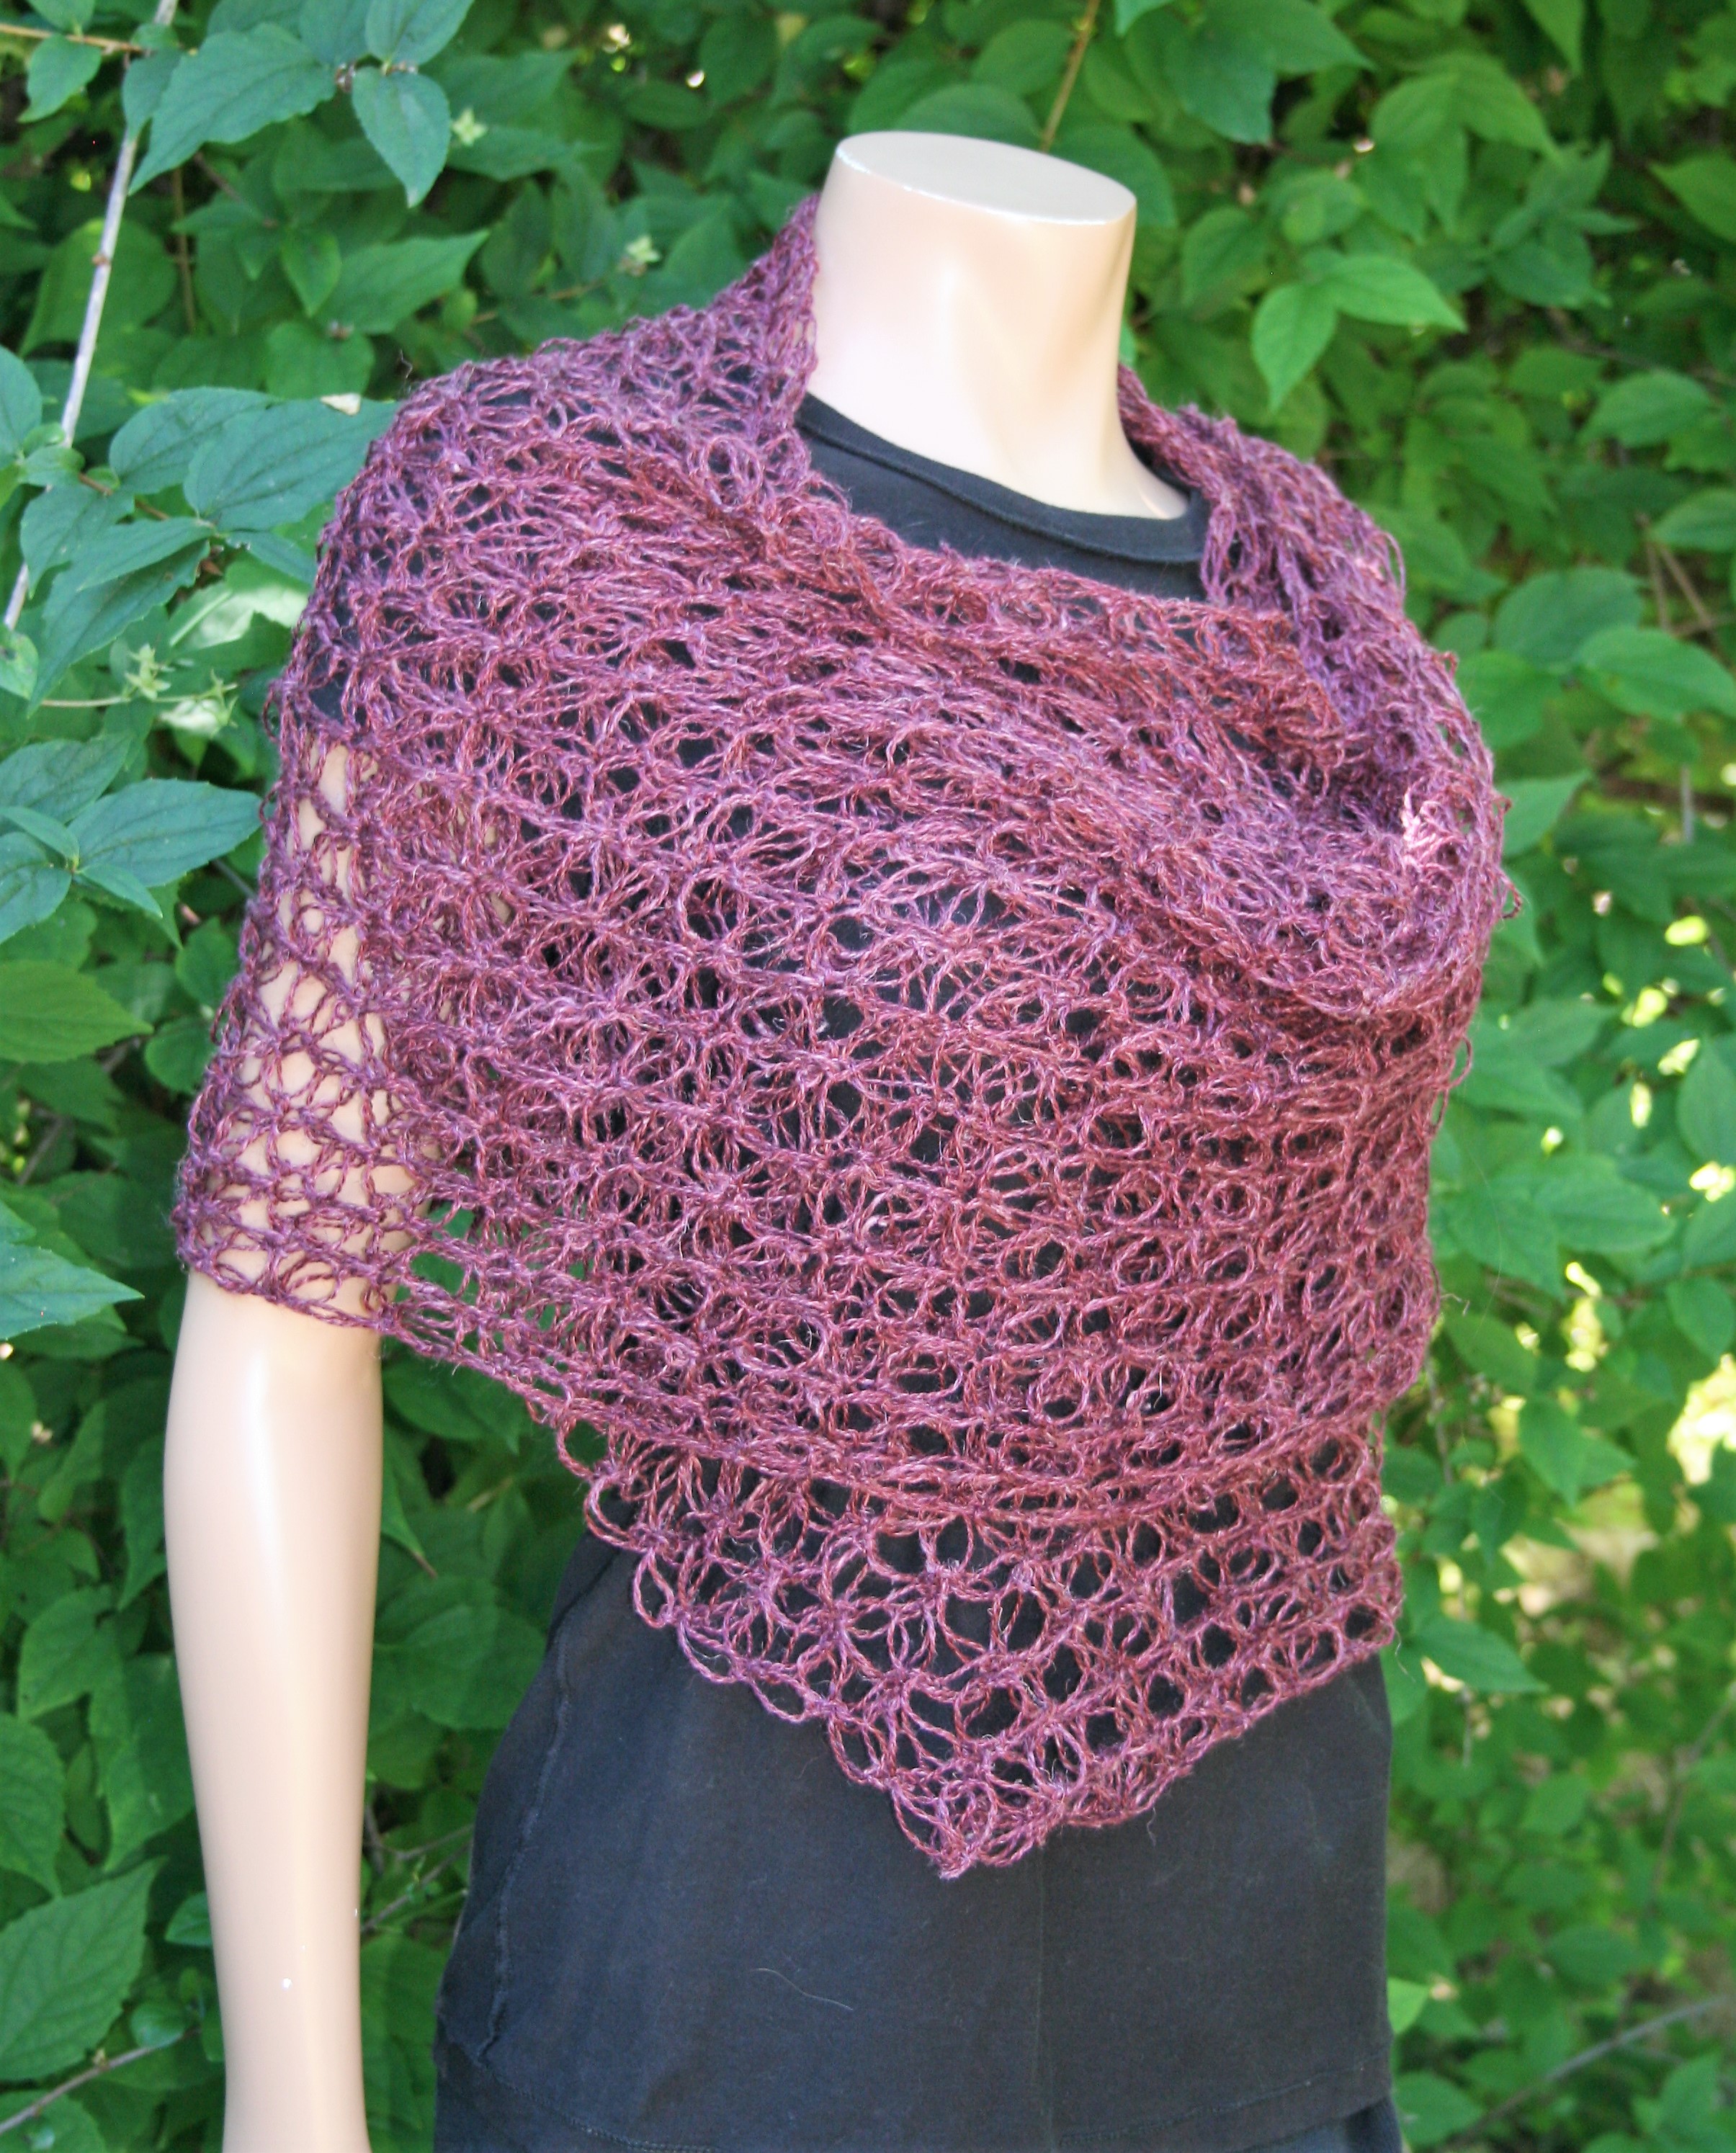
The benefit of this yarn is that it really allows the yarn to go along way, the yarn I used was 100g/440yards, and as you can see it made for a wide and long wrap. So feel free to pull something out of your stash and give it a try, or purchase that one skein in a color you
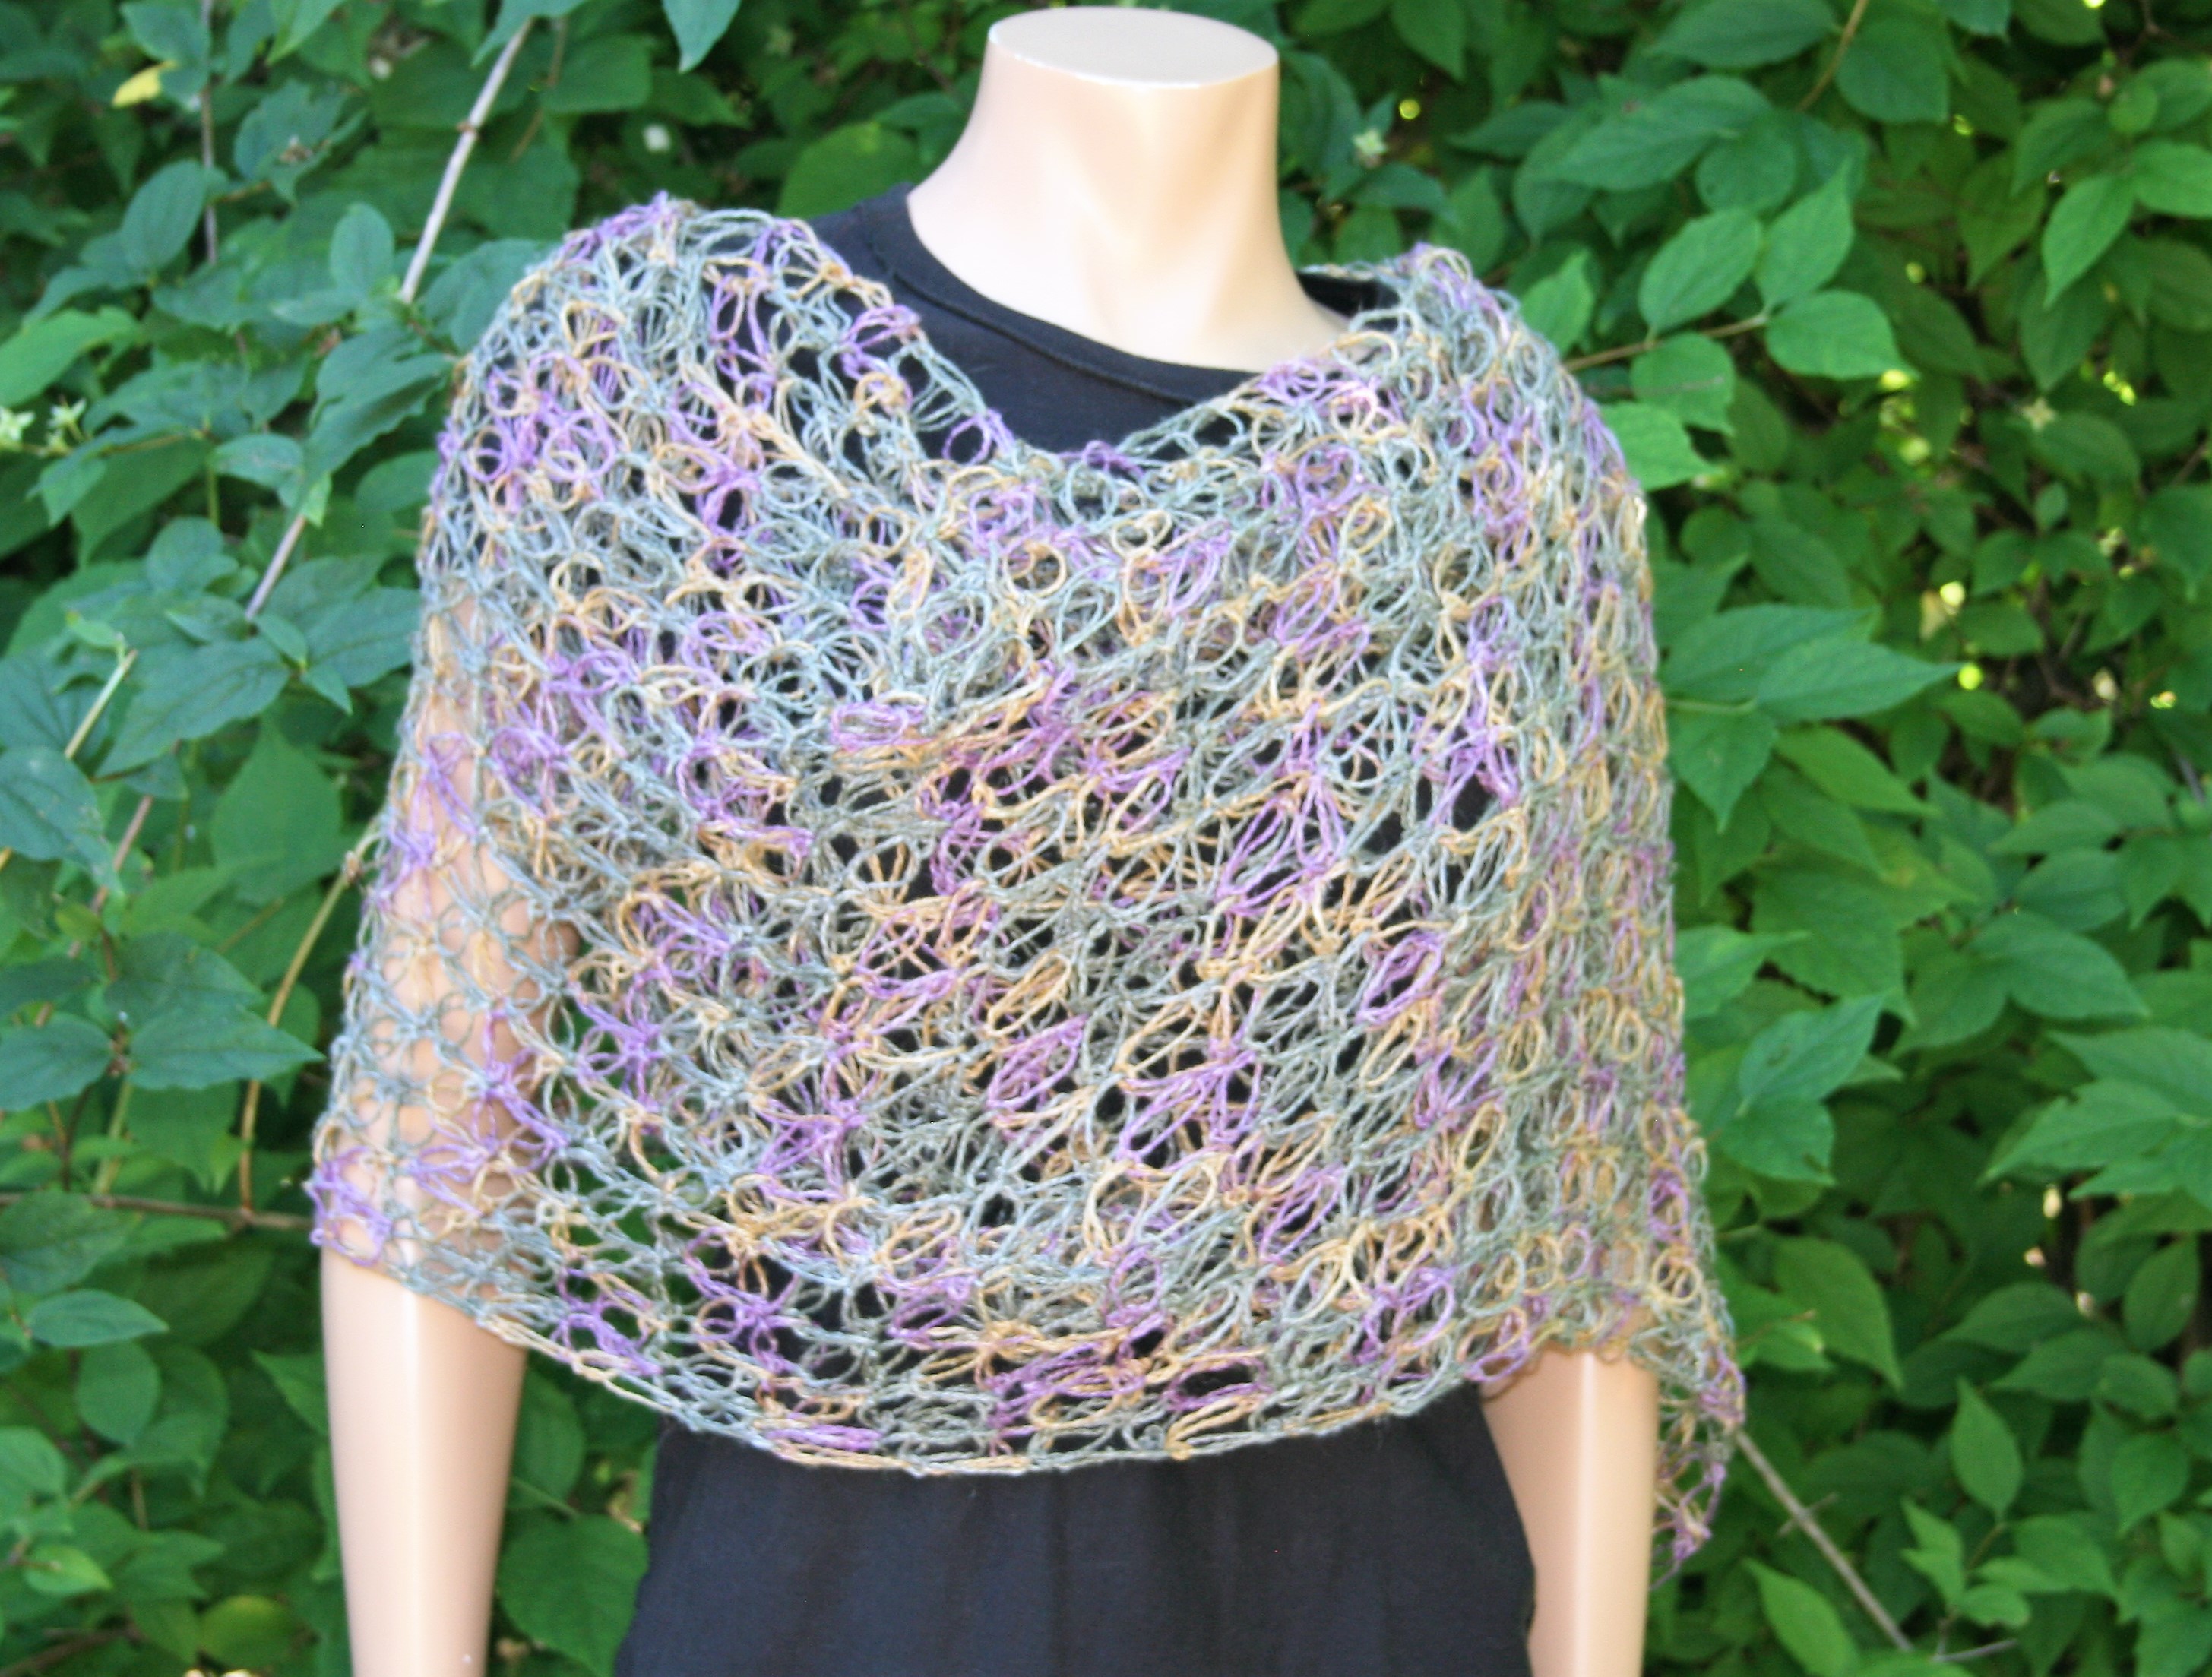
 love.

This design is actually only a 2 row repeat, so it is pretty simple and relaxing to work. I would recommend that you place a stitch marker somewhere along row 1, to note it as the bottom edge. As the fabric is worked along and becomes squarer, it can be difficult to discern which way the rows are being worked.

The pattern is essentially creating the points of triangles in each even row, the closing it off to a straight edge every odd row, and when the pattern states to slip stitch in the knot, the knot is recognized as the most closed point of the stitch (where is was finished).

Gotta Love that Shawl

Materials:

  • One skein of any yarn, light weight preferred. The longer the yardage the longer the wrap
  • Hook size compatible for yarn weight

Gauge: Gauge is not critical for this project.
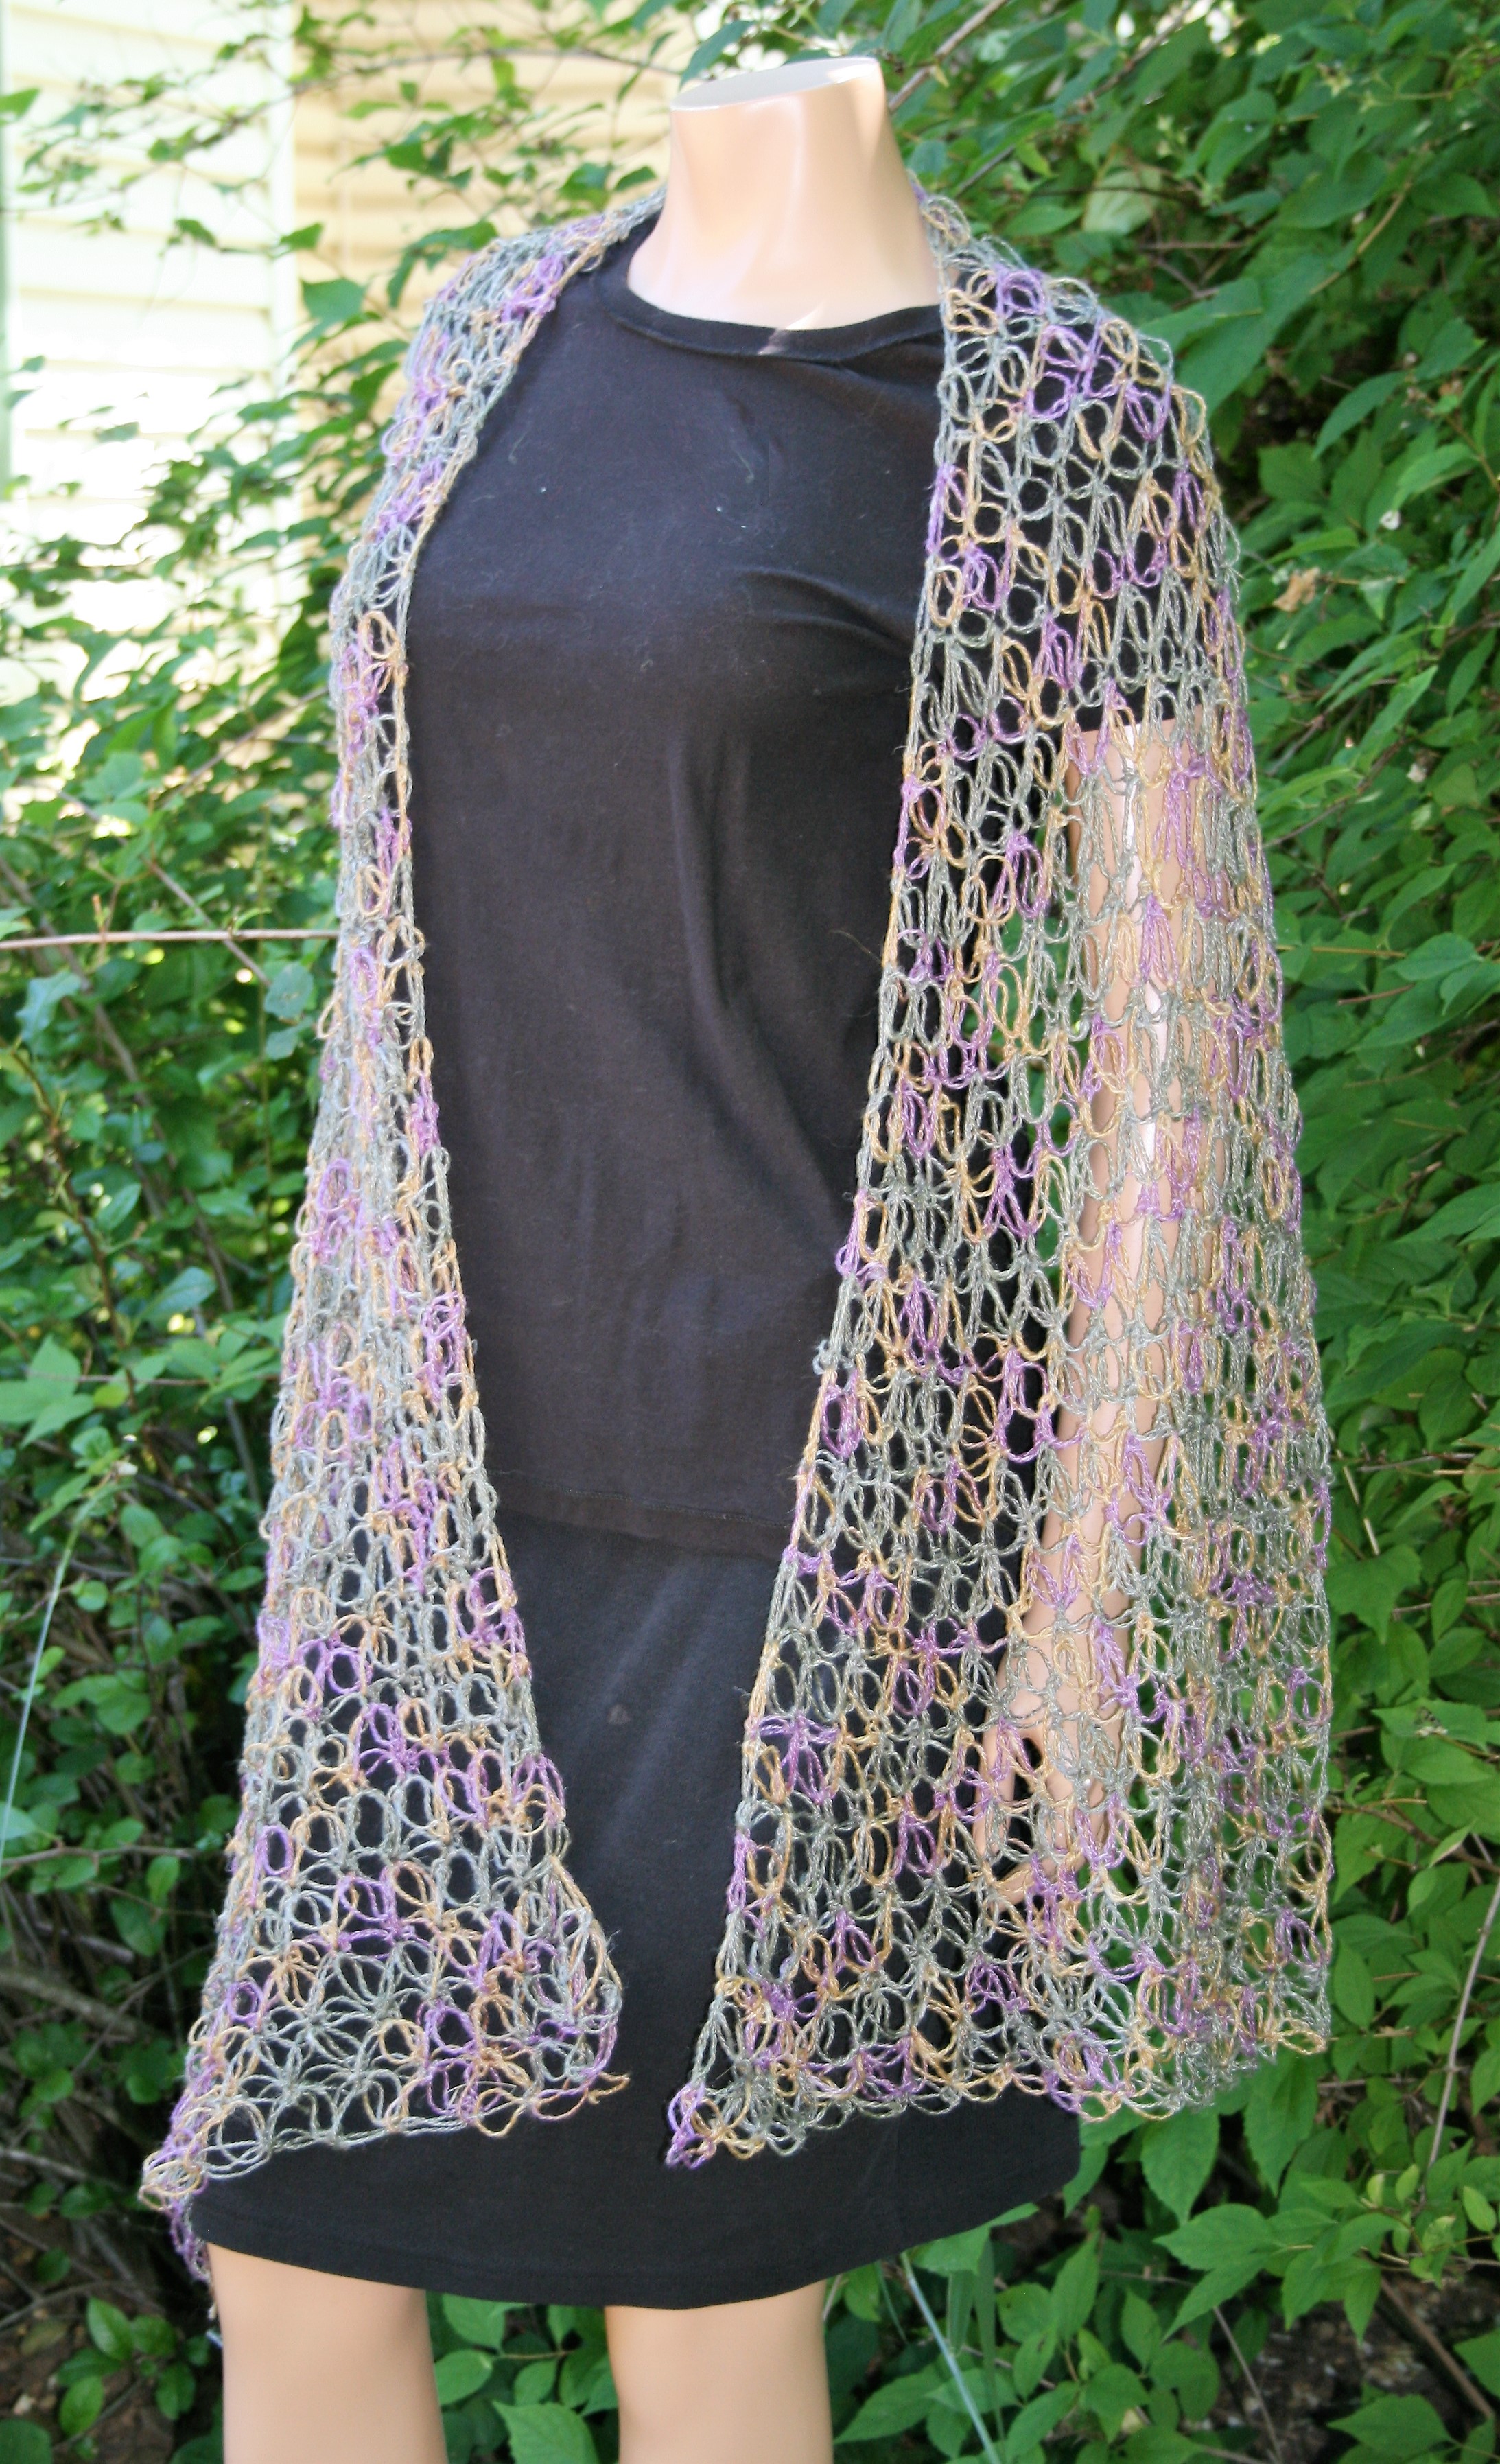
Special Stitches

Love Knot: See here

Abbreviations:

Rep=repeat

Sl st= slip stitch

Row 1: 18 Love knots, turn.

Row 2: Skip first knot, sl st in 2nd knot, [2 love knots, sl st in next knot] rep 15 times, turn.

Row 3: 2 love knots, sl st in next knot, [1 love knot, sl st in next knot] rep 15 times, turn.

Row 4: 2 love knots, sl st in next knot, [2 love knots, sl st in next knot} rep 15 times, turn.

Rep Rows 3 & 4 until desired length.

Last Row: Rep Row 3, fasten off. Weave in ends, block as desired.

Life’s Journey- A Crochet Job

As I attend several graduations I ponder my days of completing high school and where I thought my life would go, and if someone told me that I would be designing and teaching crochet I seriously would have laughed at them. I even remember telling a friend my senior year of high school, after he was in awe of an afghan I had created that I should make and sell them for a living, that there was no money in such an endeavor.

Granted all these years later, I will not say that the money in crochet is great, but it is now my profession, even if it took an odd journey to get there.

Like most students graduating high school, or even college, I was never able to answer the question “where do you see yourself in five years?”. A great question, but one that always felt like I could not adequately answer.

I worked the food industry, I worked retail, I worked for startup companies and local government before finding myself currently in crochet. In reality I would probably still be working local government if there was not a change in the direction of the management that no longer wanted to employ part time workers. I had been working part time for a few years juggling the typical family demands of running a household and raising kids, and the costs that I would incur in the additional child care did not justify working full time.

When these management decision were made, I was fortunate to have already had an opportunity to sell my first crochet design. It began just a couple of years earlier, when I was attending an event with a silent auction and I won lessons on using a drop spindle.

I had already been crocheting for decades, but due to the speed of completing my projects I was wanting to find a way to enjoy the process longer, so learning how to make yarn on a drop spindle was an exciting adventure. During the lessons my instructor was telling me all about her local guild, and invited me to attend a meeting.

I admit I was a bit apprehensive, but after finally taking her up on her invitation, I met so many interesting people that fostered a new desire to learn and grow in all crafts related to fiber.

I then learned of the Crochet Guild of America, and that it had a Masters program. I decided to test my skills in this program, of which I graduated. I was then invited to attend the annual conference of this organization, with the encouragement of my family I attended. I met so many people and gained so much insight. With a determined new friend’s guidance I sold my first design, it was published the same week I left my job in government.

You never really know when life can completely change, you never know when a skill you used as a child will now become your income source. I do not know “where I will be in five years”, but I will continue to support the twists on turns of life’s journey.

Free Hair Scarf Pattern- Perfect for Spring!

Spring weather has really descended upon my home, and with it the need for fun and whimsical attire and free patterns. In addition to wanting to spice up my wardrobe, I have a bit of the spring cleaning bug. In undertaking my cleaning projects I find myself being distracted by small piles of yarn, left over partials of skeins.

In order to kill two birds with one stone, I have some up with a simple project to help my daughter up her hair back, and have a retro vibe, a hair scarf.

The hair scarf is worked from the back point and worked with increases on both sides until it is the desired length.

The airy stitch offers a lot of potential that can easily change the drape by changing fiber types. My sample is made up of a blend of Suri Alpaca, Wool, and Nylon, but changing to a cotton blend or a silk and the drape will be even greater.

If you have a bit of partial skeins around, and want to create a change for spring, check out my free pattern below.

Retro Hair Scarf

Materials:

  • About 100 yards of light weight yarn
  • Size I/9/5.5mm size hook

Gauge is not import for this project

Special Stitches

Beginning V Stitch (Beg V st): Ch 4, dc in same stitch

V Stitch (V st): (dc, ch 1, dc) in same space

Abbreviations:

Bet = between

Ch = chain

Dc = double crochet

Rep = repeat

Sk = skip

Sp(s) = space(s)

Row 1: Ch 5, dc in first ch, turn.

Row 2: Beg V st, sk 1 ch, V st in next ch, turn.

Row 3: Beg V st, V st bet Beg V and V st, sk 1 ch, V st in next ch, turn.

Row 4: Beg V st, V st bet each V st across, sk 1 ch, V st in next ch, turn.

Row 5-23: Rep Row 4. Fasten off. Weave in ends, block.


2 Books Not to Overlook!

I really do not know where the last 12 months have gone!

Last year a few friends had new books hit the shelves, and there are some that it has taken me a while to getting around to reading, not because I wasn’t eager to dive into the pages, but simply because my time demands took me in other directions. So, it was really been nice to be able to finally get through 2 of them recently.

First, my son has made comments about how the world seems to be returning to hieroglyphics with the proliferation of emojis, then my friend Charles Voth came out with his first book…Emoji Crochet! This book is full of fun patterns, from home décor to wearables. You can make a throw or a pillow then move on to a hat or sweater. The really great thing in this book, in my opinion, is how many different techniques are used. You can learn so many different crochet techniques that I would recommend this book if not simply for that reason. Charles uses tapestry crochet techniques, applique techniques, color work, charting and written instructions to delve into putting faces on your work.

Charles also ensured that there is great detailed instructions of these techniques accompanied with illustrations. This is probably due to his profession as a technical editor, meaning he has a hand in many crochet patterns that are published by ensuring that the math works and the pattern written creates the item in the photo. In addition to being a technical editor he is also a college professor, so he understands how people learn, and this book definitely has this in mind.

It is hard to pick which project I like the most in this book, but I think the Not Too Blue for You Mittens top my list of first projects to complete. If you get the opportunity, check this book out, you will not be disappointed! (Check out other designs by Charles here and his classes here)

Another book I have been checking out is Bath Knits by my friend Mary Beth Temple. Now I will not even pretend that I am a knitter, I dabble, and know just enough to get myself in trouble, so this book has been perfect to help me practice the basics. There are plenty of ideas for pampering yourself in the bath, but in my beginner state I will focus on the great array of wash clothes. Like many of Mary Beth’s book this one is straight forward and lets you dive right into the projects while subtly learning a few new approaches.

Mary Beth has been an accomplished designer in both knit and crochet for a decade, and might be best known for her long running podcast Getting Loopy! Both her book and podcast are worth checking out.

Now that I have been able to at least read through these 2 books, now it is time to get my hooks and needles flying and work some of these projects! (Find more of Mary Beth’s designs here)


Two at A Time- Double Up that Yarn

Thinking back I can remember it intimidating me the first time I tried it, but now it seems like nothing out of the ordinary. Using two strands of yarn, or more, at the same time now gives me no second thoughts.

This practice of crocheting with more than one strand of yarn yields some really nice results. I may not use it all that often, but I like the look it creates an almost speckled effect. In some cases it helps two bold colors blend together.

The best tip I can share is to simply treat the two (or multiple) strands as one. Hold them together as one, not worrying about if the colors twist together in your hand. This twist will lend to the effect. When you yarn over and pull your hook, use all the strands, really just treat them as one. After a short time it is easy to get into this rhythm, so don’t be afraid to treat it as such.

It does have some tendencies that can be a bit annoying, for instance keeping equal tension on two yarns can be challenging. This becomes a bit more obvious when I begin one yarn from a new center pull skein, and the other has been worked from a bit already. The new skein is tighter to pull from and this makes it a little awkward to ensure that I keep both strands under an equal tension. I personally correct this by pulling more yarn out of the new skein to more equally match the pull of the second skein.

If I am using two yarns that are wound into balls the challenge becomes keeping them from rolling all over the place and becoming tangled together. There are a couple of tips to deal with this annoyance, I use two different yarn bowls that “trap” the balls and prevents them from “free rolling”.

Another thing to keep in mind about using more than one strand of yarn is that the weight changes. It is not like adding the two weights together will double the weight or anything. By using two medium weight (number 4 weight) yarns does not create a super bulky or a number 8 weight yarn, but it does make a heavier weight, but more like a Bulky (number 6 weight) yarn. As a result you need to use a larger hook. Check out a Beyond Basics Hat, using two strands of baby yarn to create a fun hat here.

By ensuring that you have a proper size hook to accommodate both yarns you also ensure that the fabric has the drape you desire. Just as any project if you want a dense fabric use a smaller hook, if you want a more fluid fabric use a larger hook.

However I usually use yarns of differing weight together, I might accent a medium weight yarn with a light or even lace weight yarn. I might use a completely different fiber, might match a wool with a silk, an acrylic with a mohair, a cotton with an alpaca. The yarns provide a different texture, a different sheen, often a different color, but they always provide something amazing to look at.