 I just completed the Craftvent CAL from Jimmy Beans Wool (if you missed it, but want to work up the pattern, find details here). When I was done, I had several little yarn ball left overs, so I had to find something to do with them.
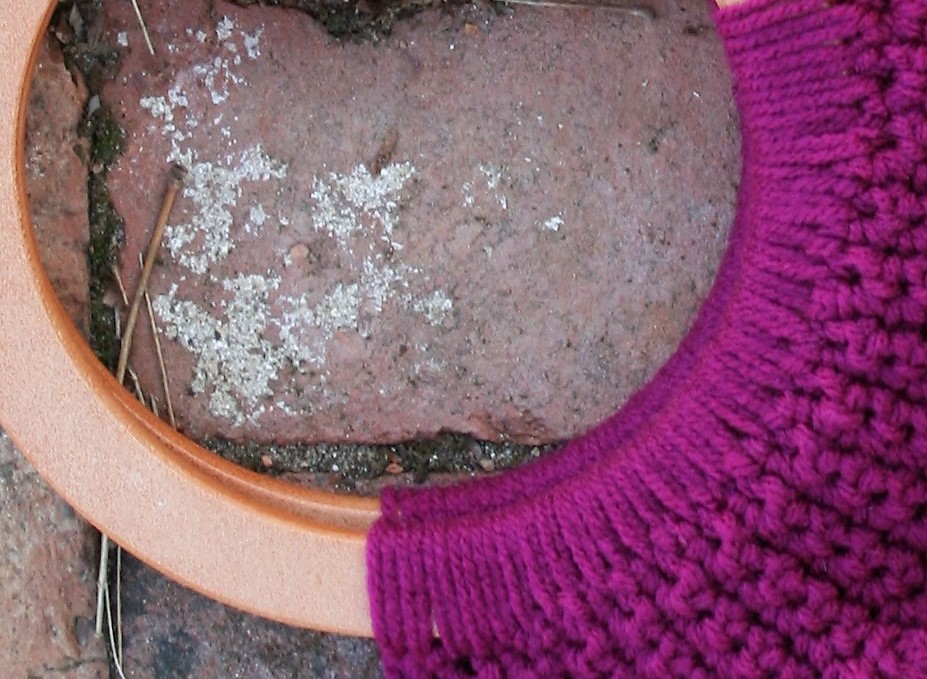
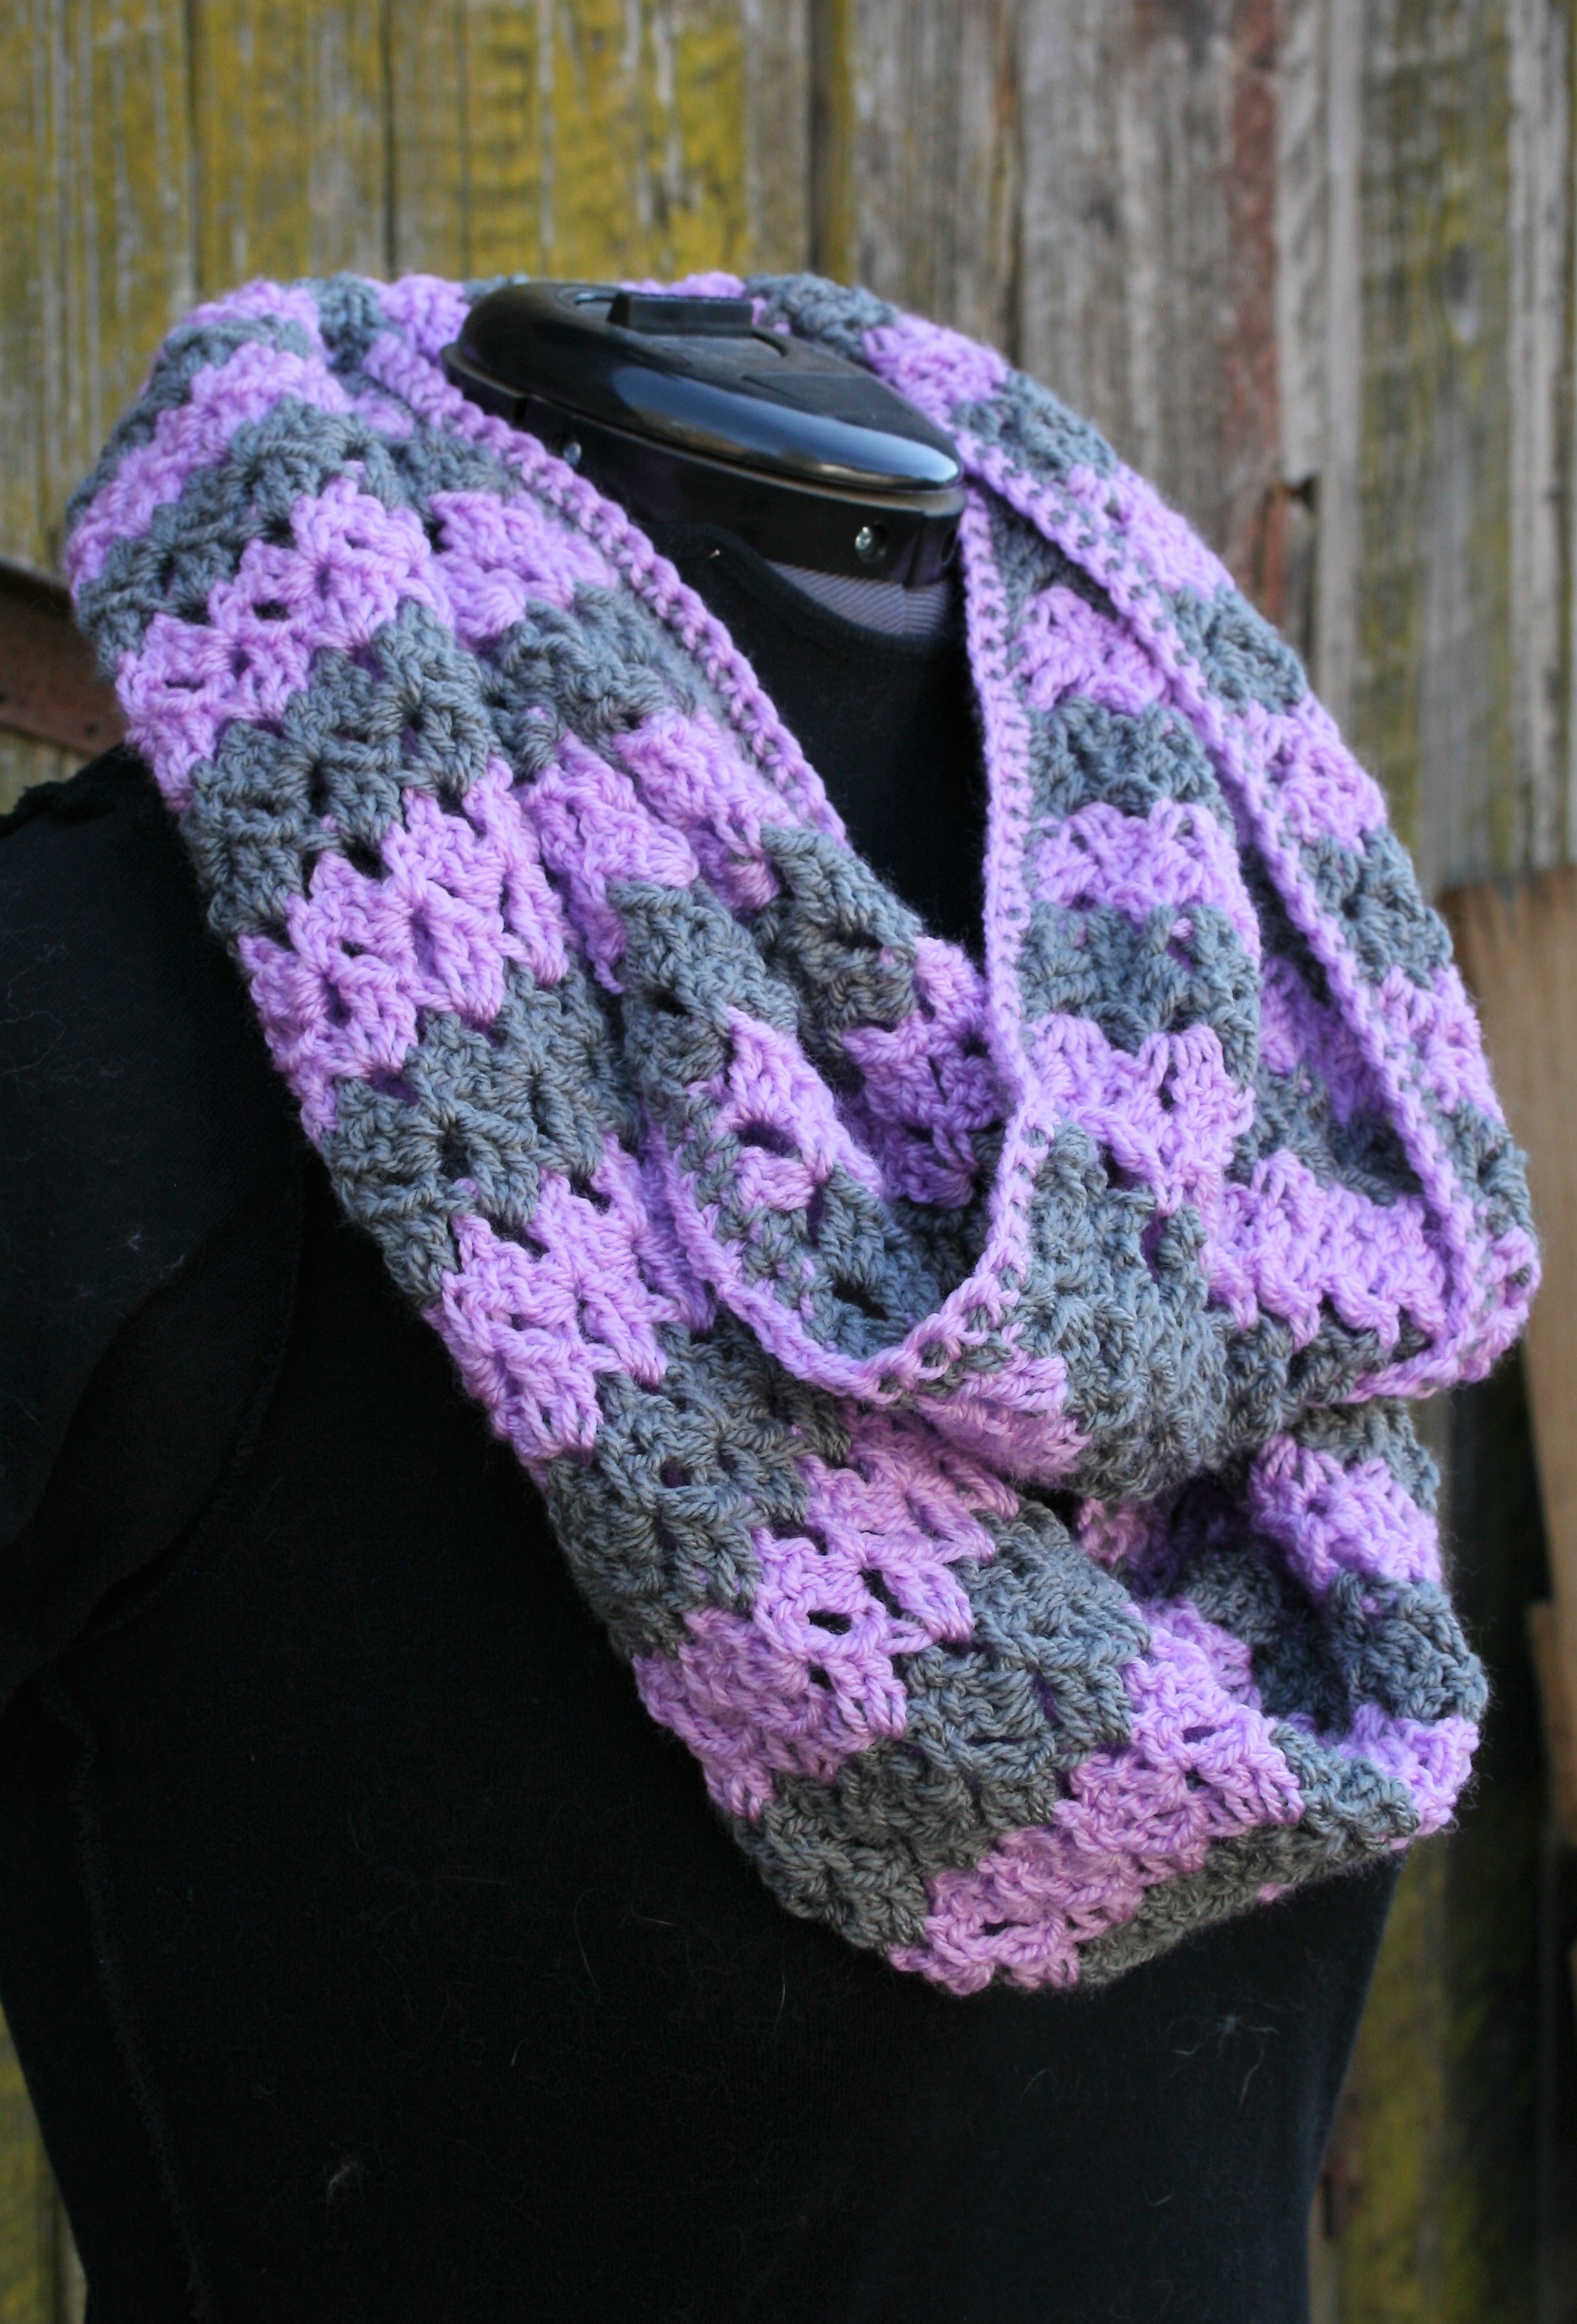
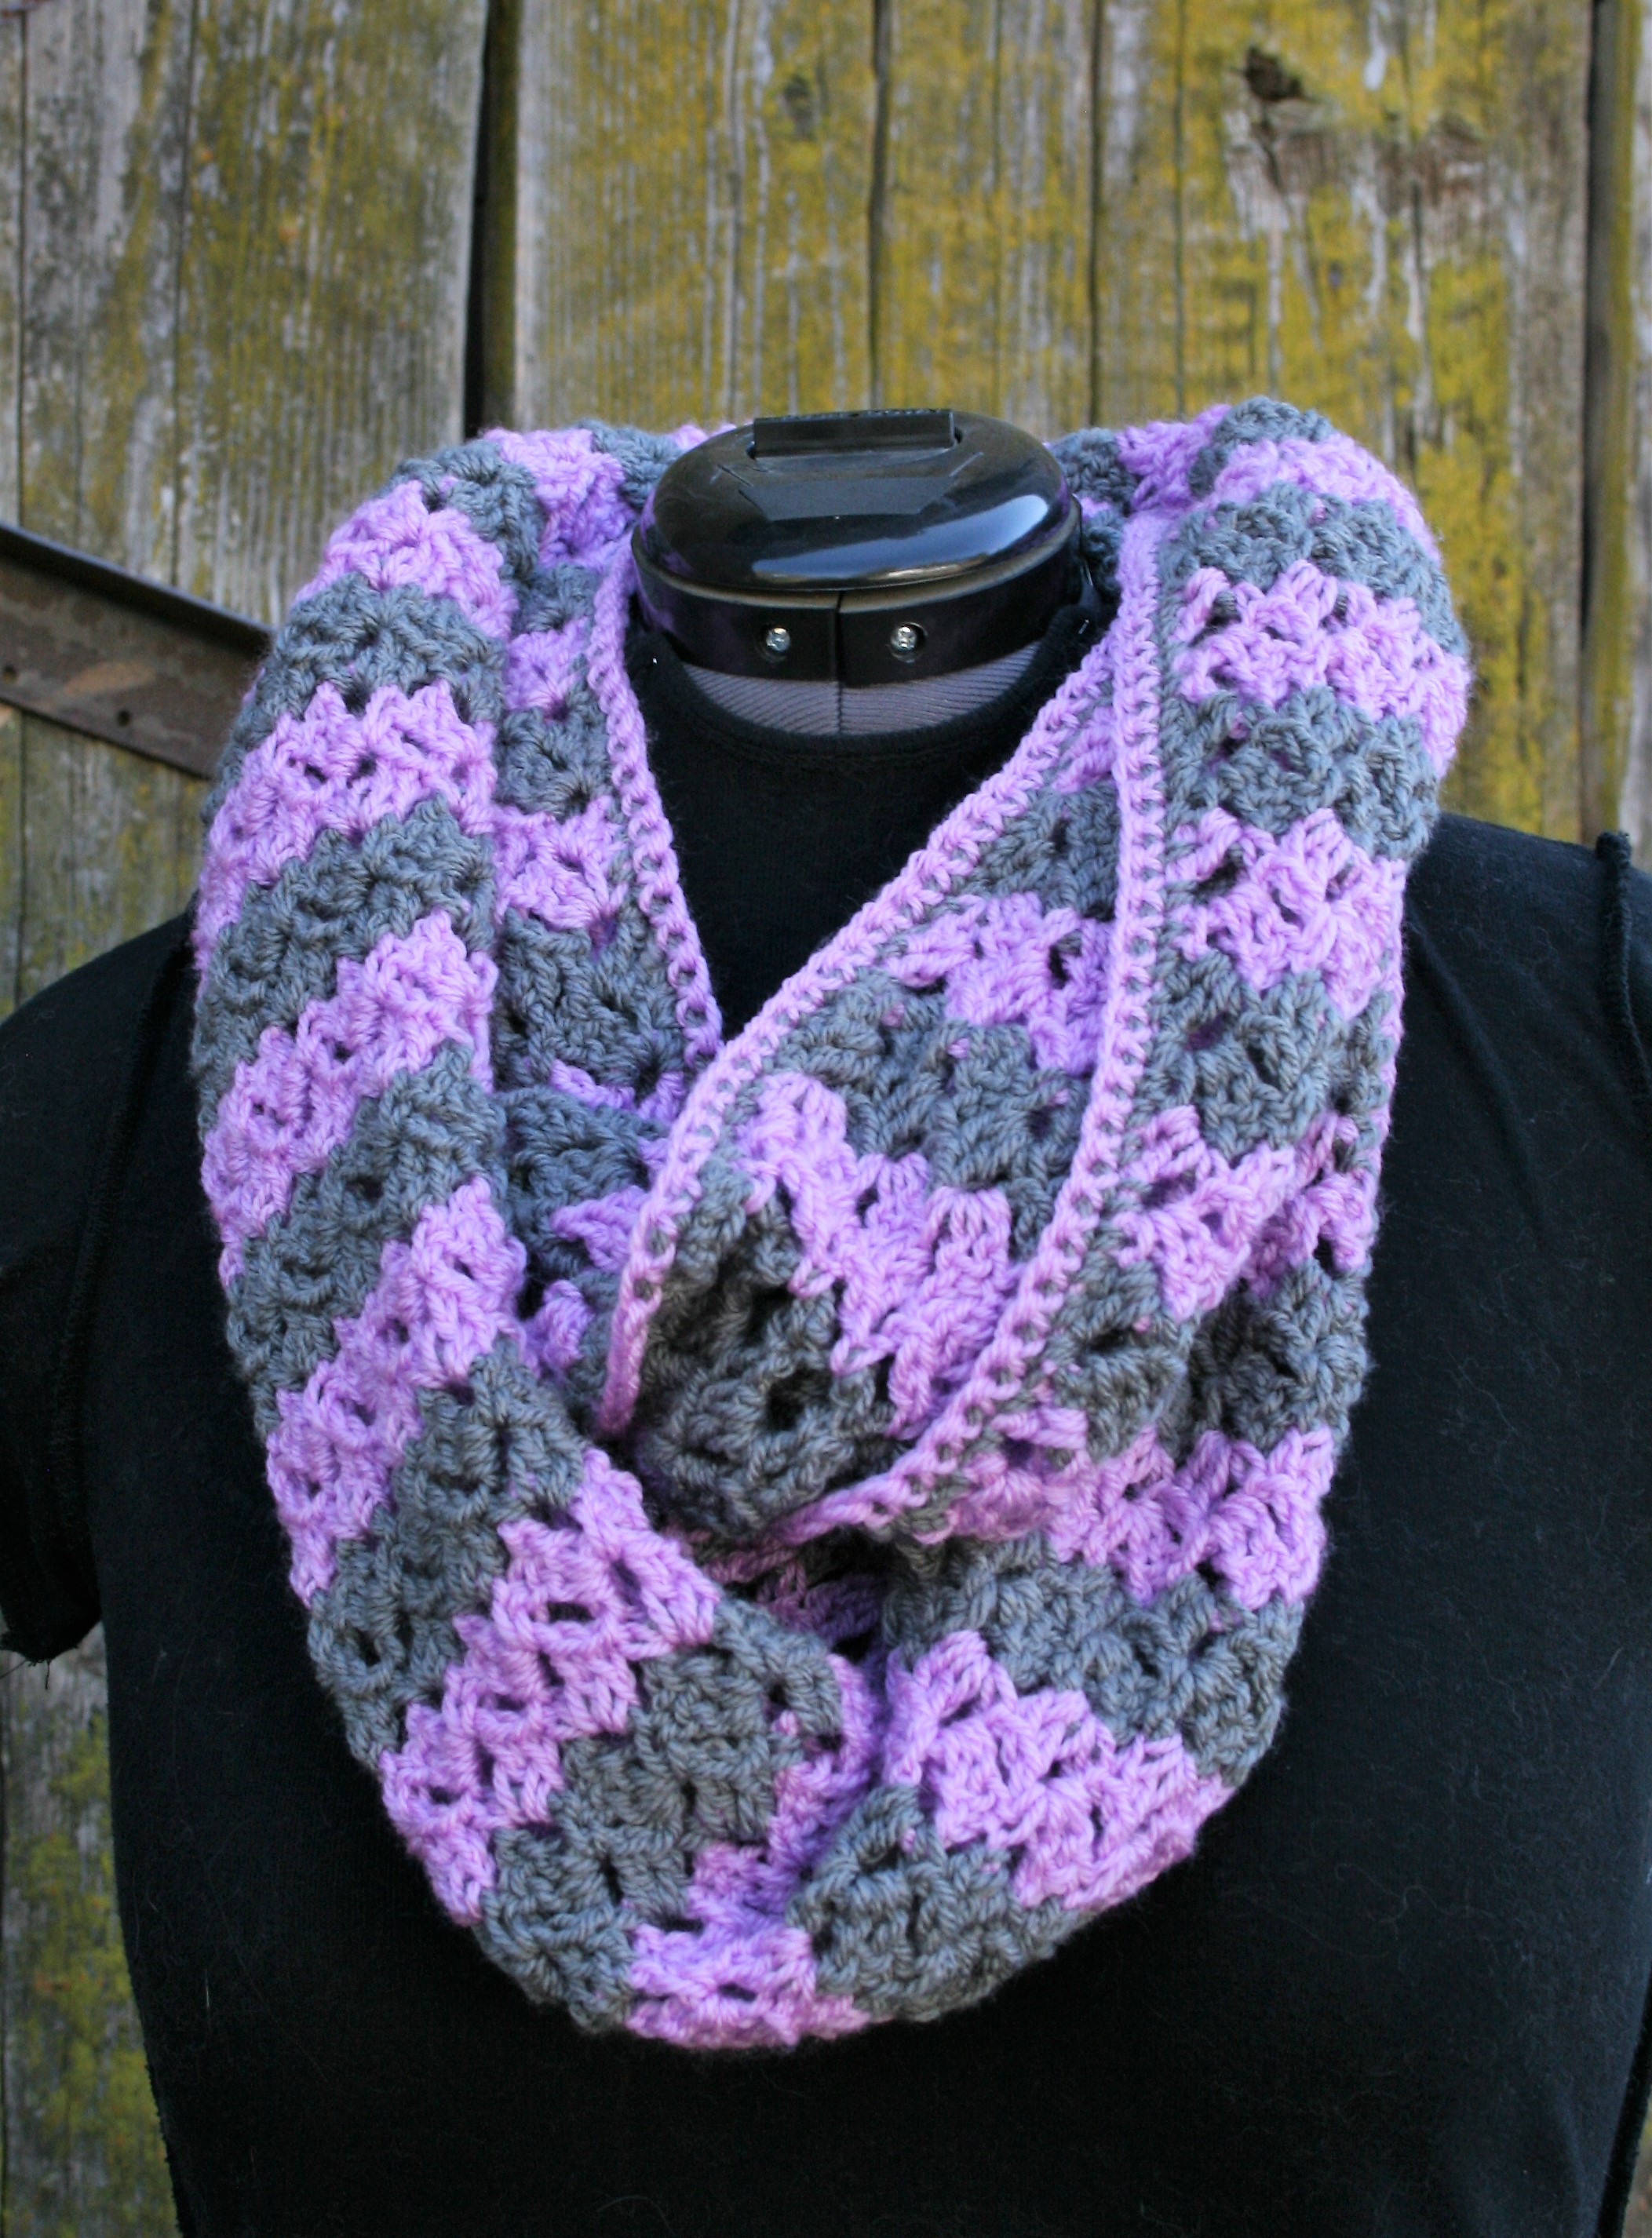
Yes, I am one of those crocheters, the type that does not like to waste any yarn. This means that I have options for scrap projects. With these left over bits, from the “Sugar Plum” colors of the project already go really well together, so visually anything will look pretty good.
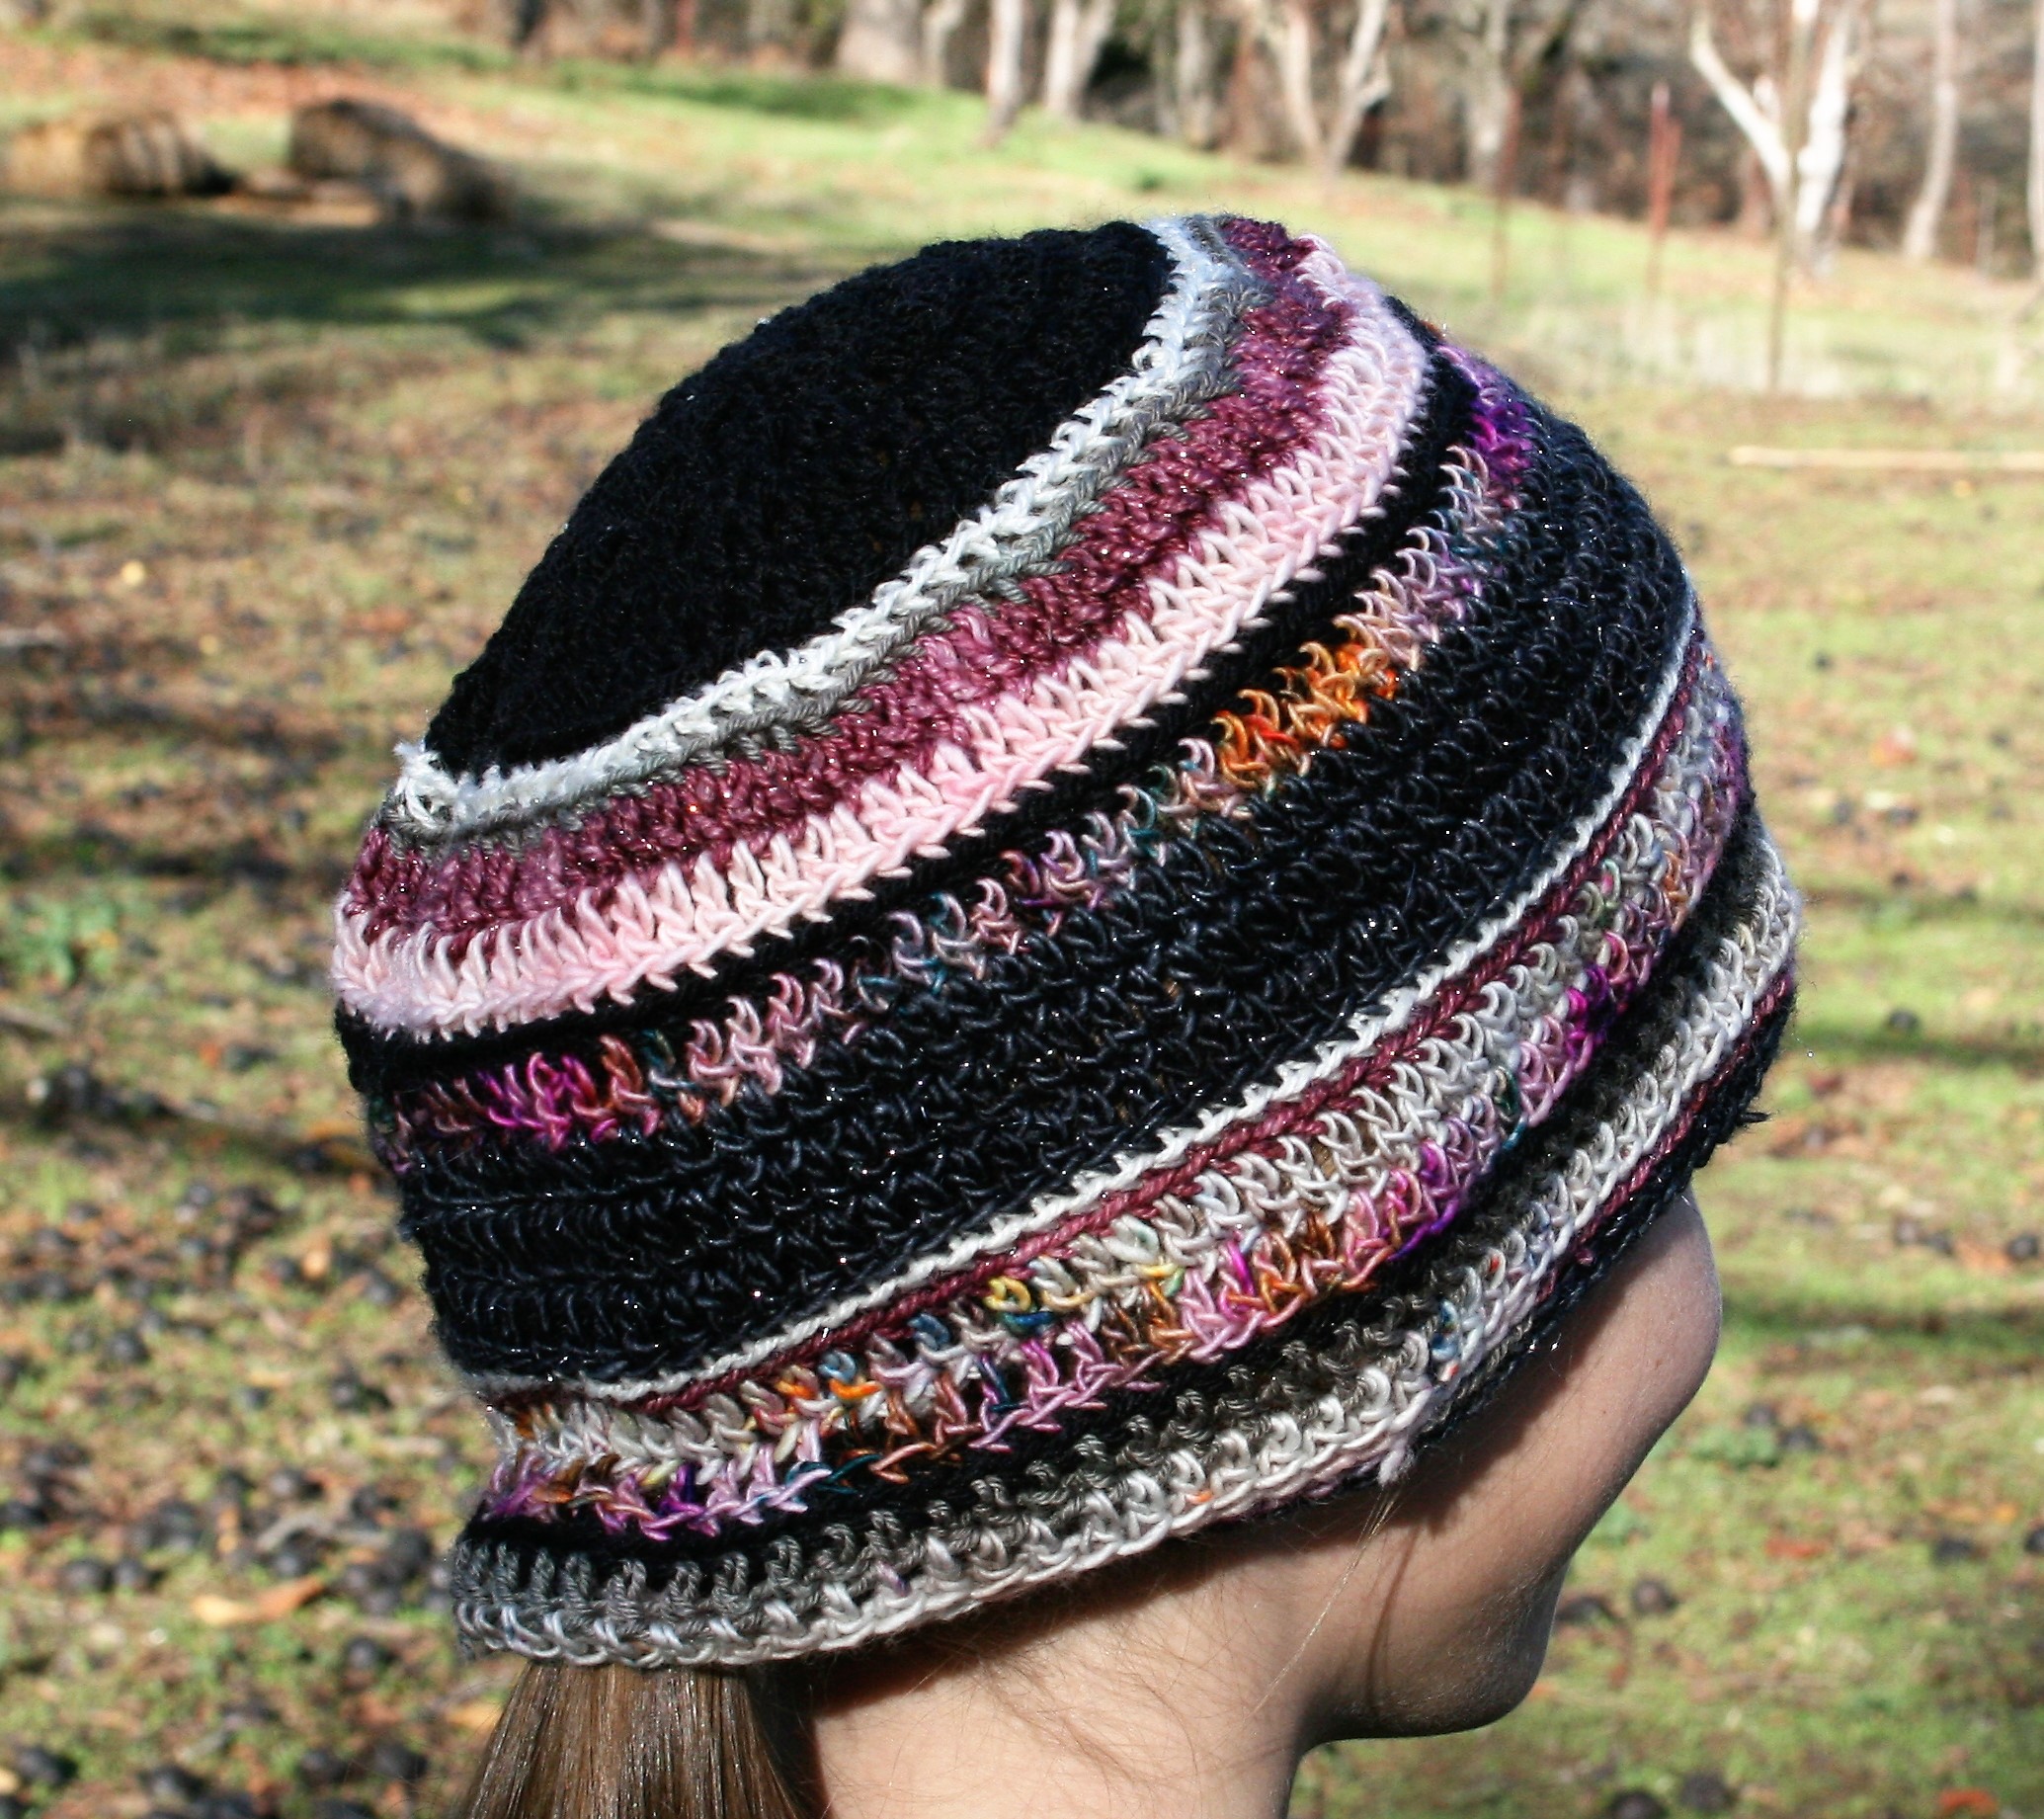
 I started out thinking I would make a little draw string bag, but as I got into the project I realized that I had enough yarn to actually make a hat, and a hat is going to get a bit more wear in my household.
I have shared this scrap pattern below, and the notation of how you can turn this into a drawstring bag.
Please note that I do not have any length of the yarn used noted, as really it is just scraps. You could put any colors together anyway you want.
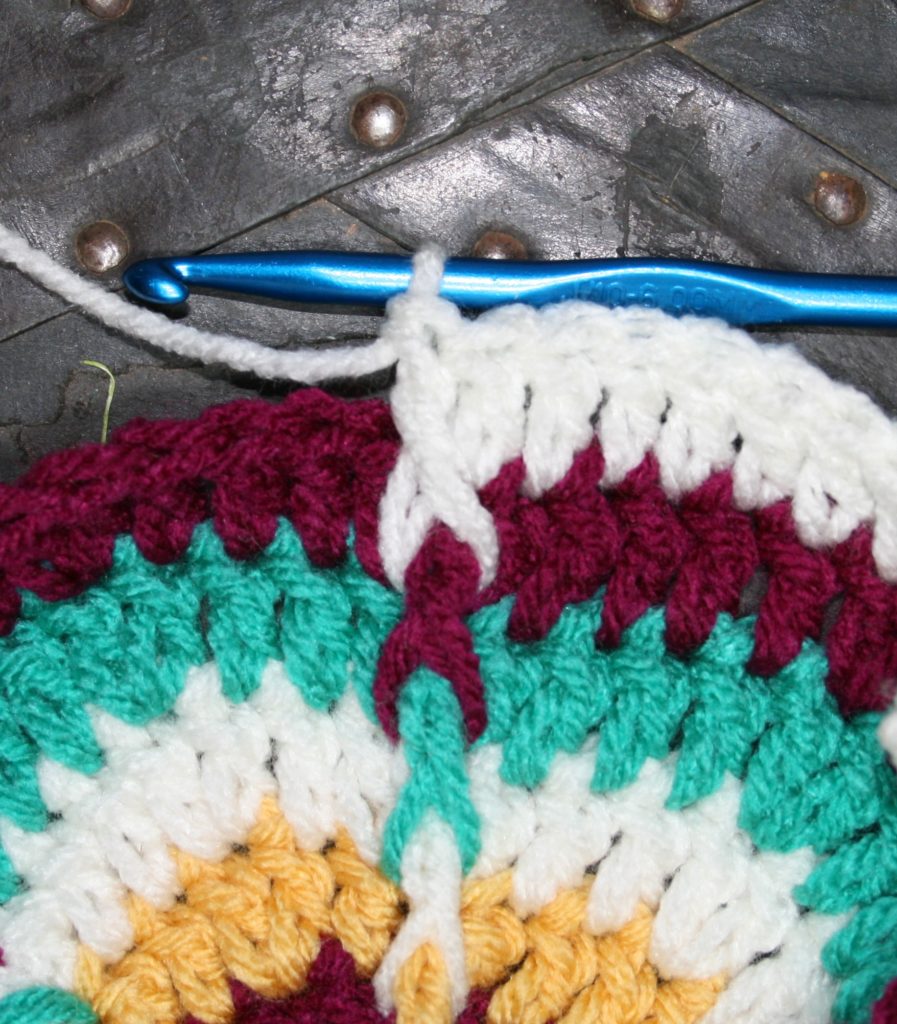
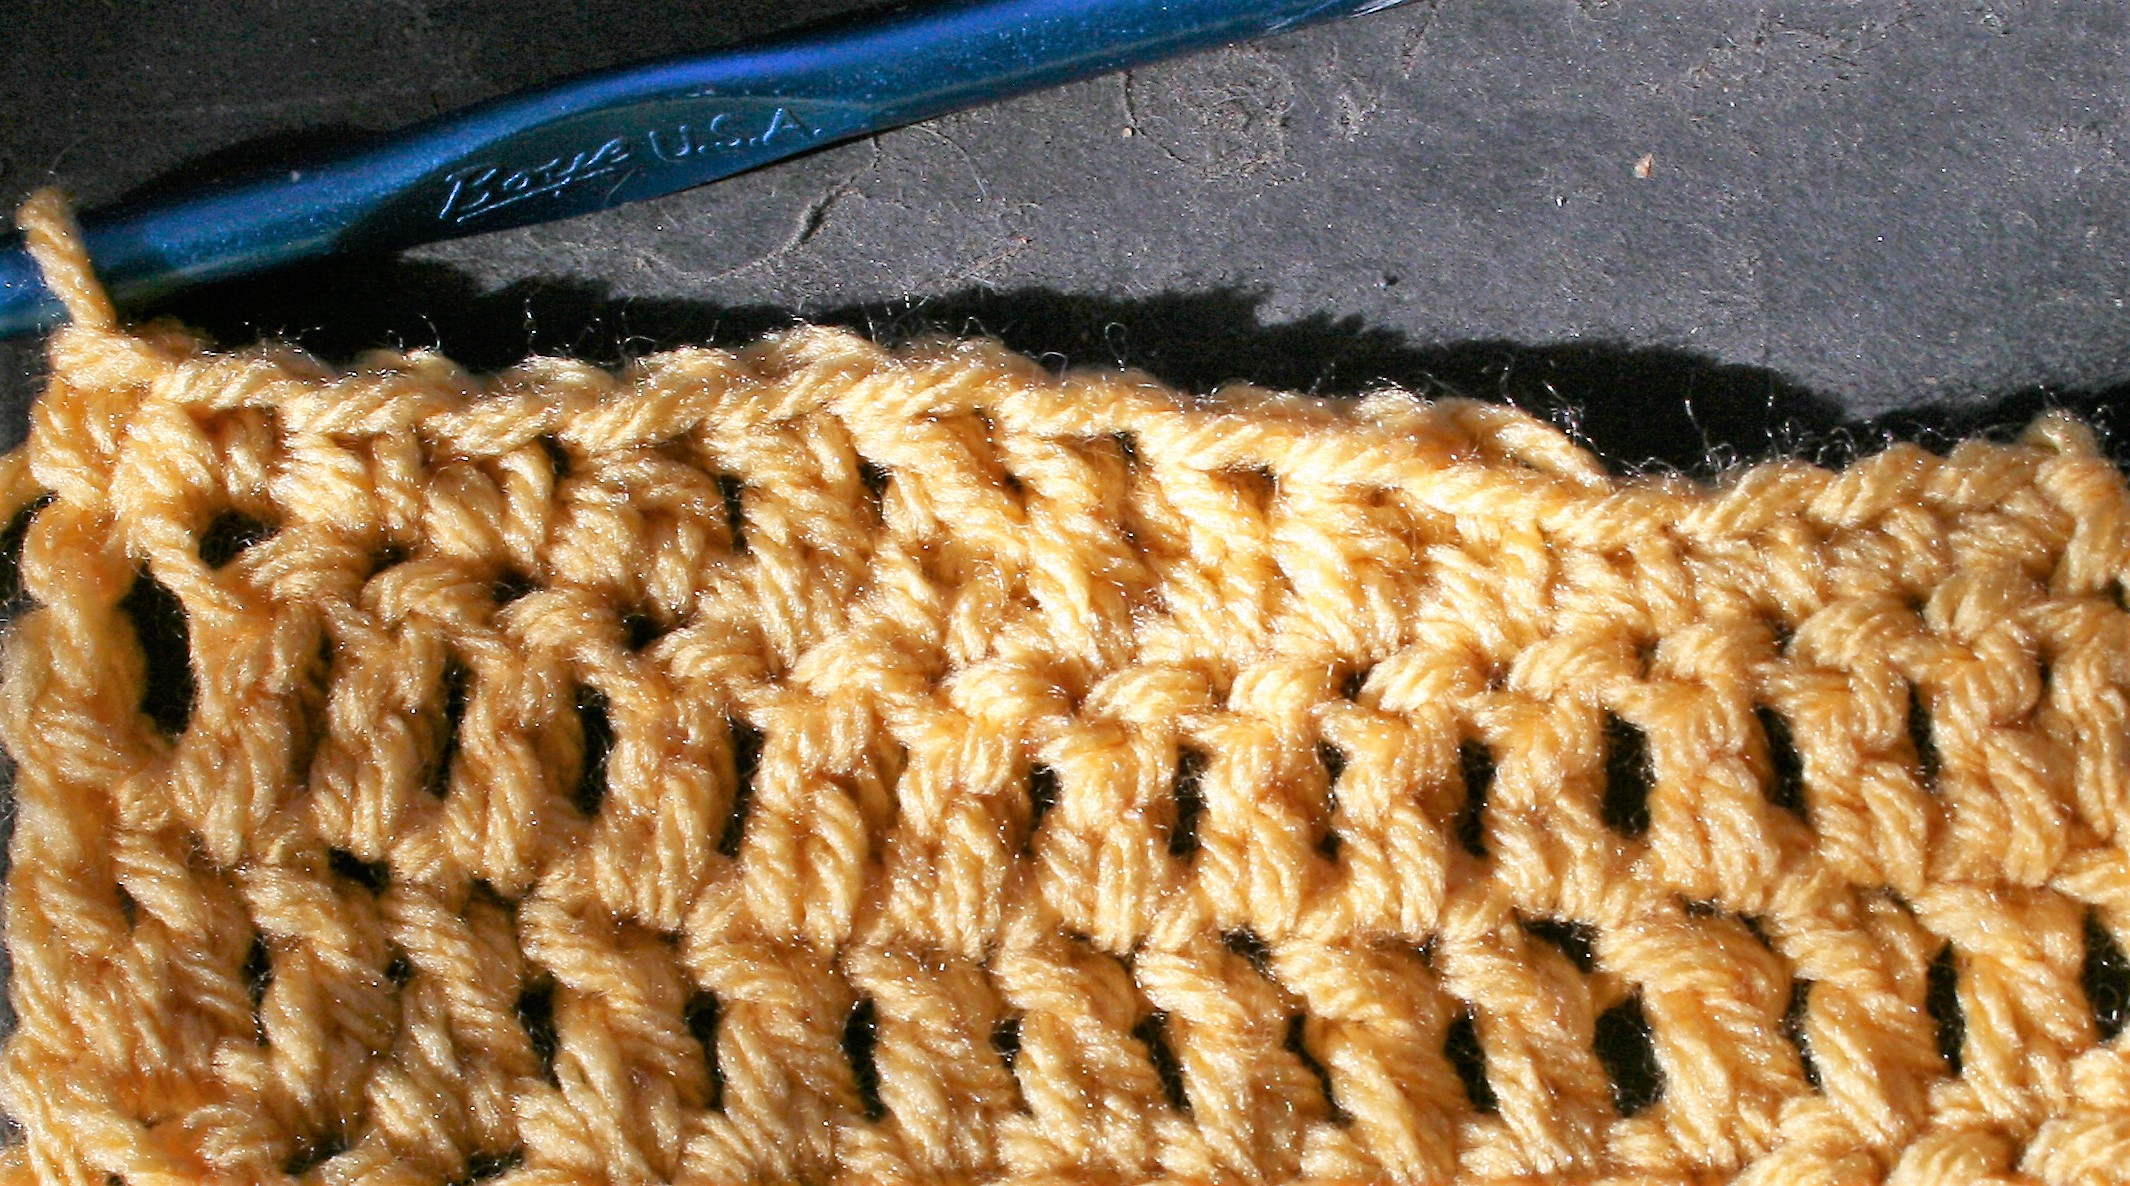
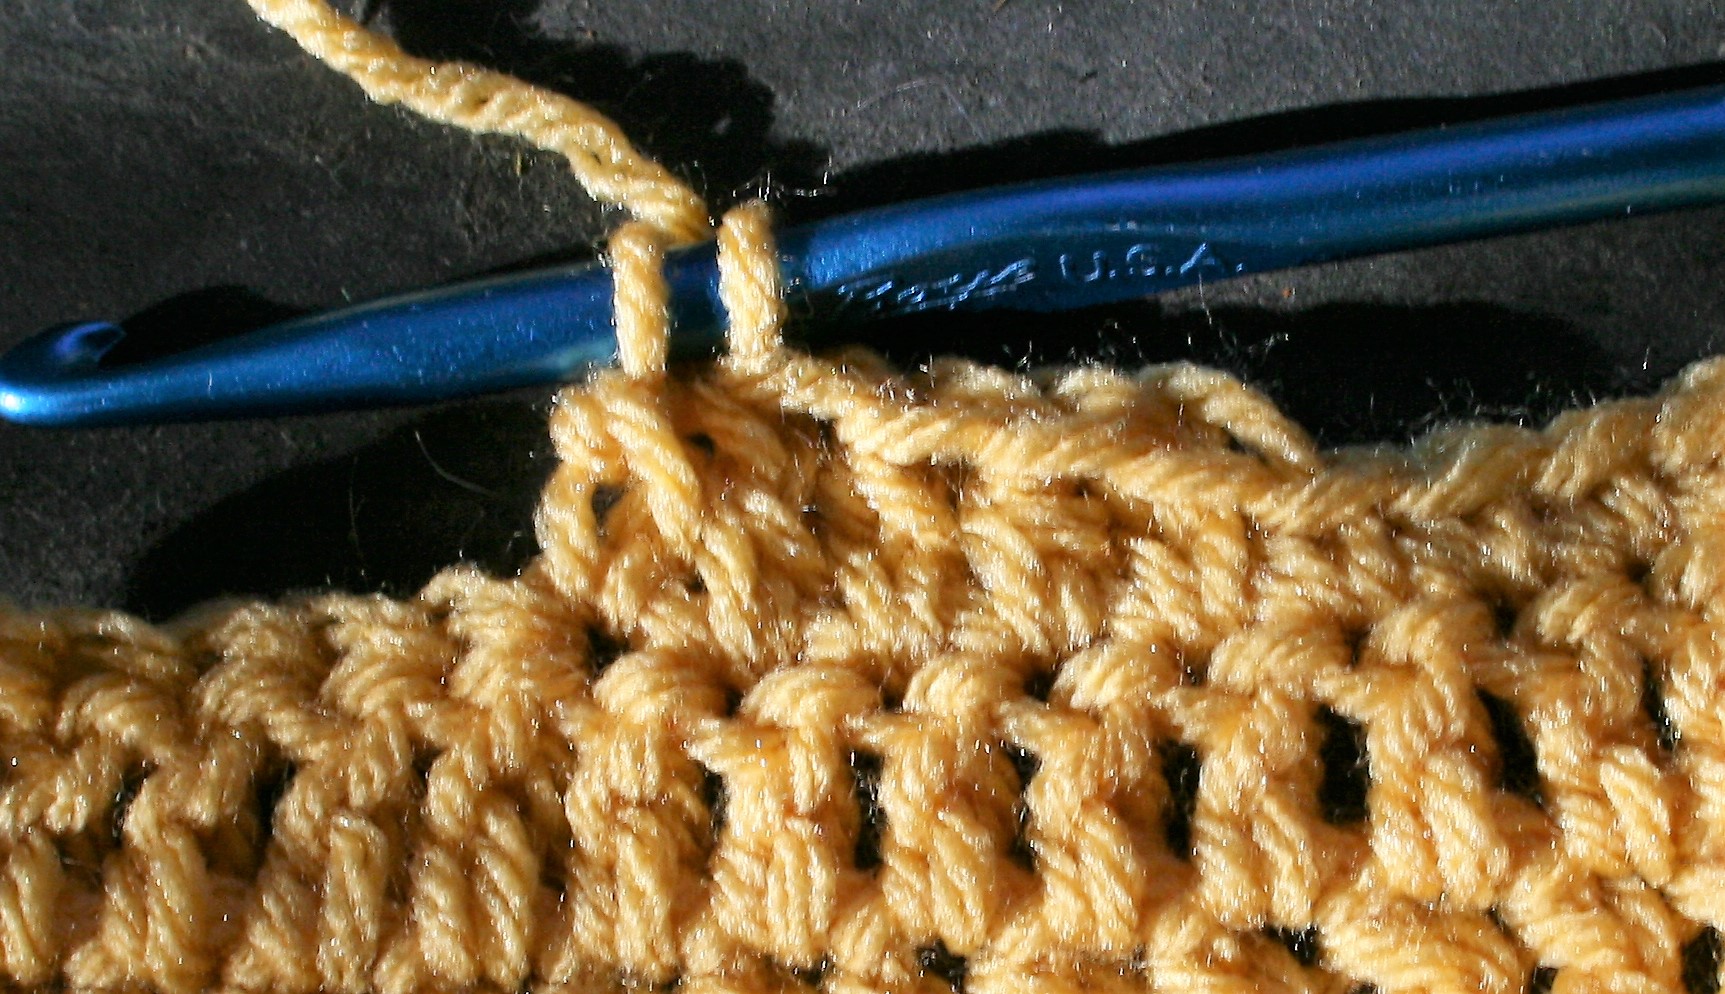
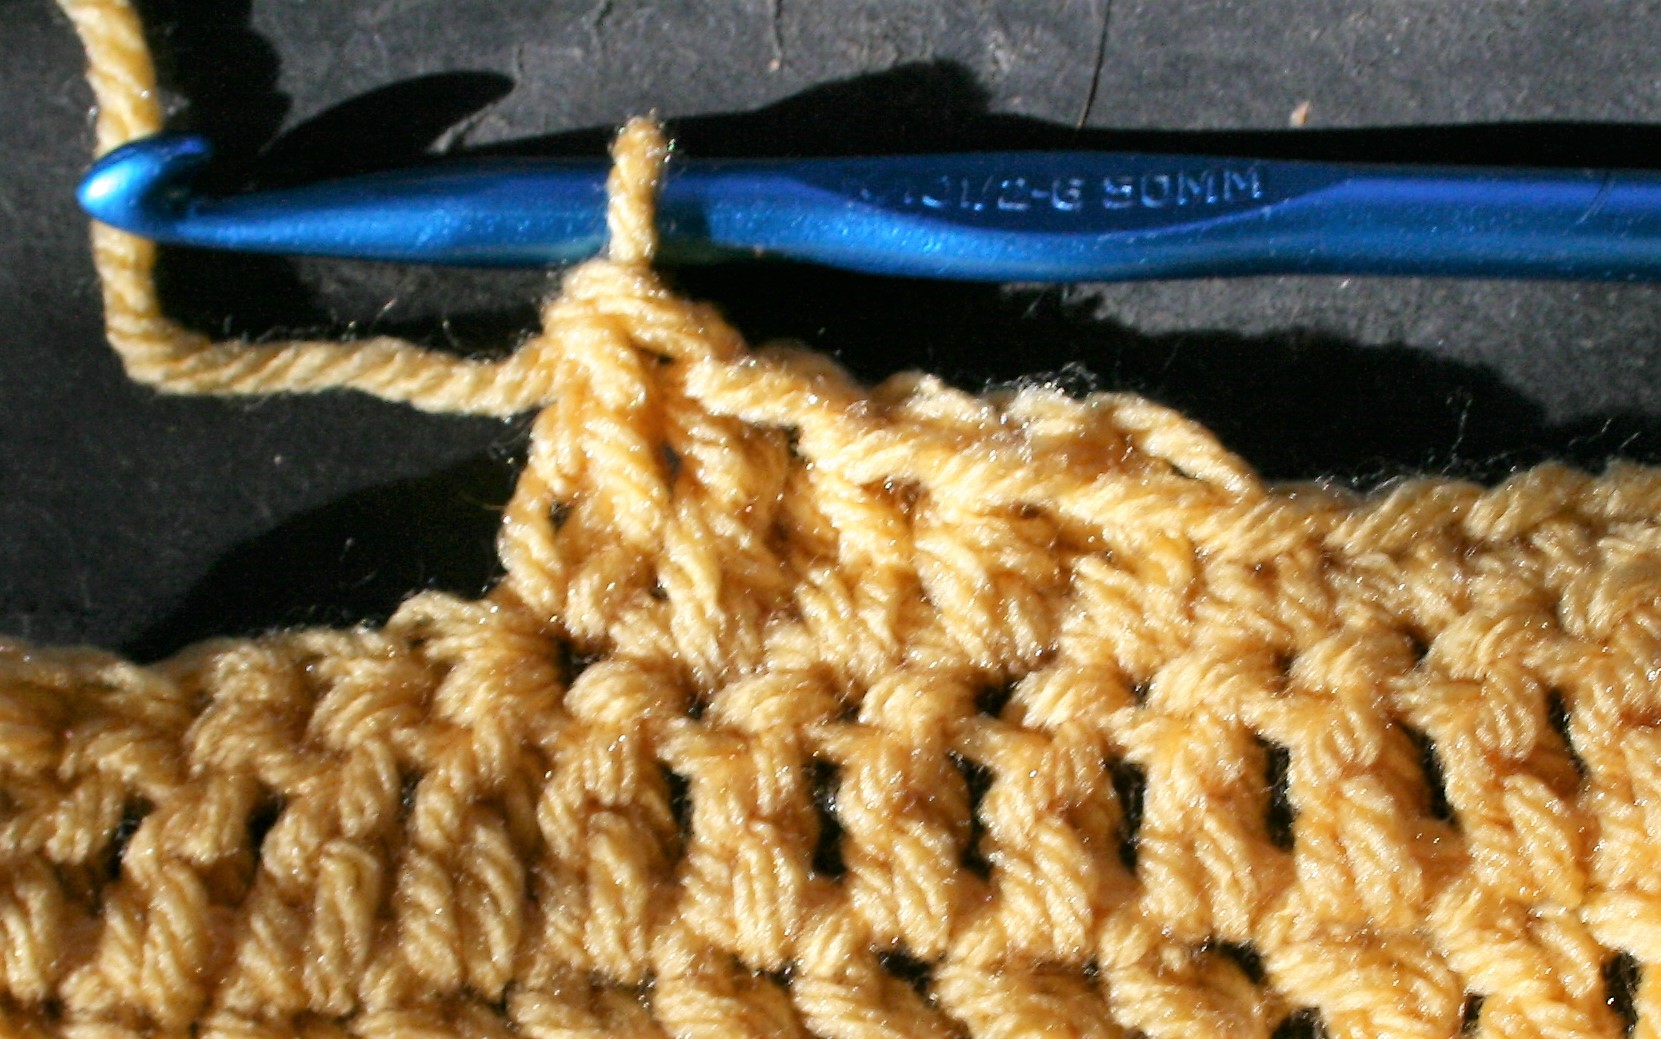
I used an H/8/5.00mm hook and light weight yarns (for a listing of the yarns in the projects, they are the same as the yarns in the Craftvent Quest Shawl, listed here). To help you hat fit perfectly, I share information here.
Scrap Hat
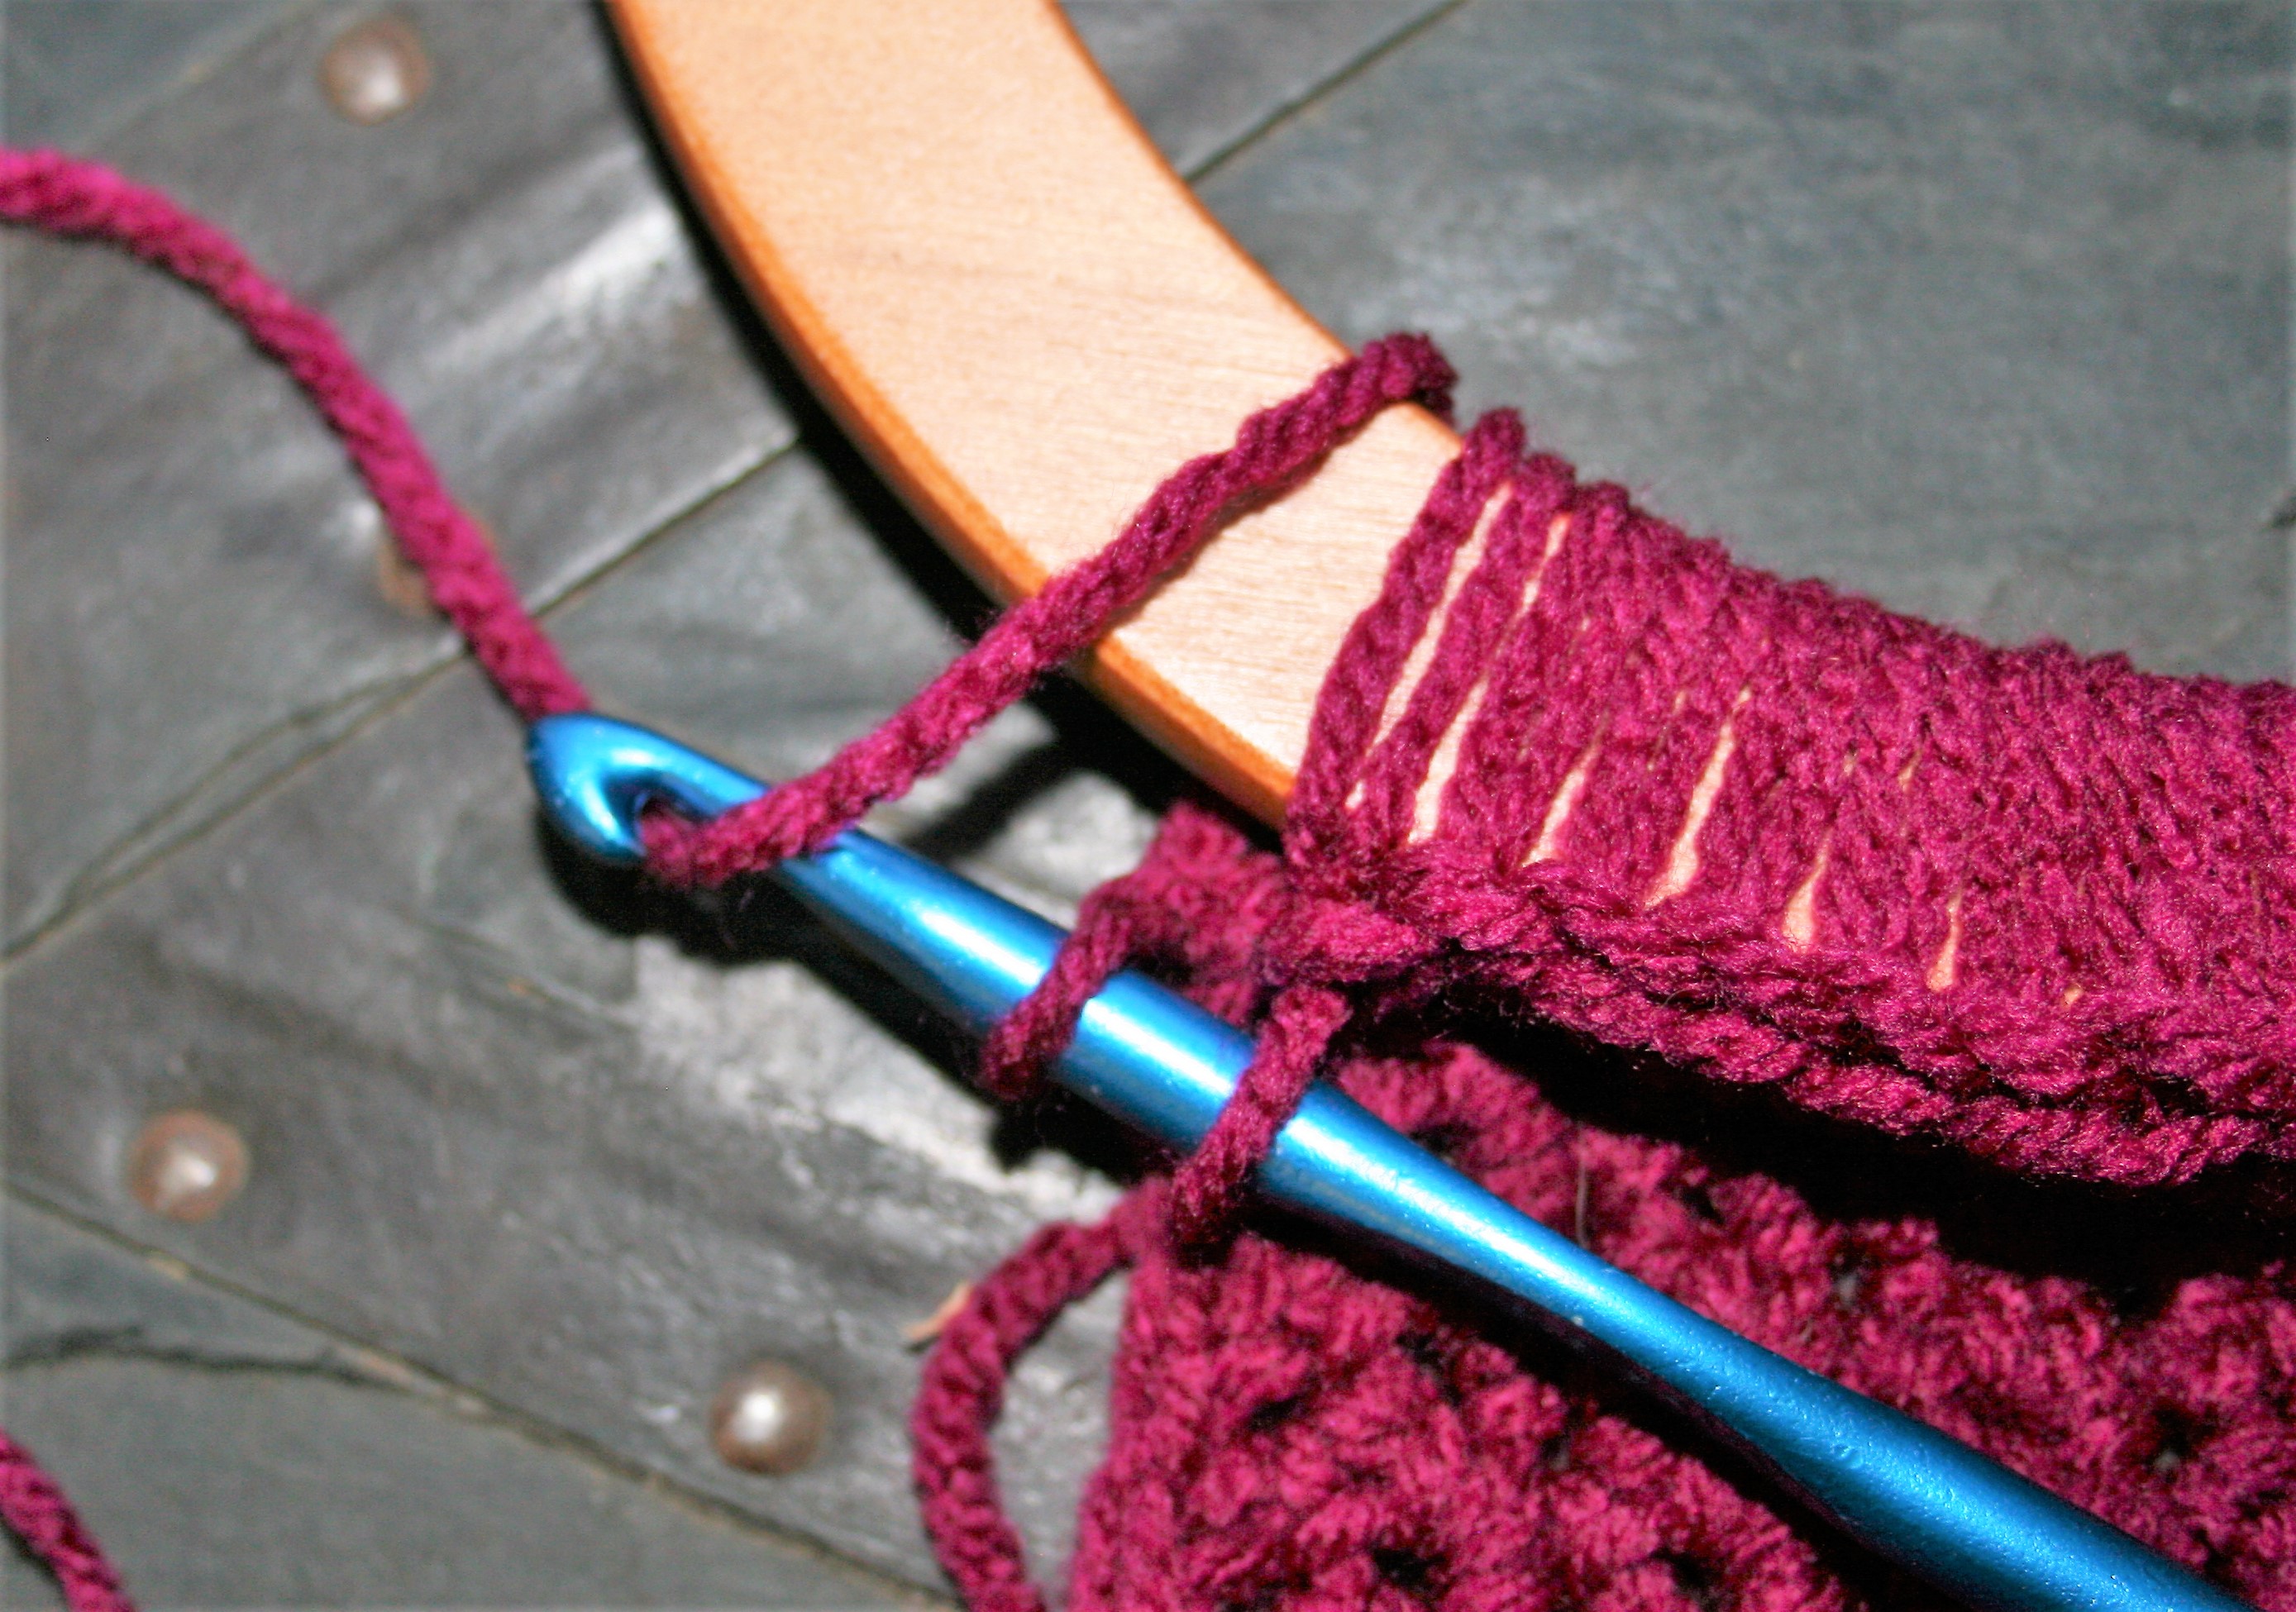
Rnd 1: Ch 4, 11 dc in 4th ch from hook, sl st to join to beg ch.
Rnd 2: Ch 3, dc in same st, 2 dc in each st around, sl st to join.
Rnd 3: Ch 3, dc in same st, dc in next st, [2 dc in next st, dc in next st] rep around, sl st to join.
Rnd 4: Ch 3, dc in same st, dc in each of the next 2 sts, [2 dc in next st, dc in next 2 sts] rep around, sl st to join.
Rnd 5: Ch 3, dc in same st, dc in each of the next 3 sts, [2 dc in next st, dc in next 3 sts] rep around, sl st to join.
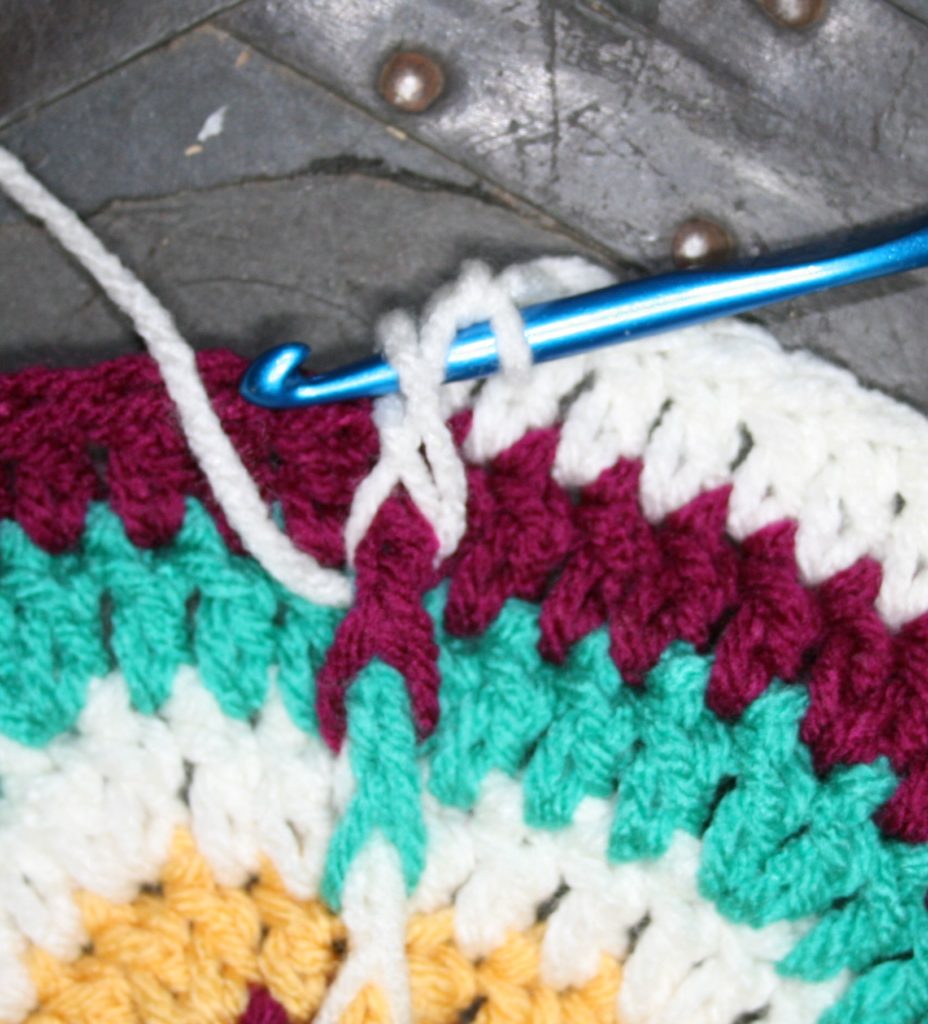
Rnd 6: Change color, ch 1, 2 sc in back loops of same st, sc in back loops of next 4 sts, [2 sc in back loops of next st, sc in back loops of next 4 sts] rep around, sl st to join.
Rnd 7: Change color, ch 1, 2 sc in back loops of same st, sc in back loops of next 5 sts, [2 sc in back loops of next st, sc in back loops of next 5 sts] rep around, sl st to join.
Rnd 8: Change color, ch 3, dc in back loop of same st, dc in back loop of next 6 sts, [2 dc in back loop of next dc, dc in back loop of next 6 sts] rep around, sl st to join.
Rnd 9: Change color, ch 3, dc in each st around, sl st to join.
Rnd 10: Change color, ch 1, sc in back loop of each st around, sl st to join.
Rnd 11: Change color, ch 3, dc in back loop of each st around, sl st to join.
Rnd 12: Change color, ch 3, dc in each st around, sl st to join.
Rnd 13: Ch 3, dc in each st around, sl st to join.
Rnd 14: Ch 3, dc in each st around, sl st to join.
Rnd 15: Change color, ch 1, sc in back loop of each st around, sl st to join.
Rnd 16: Change color, ch 1, sc in back loop of each st around, sl st to join.
Rnd 17: Change color, ch 3, dc in back loop of each st around, sl st to join.
Rnd 18: Change color, ch 3, dc in each st around, sl st to join.
Rnd 19: Change color, ch 1, sc in back loop of each st around, sl st to join.
Rnd 20: Change color, ch 3, dc in back loop of each st around, sl st to join.
Rnd 21: Change color, ch 3, dc in each st around, sl st to join.
Rnd 22: Change color, ch 1, sc in back loop of each st around, sl st to join.
Rnd 23: Change color, ch 1 sc in back loop of each st around, sl st to join. Fasten off. Weave in ends.
Simple Bag
Work as for Hat in Rnds 1-19.
Rnd 20: Change color, ch 4, sk next dc, dc in next st, ch 1, sk 1, [dc in next st, ch 1, sk 1] around, sl st to join.
Rnd 21: Change color, ch 3, dc in each st and ch-sp around, sl st to join.
Rnd 22: Change color, ch 1, sc in back loop of each st around, sl st to join.
Rnd 23: Change color, ch 1 sc in back loop of each st around, sl st to join. Fasten off. Weave in ends.
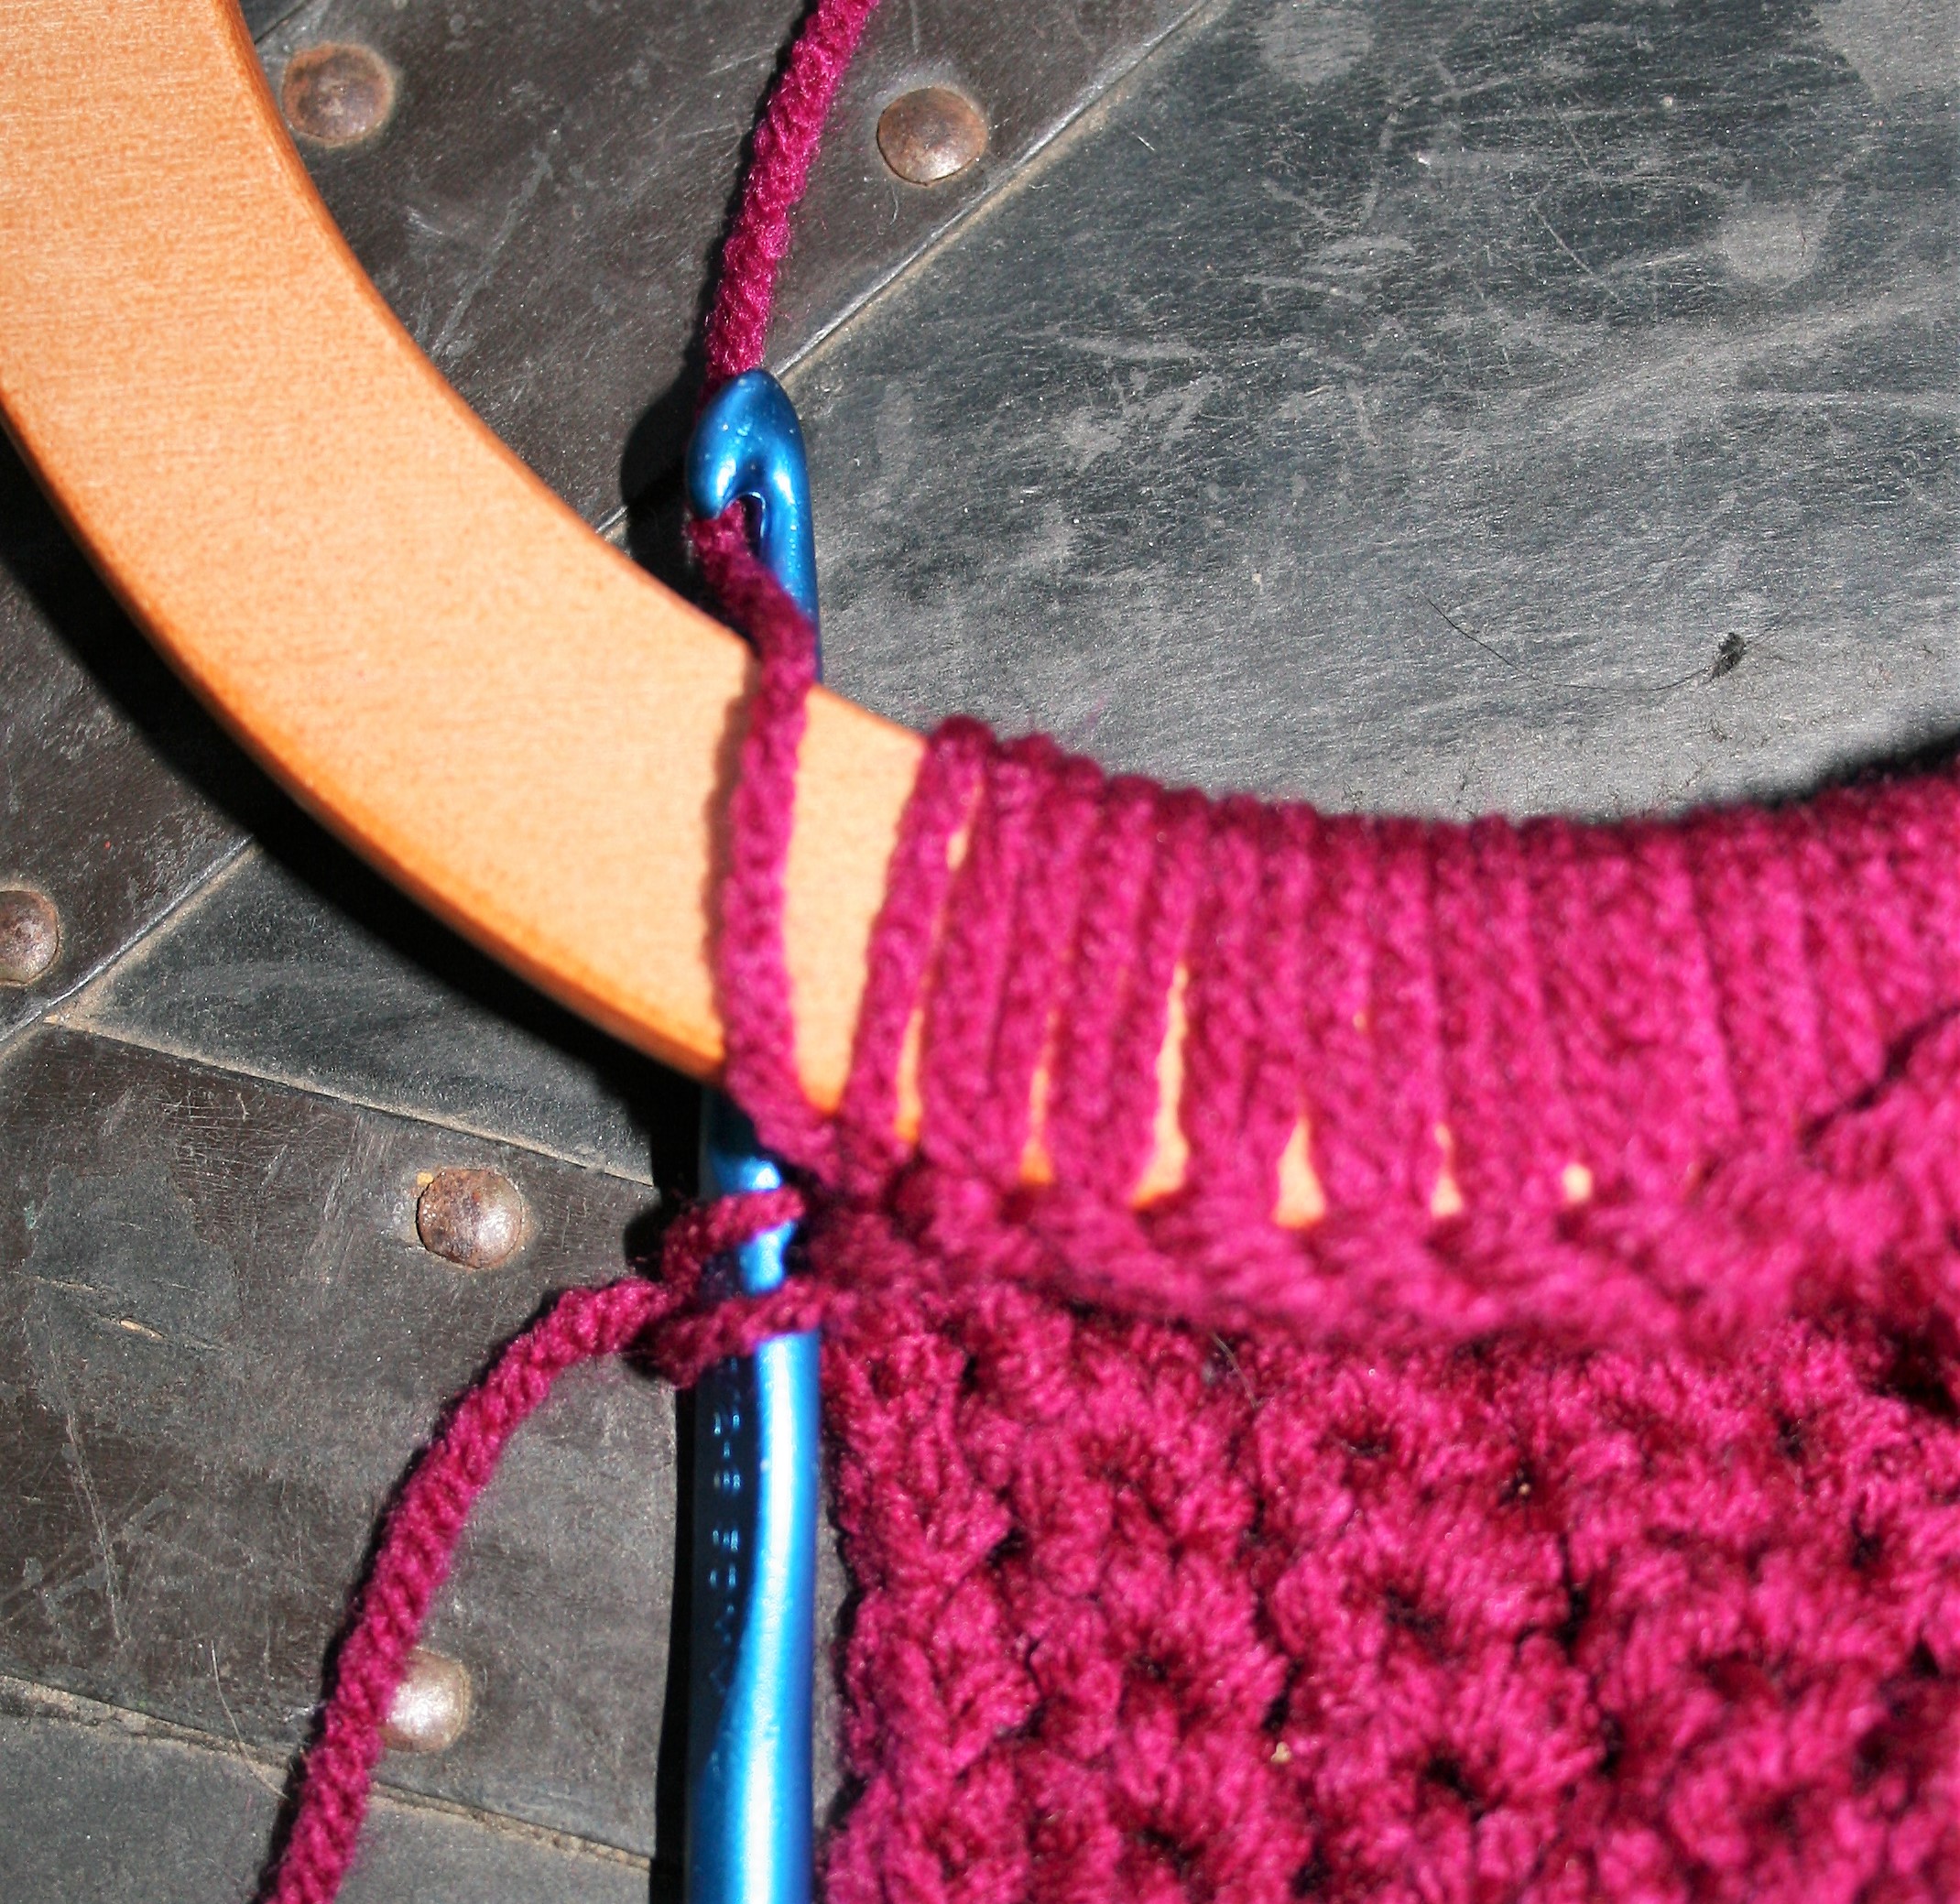
Drawstring
Create a chain about 50” long, turn and sl st in each ch across, fasten off.
Weave drawstring through the ch-sps of Rnd 20, then weave ends around to opposite side, ensuring that the tie is wrapped around the bag twice. Tie ends of drawstring together, and pull pull closed.