Change the Yarn- Tips for Yarn Substitutions

We have all done it, and sometimes it goes well, others it does not. I am talking about yarn substitution.

Honestly, I never really thought about the yarn I was substituting. I would find a yarn I loved then pick out a pattern I liked and just begin working up my stitches. I never looked at gauge, I never paid attention the fiber or even the weight of the yarn.

In some cases things worked out fine, in others I found myself with items smaller, or firmer, or just plain awkward looking. So I have learned, and it is time to share some insights.

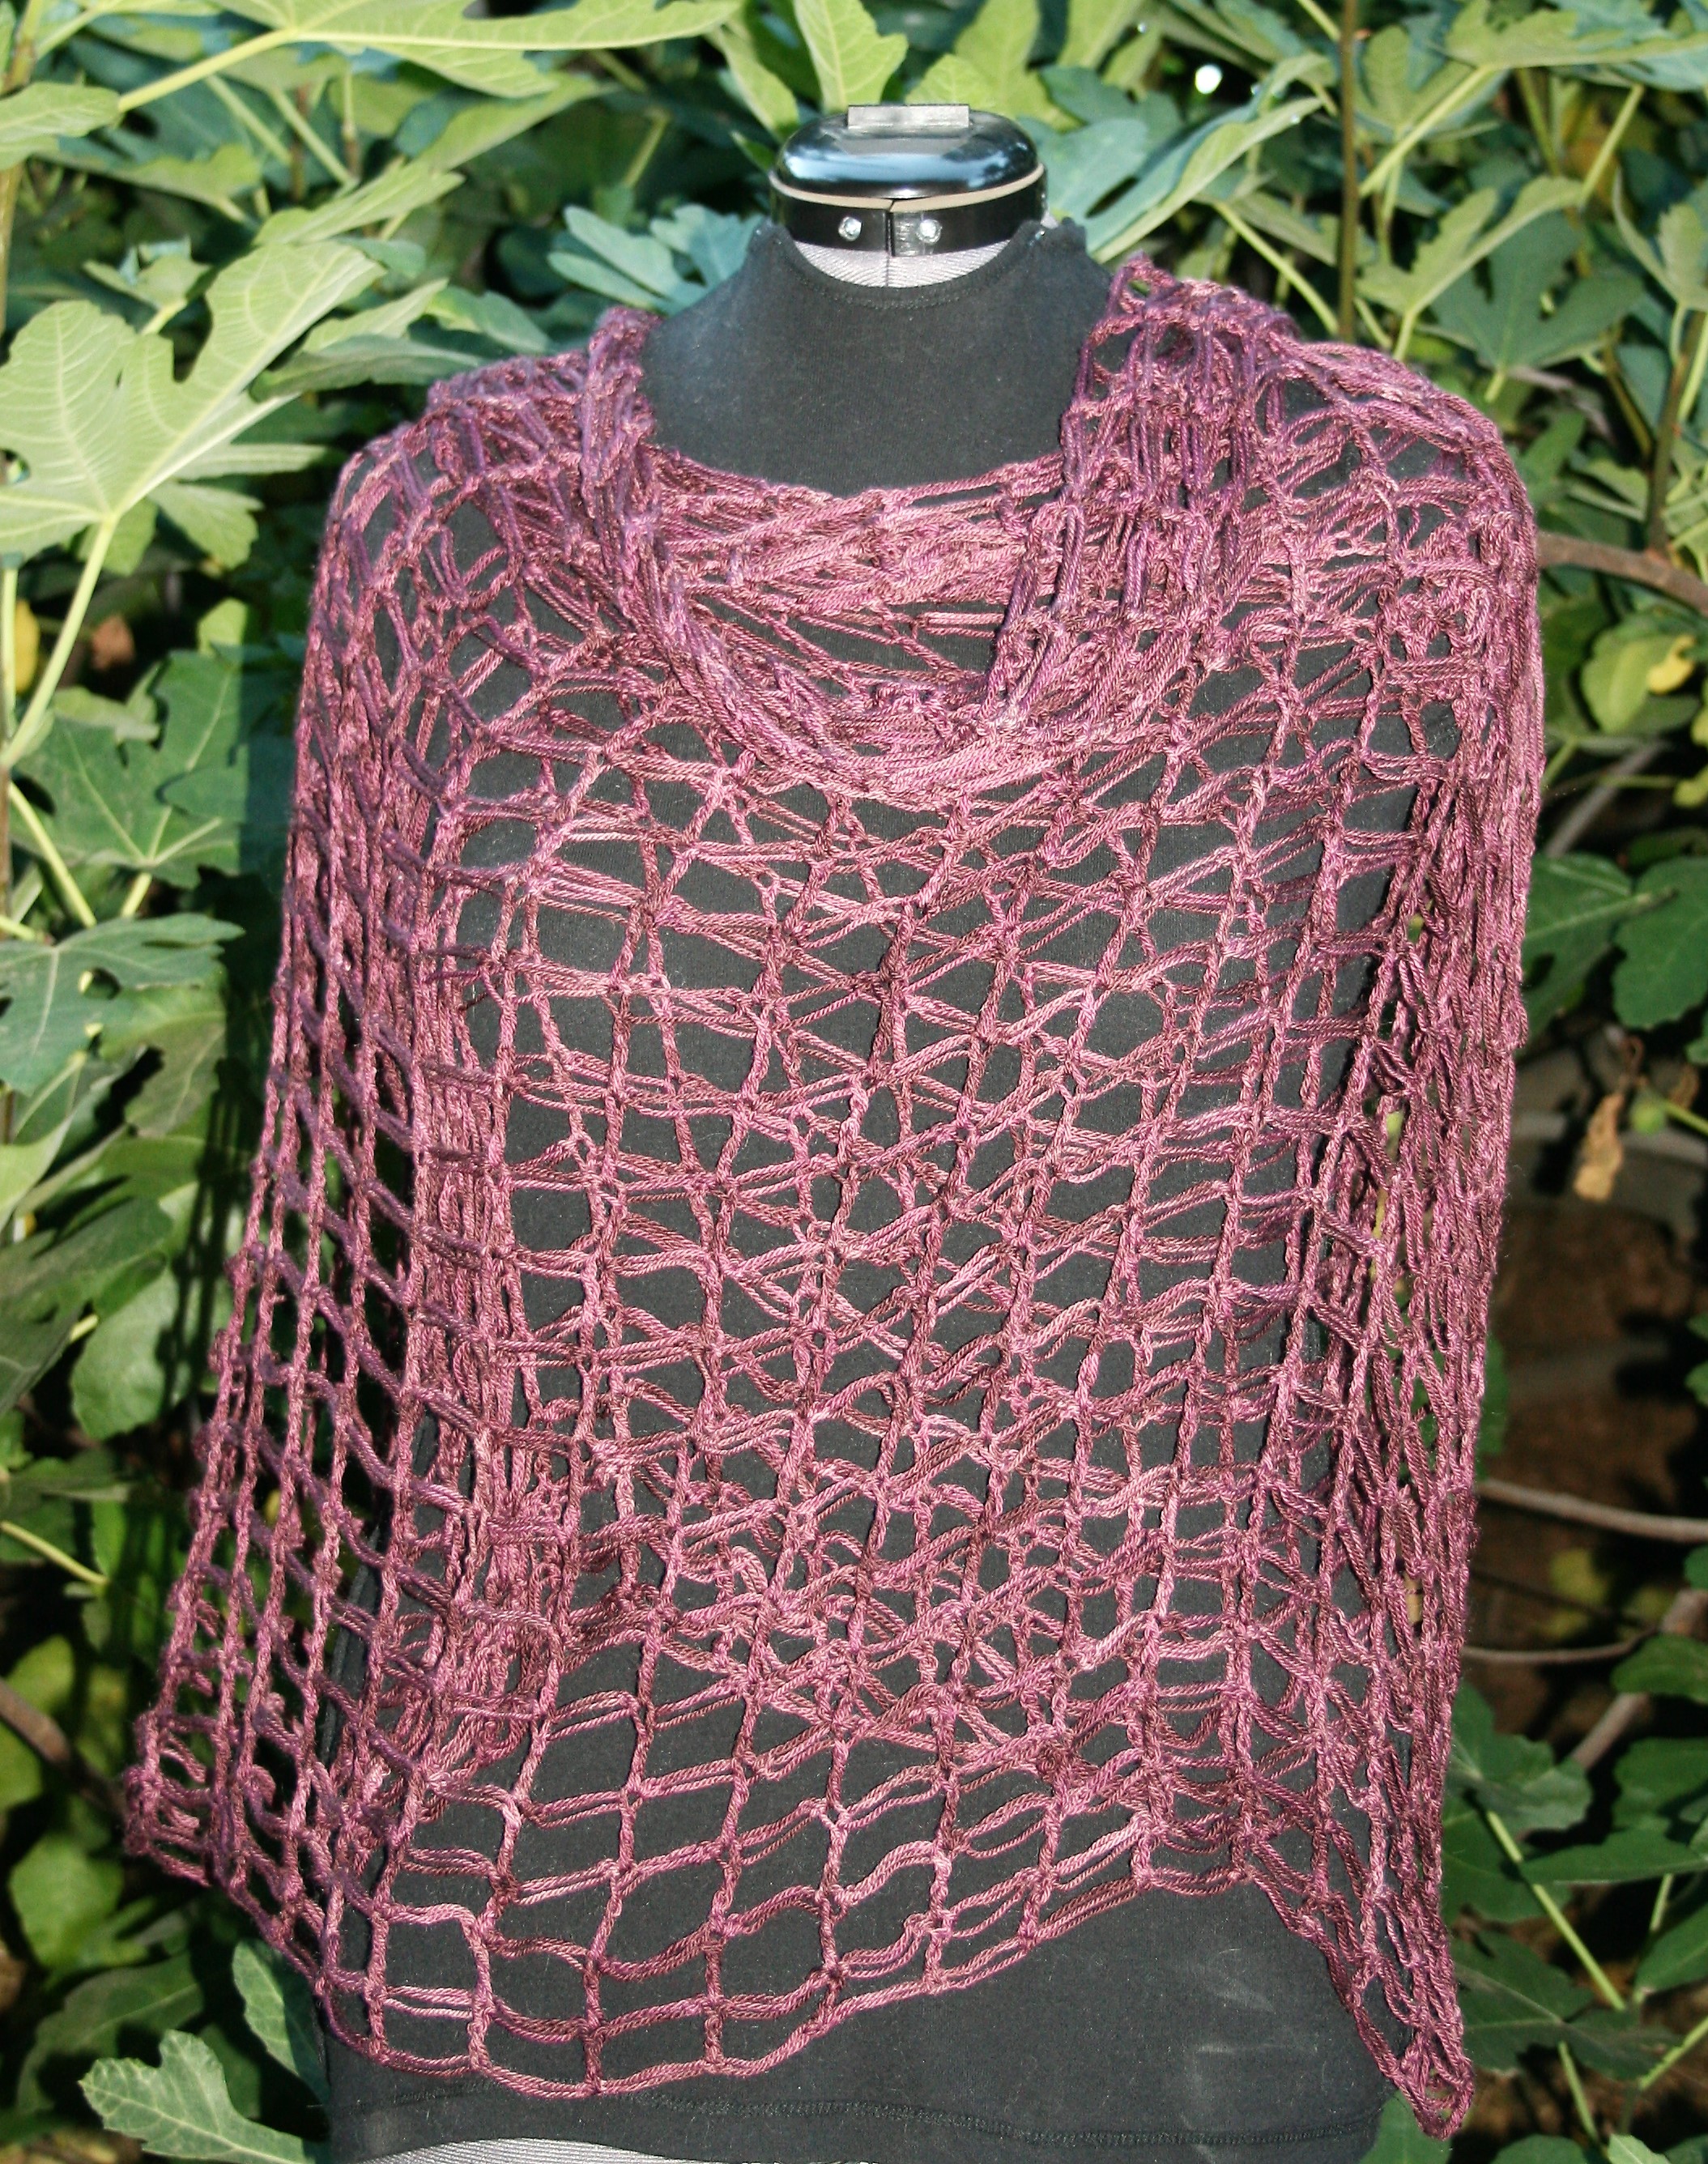
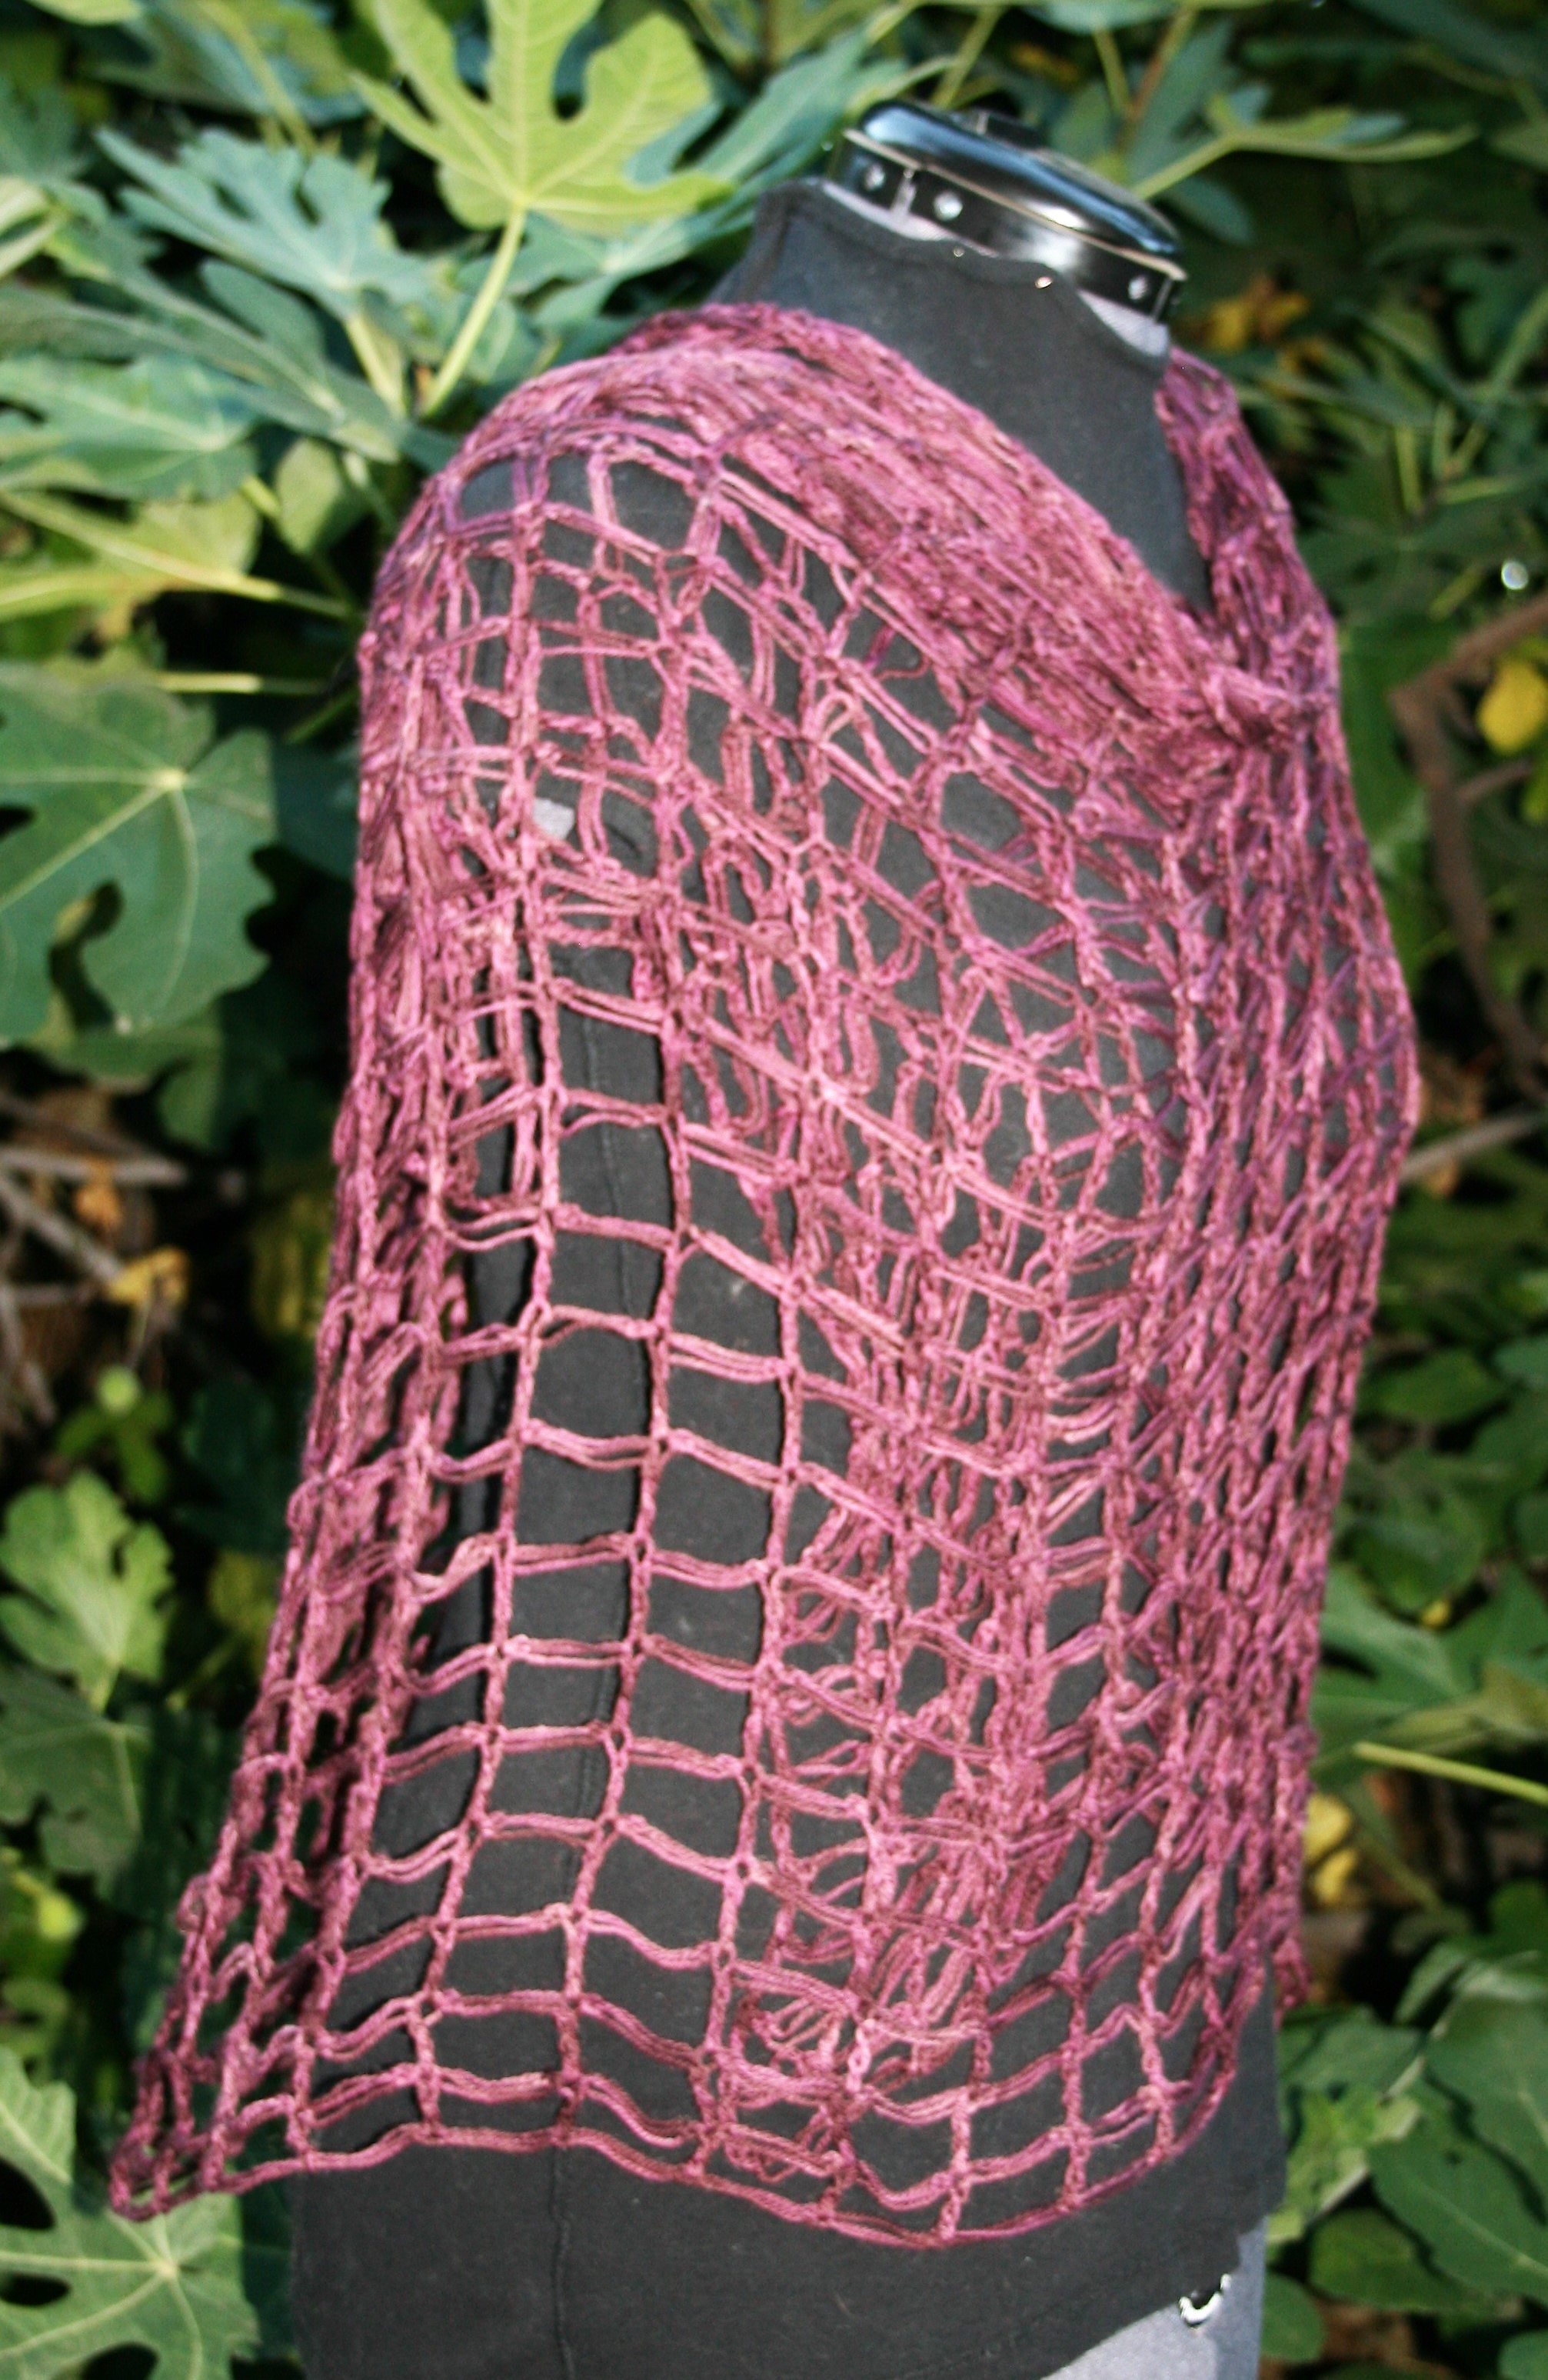
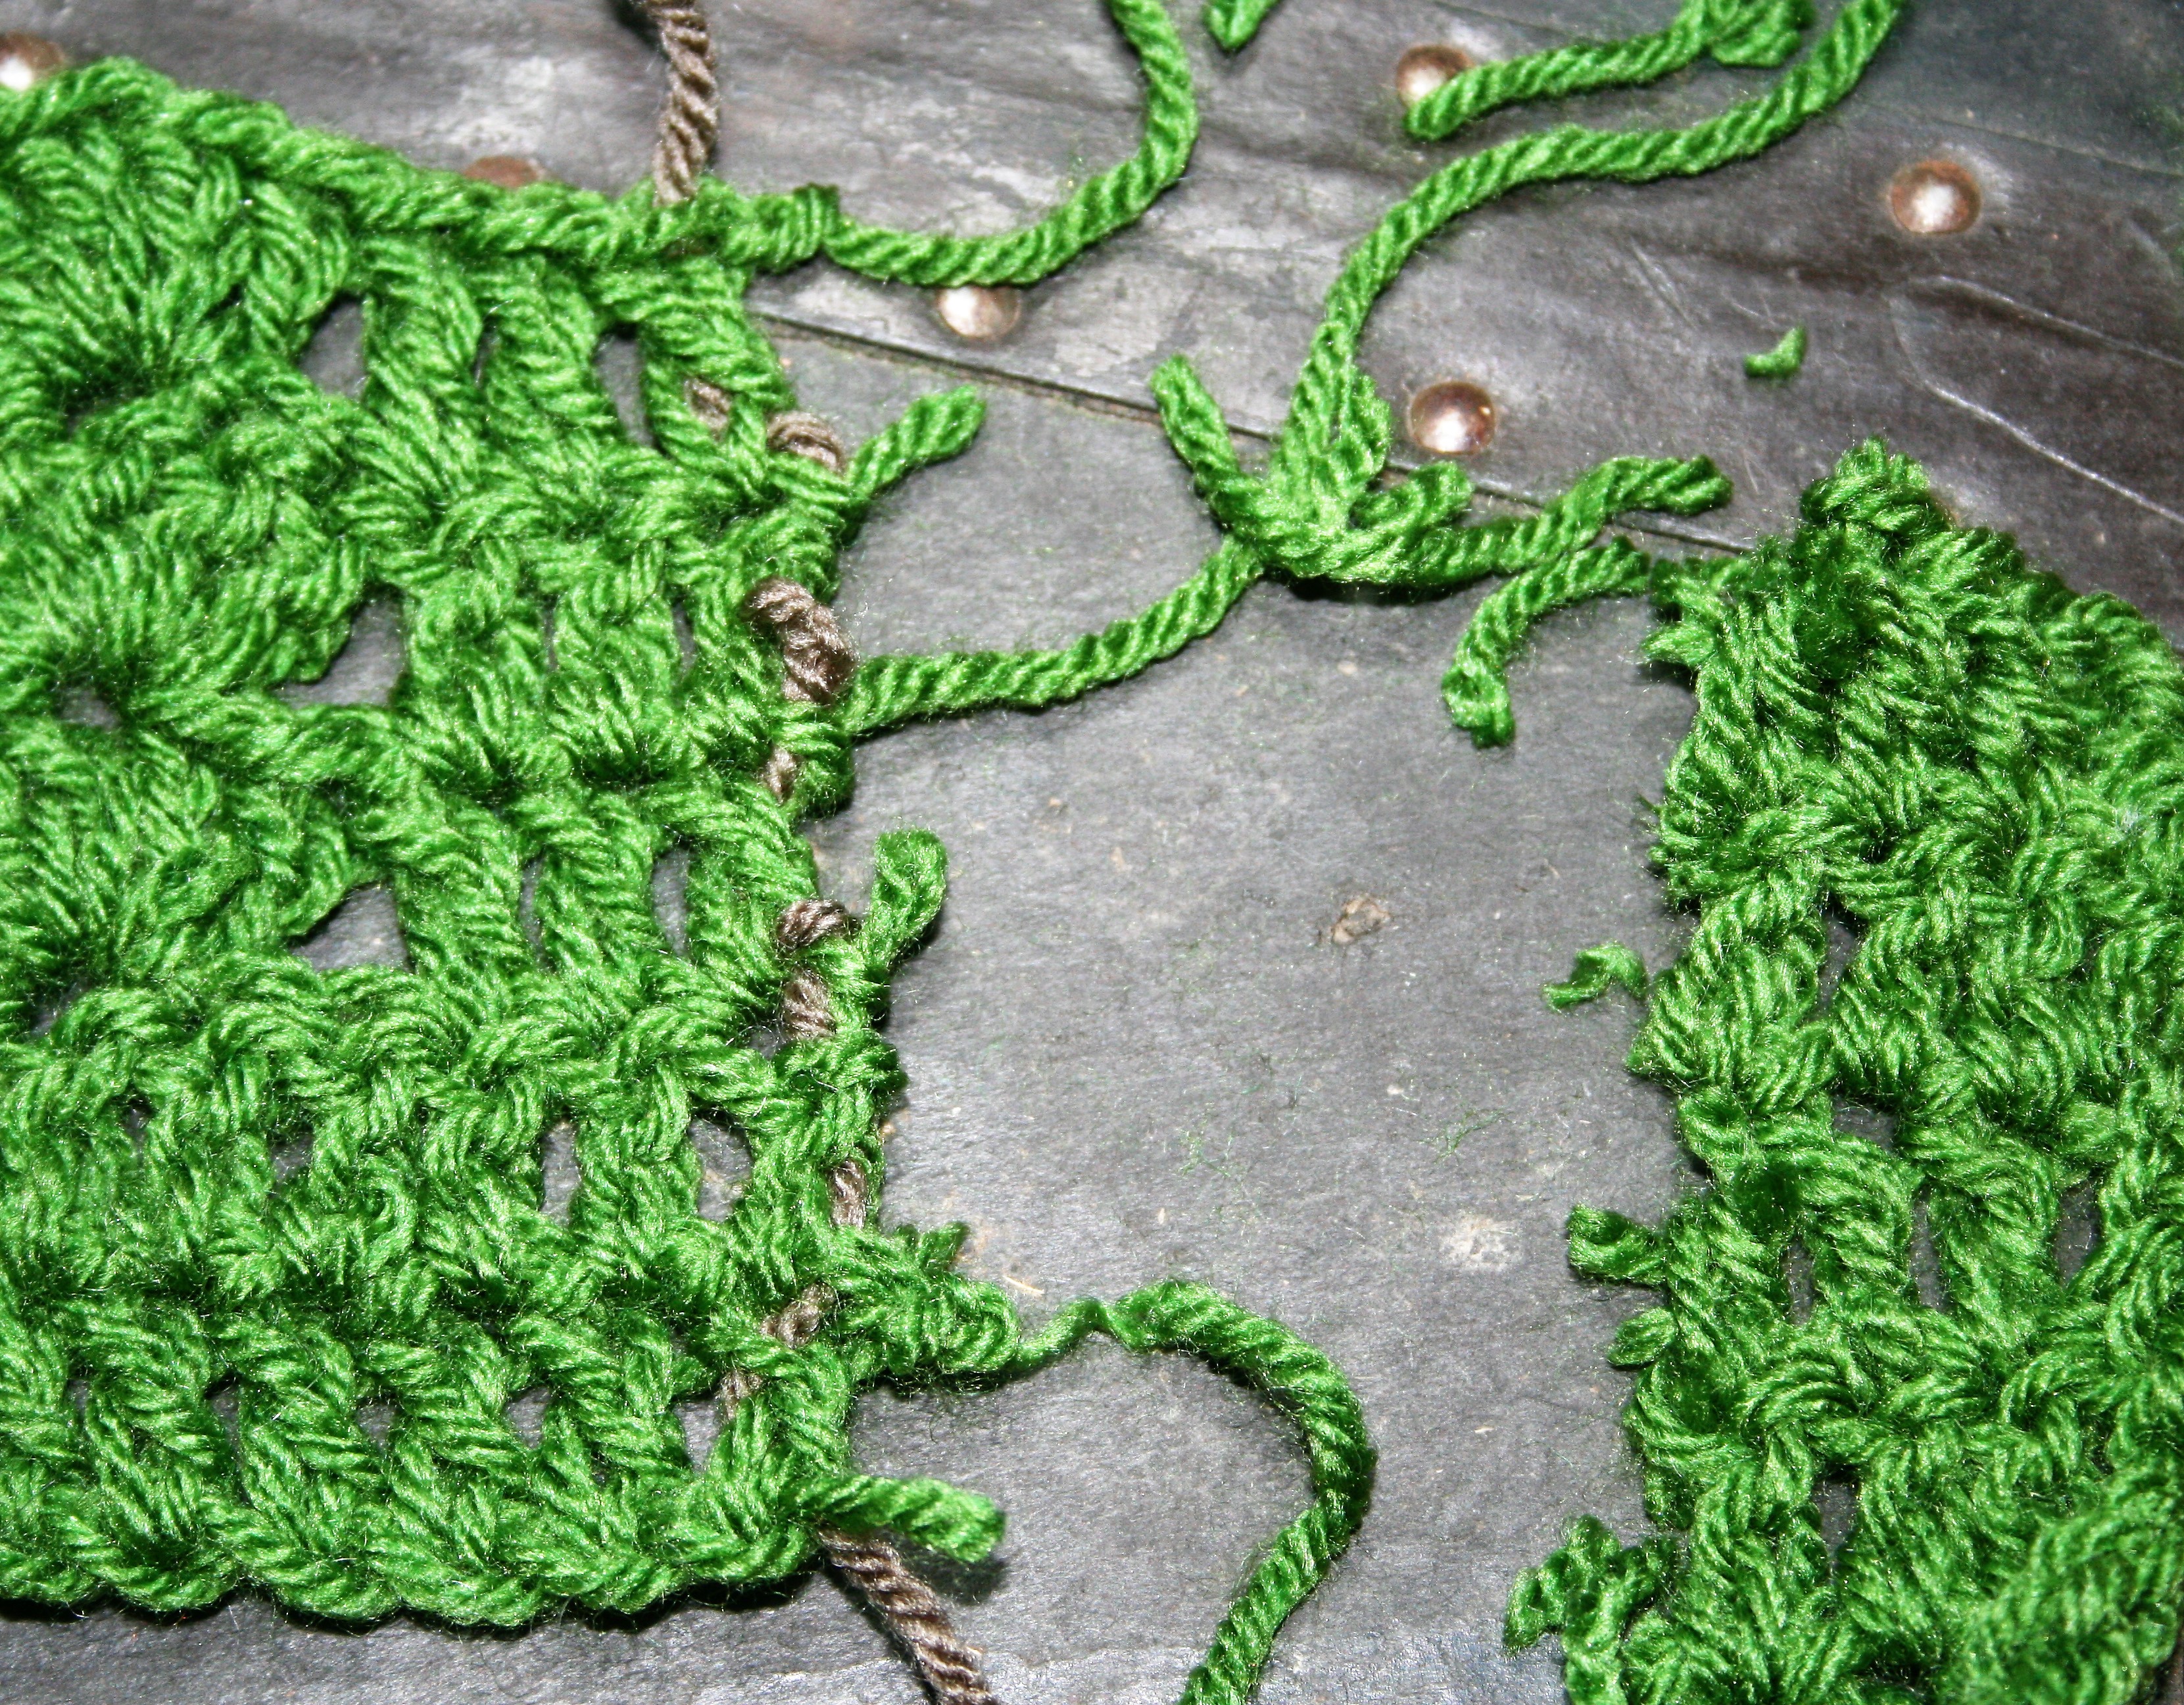
First realize that the pattern you find was designed in a specific yarn. The way it looks in the photo is because of this specific yarn. Changing the yarn will change the effect, maybe the drape, maybe even the size.

Now what to compare to make the change.

Check the weight of the yarn. The weight is in essence the diameter of the strand of yarn, it can be assigned a number (from 0 lace-7 super chunky) or given a name such as lace, thread, sock, fingering, baby, sport, DK, worsted, Aran, chunky, craft, bulky, roving.  These numbers or names are assigned by the manufacture and finding matching yarns at least get you in the ball park that the yarns are similar.

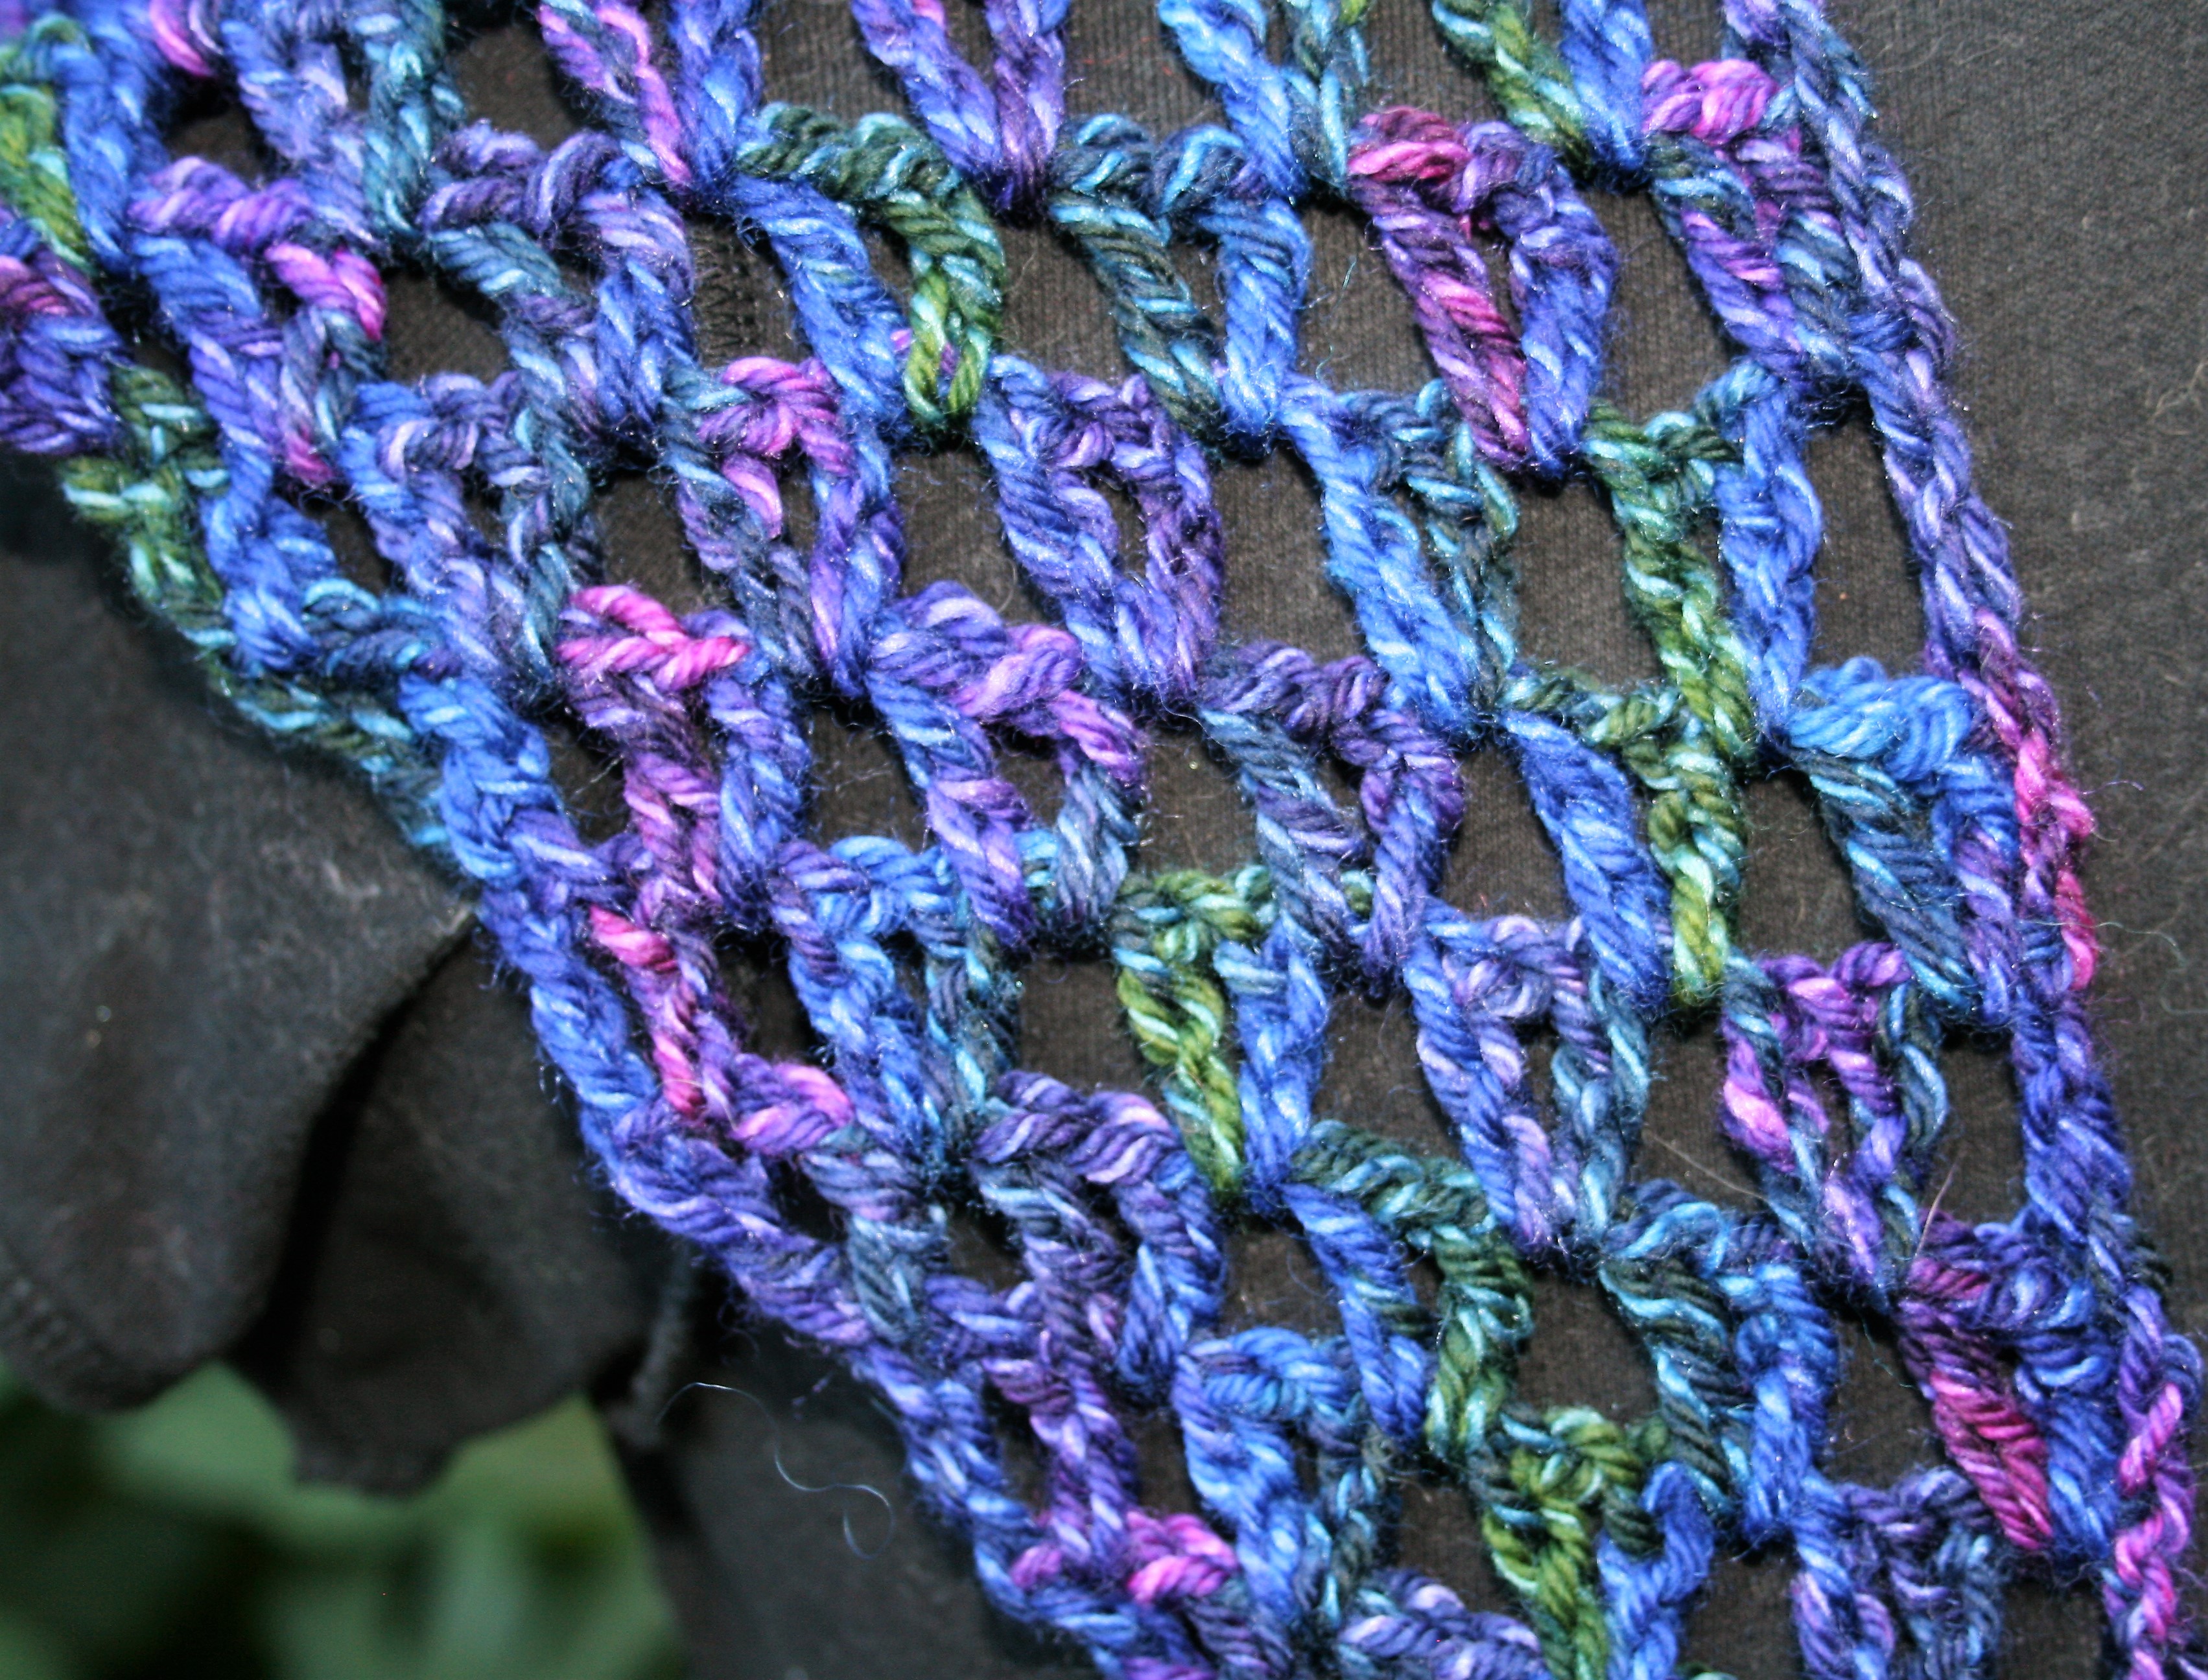
However there are times that you pick up a yarn and it doesn’t have a weight listing by number of name, but it does have a knitting gauge listed. This gauge can help you make the weight comparison too. Yarns that have the same gauge, using the same size needles, will be also be compatible in weight. If the yarns are using the same size needles in the gauge but the stitch and row counts are not the same, the yarn with the higher number of stitches in the gauge will be thinner than the other.

Another way many compare the weight, is to compare the yard/meters and the ounces/grams of the skein. If a skein states that it is 400yrd/366m and 1.75oz/50g it would be compatible with a yarn of 425rds/388m and 1.75oz/50g, but not compatible with a yarn that was listed as 600yd/549m and 1.75oz/50g, as the latter yarn is much thinner. It is a comparison of yards/meters and comparison if ounces/grams that help you see if things are in the same ball park.

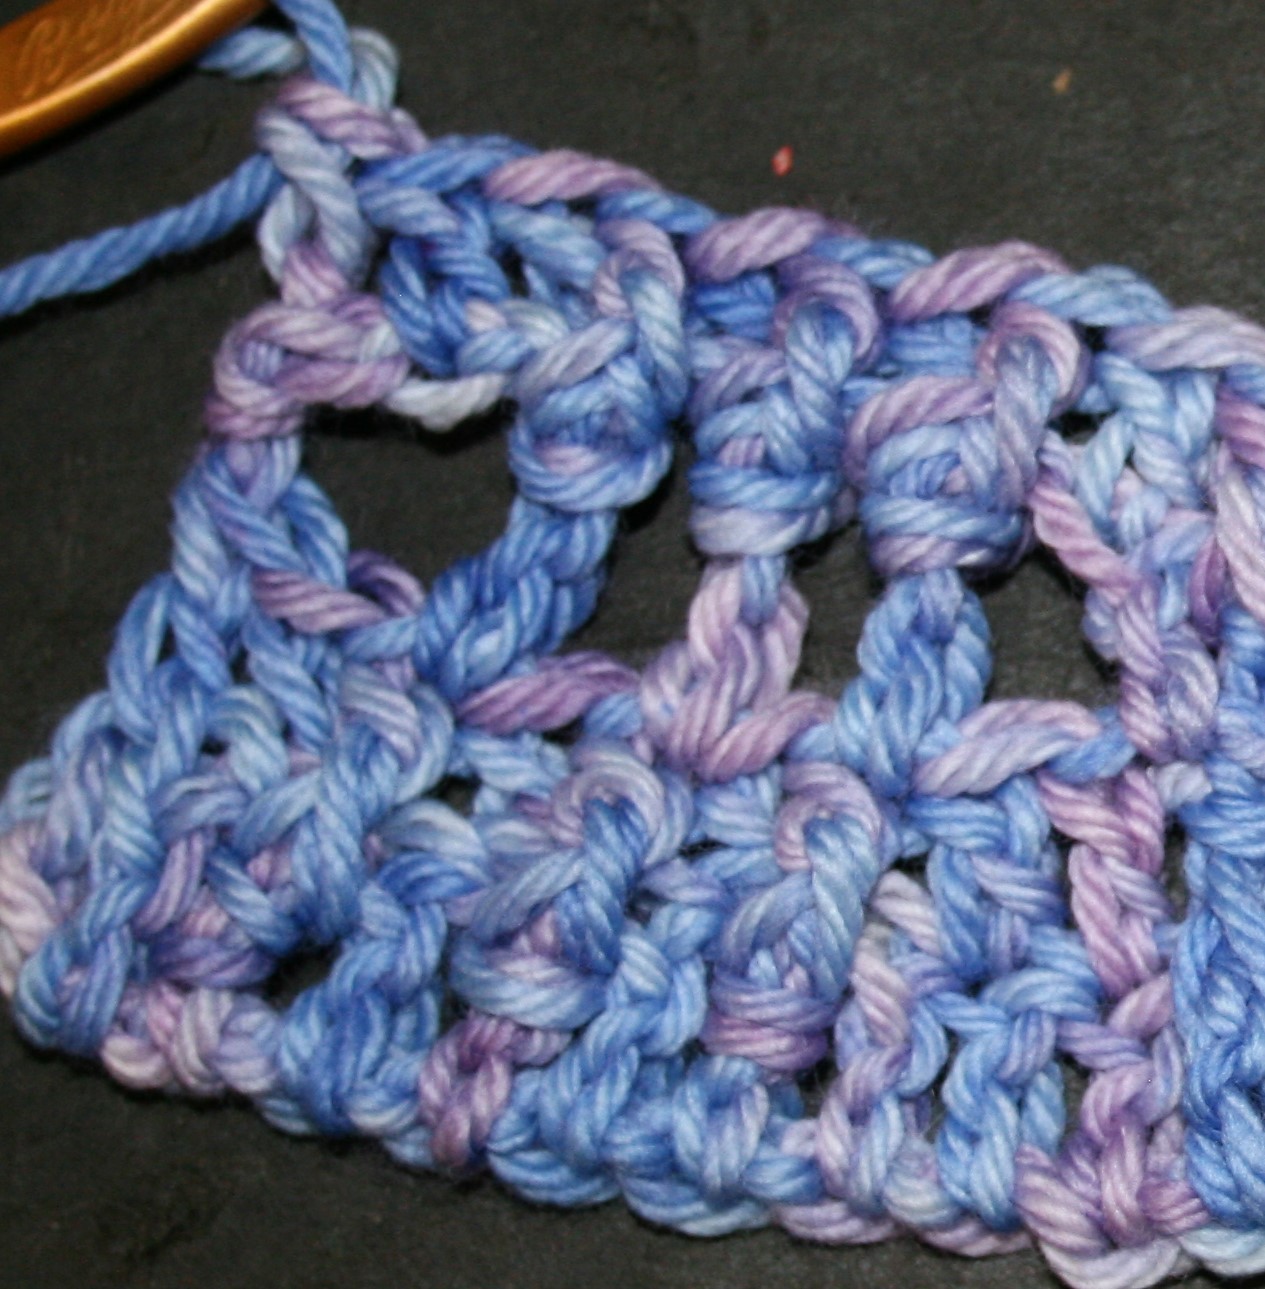
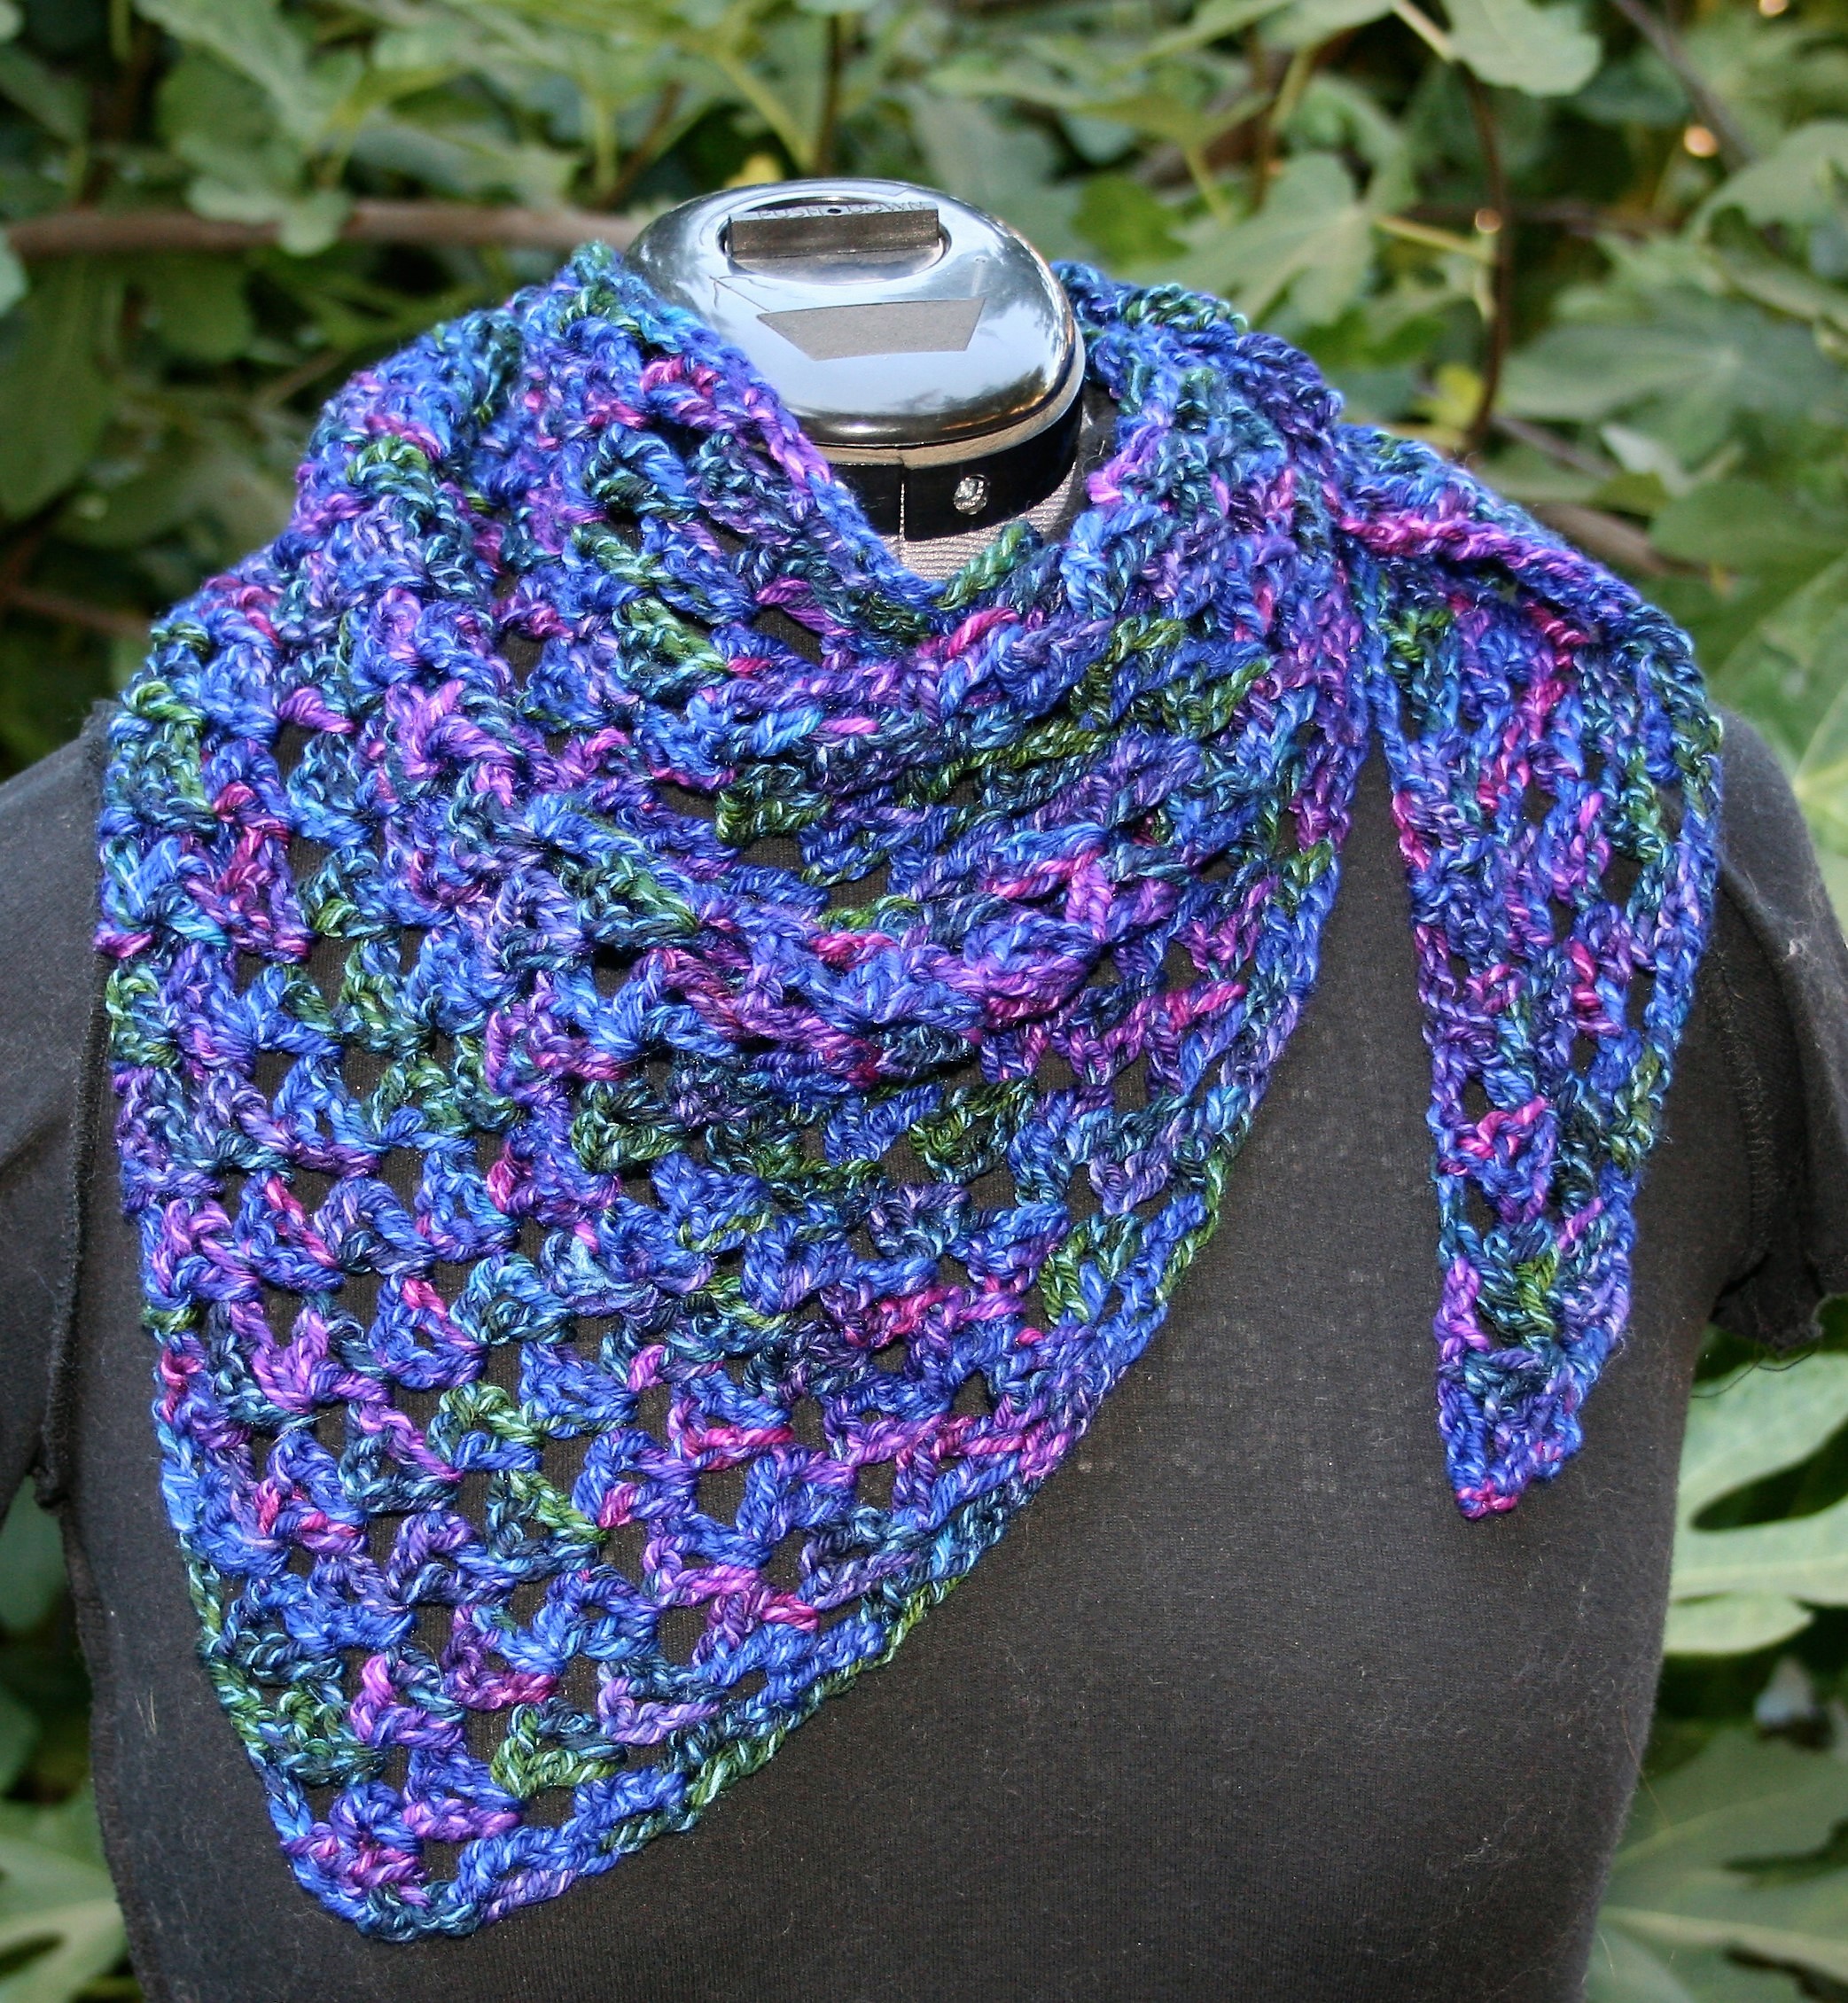
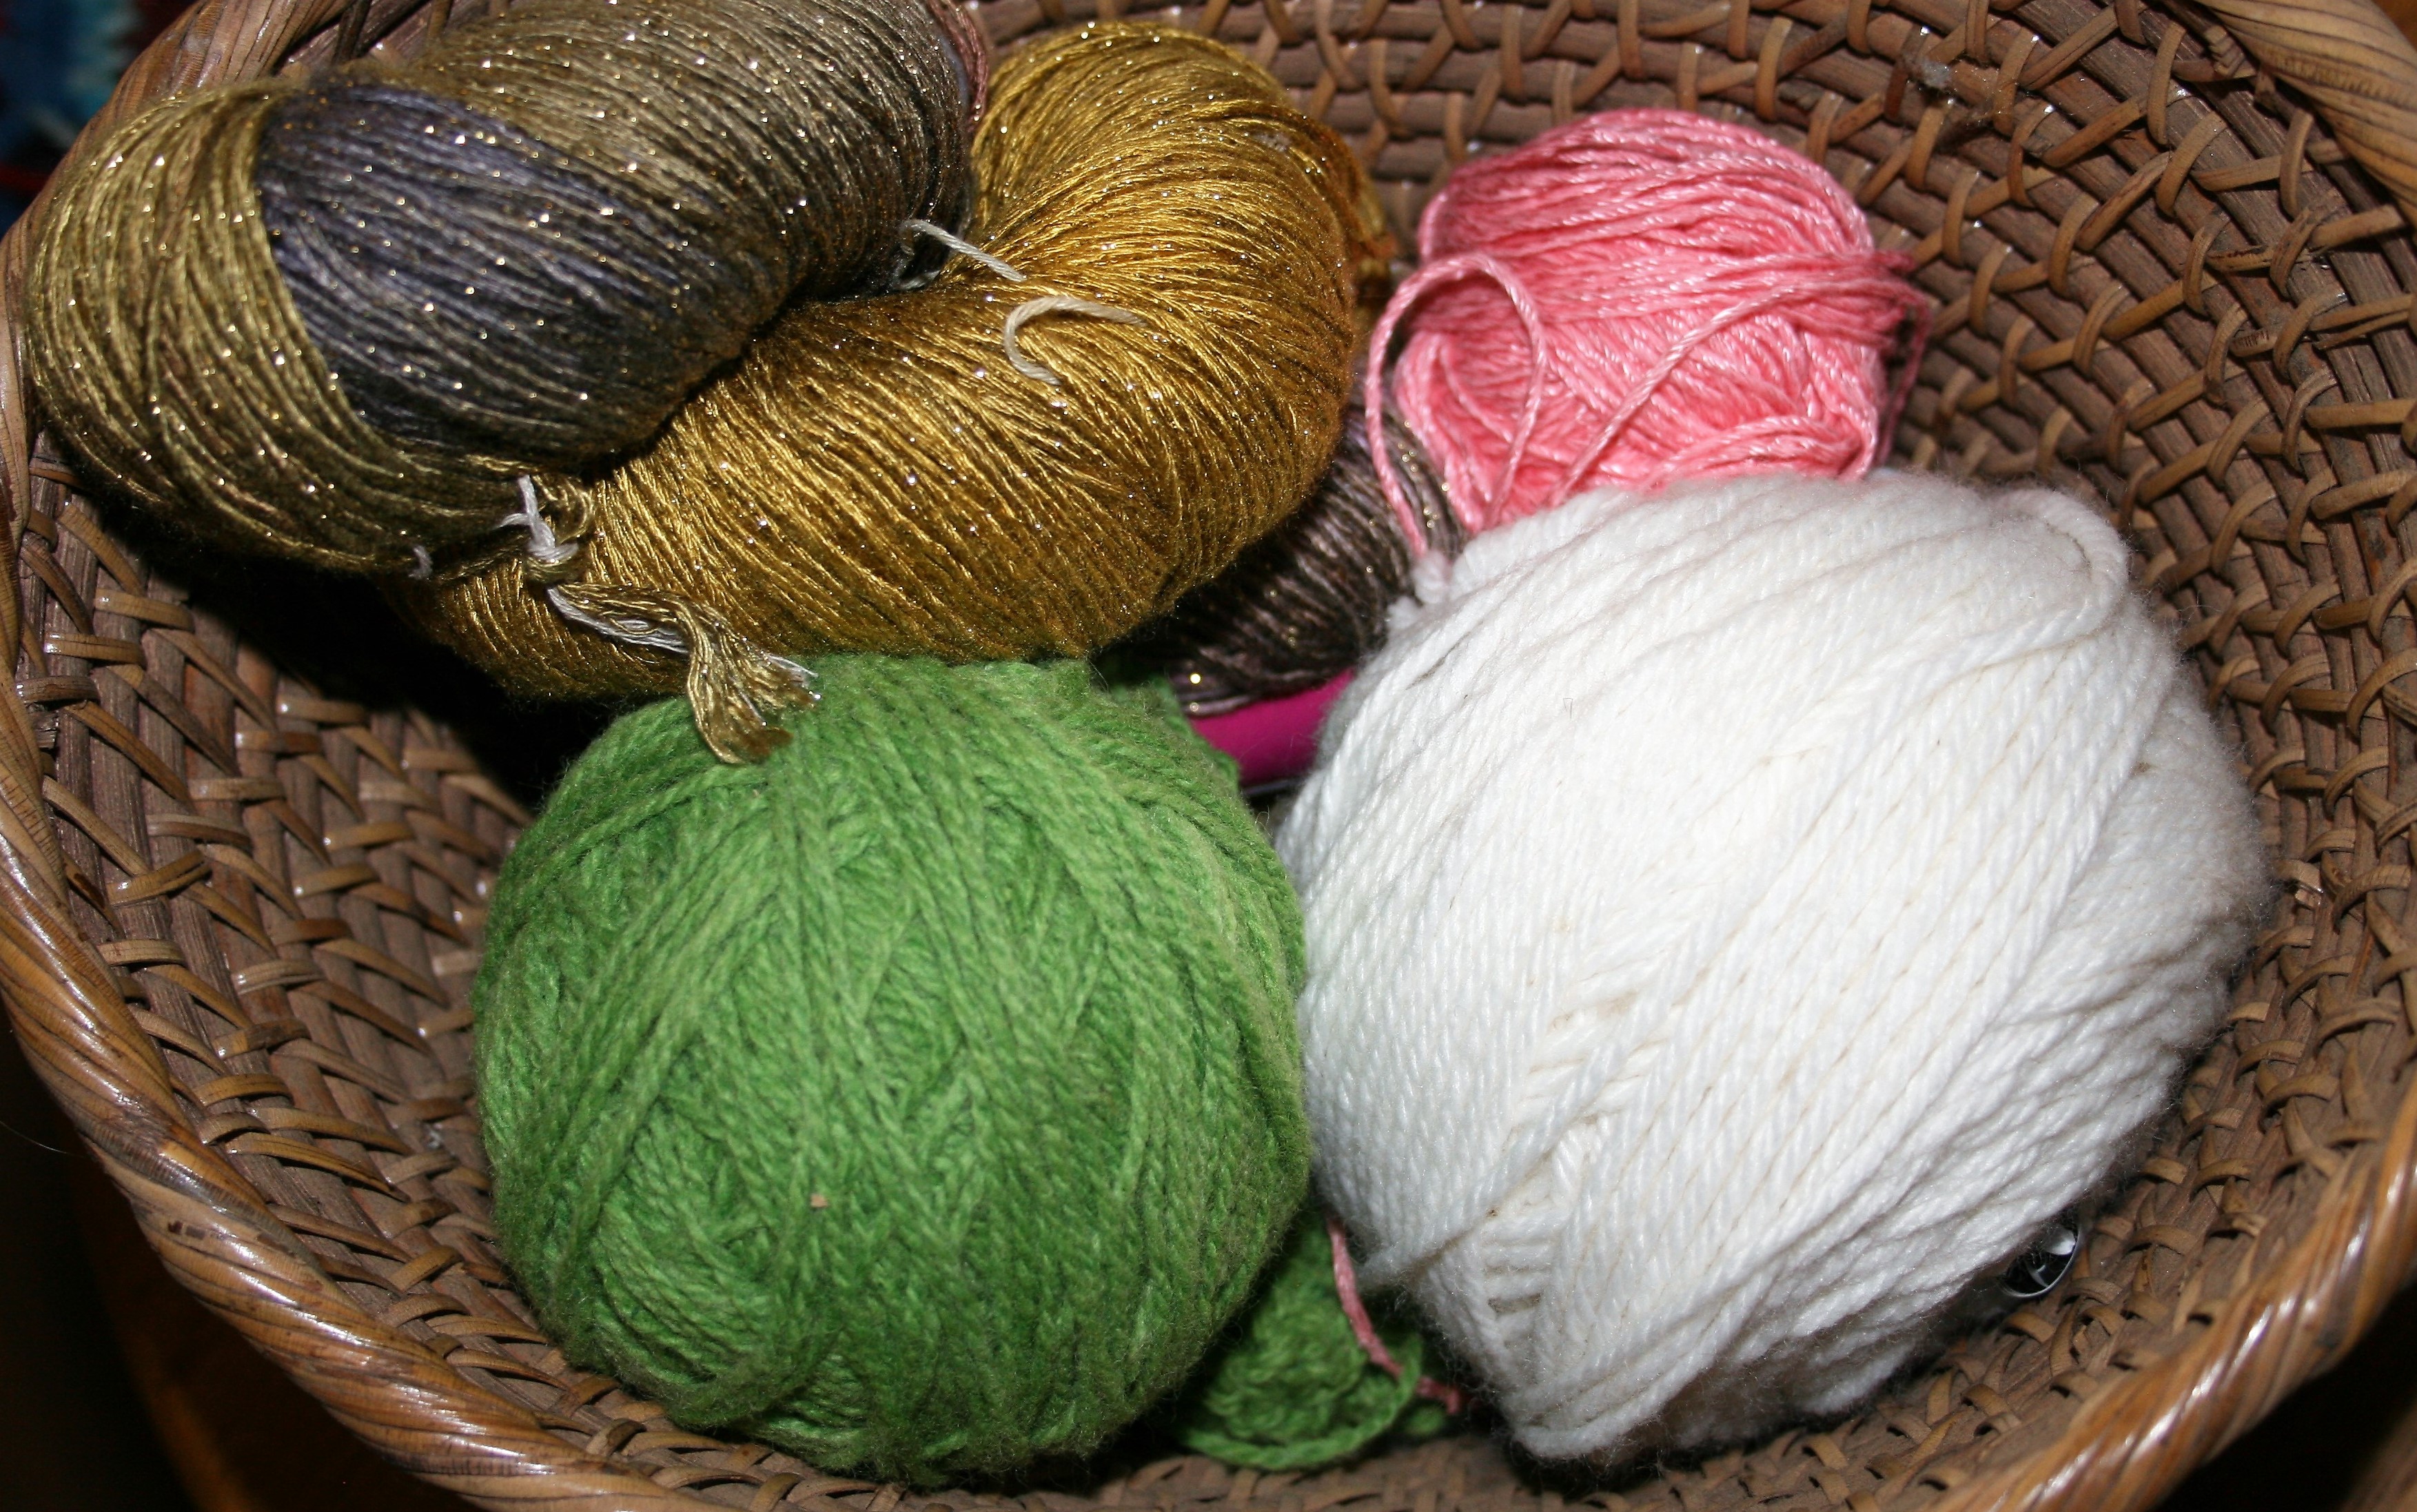
The next thing to consider when comparing yarns if the fiber content. In some cases it may not make much of a difference, but a few fibers act completely different from one another. For instance if you are substituting a wool yarn with a lot of bounce or springiness, with a 100% silk you fabric will not even resemble each other. The silk tends to have a lot of drape, it flows, and in comparison to the wool will be limper. Whereas the wool will have some stretch and spring back into place.

Yarns with similar fiber content will behave similarly, so use caution if the labels vary greatly.

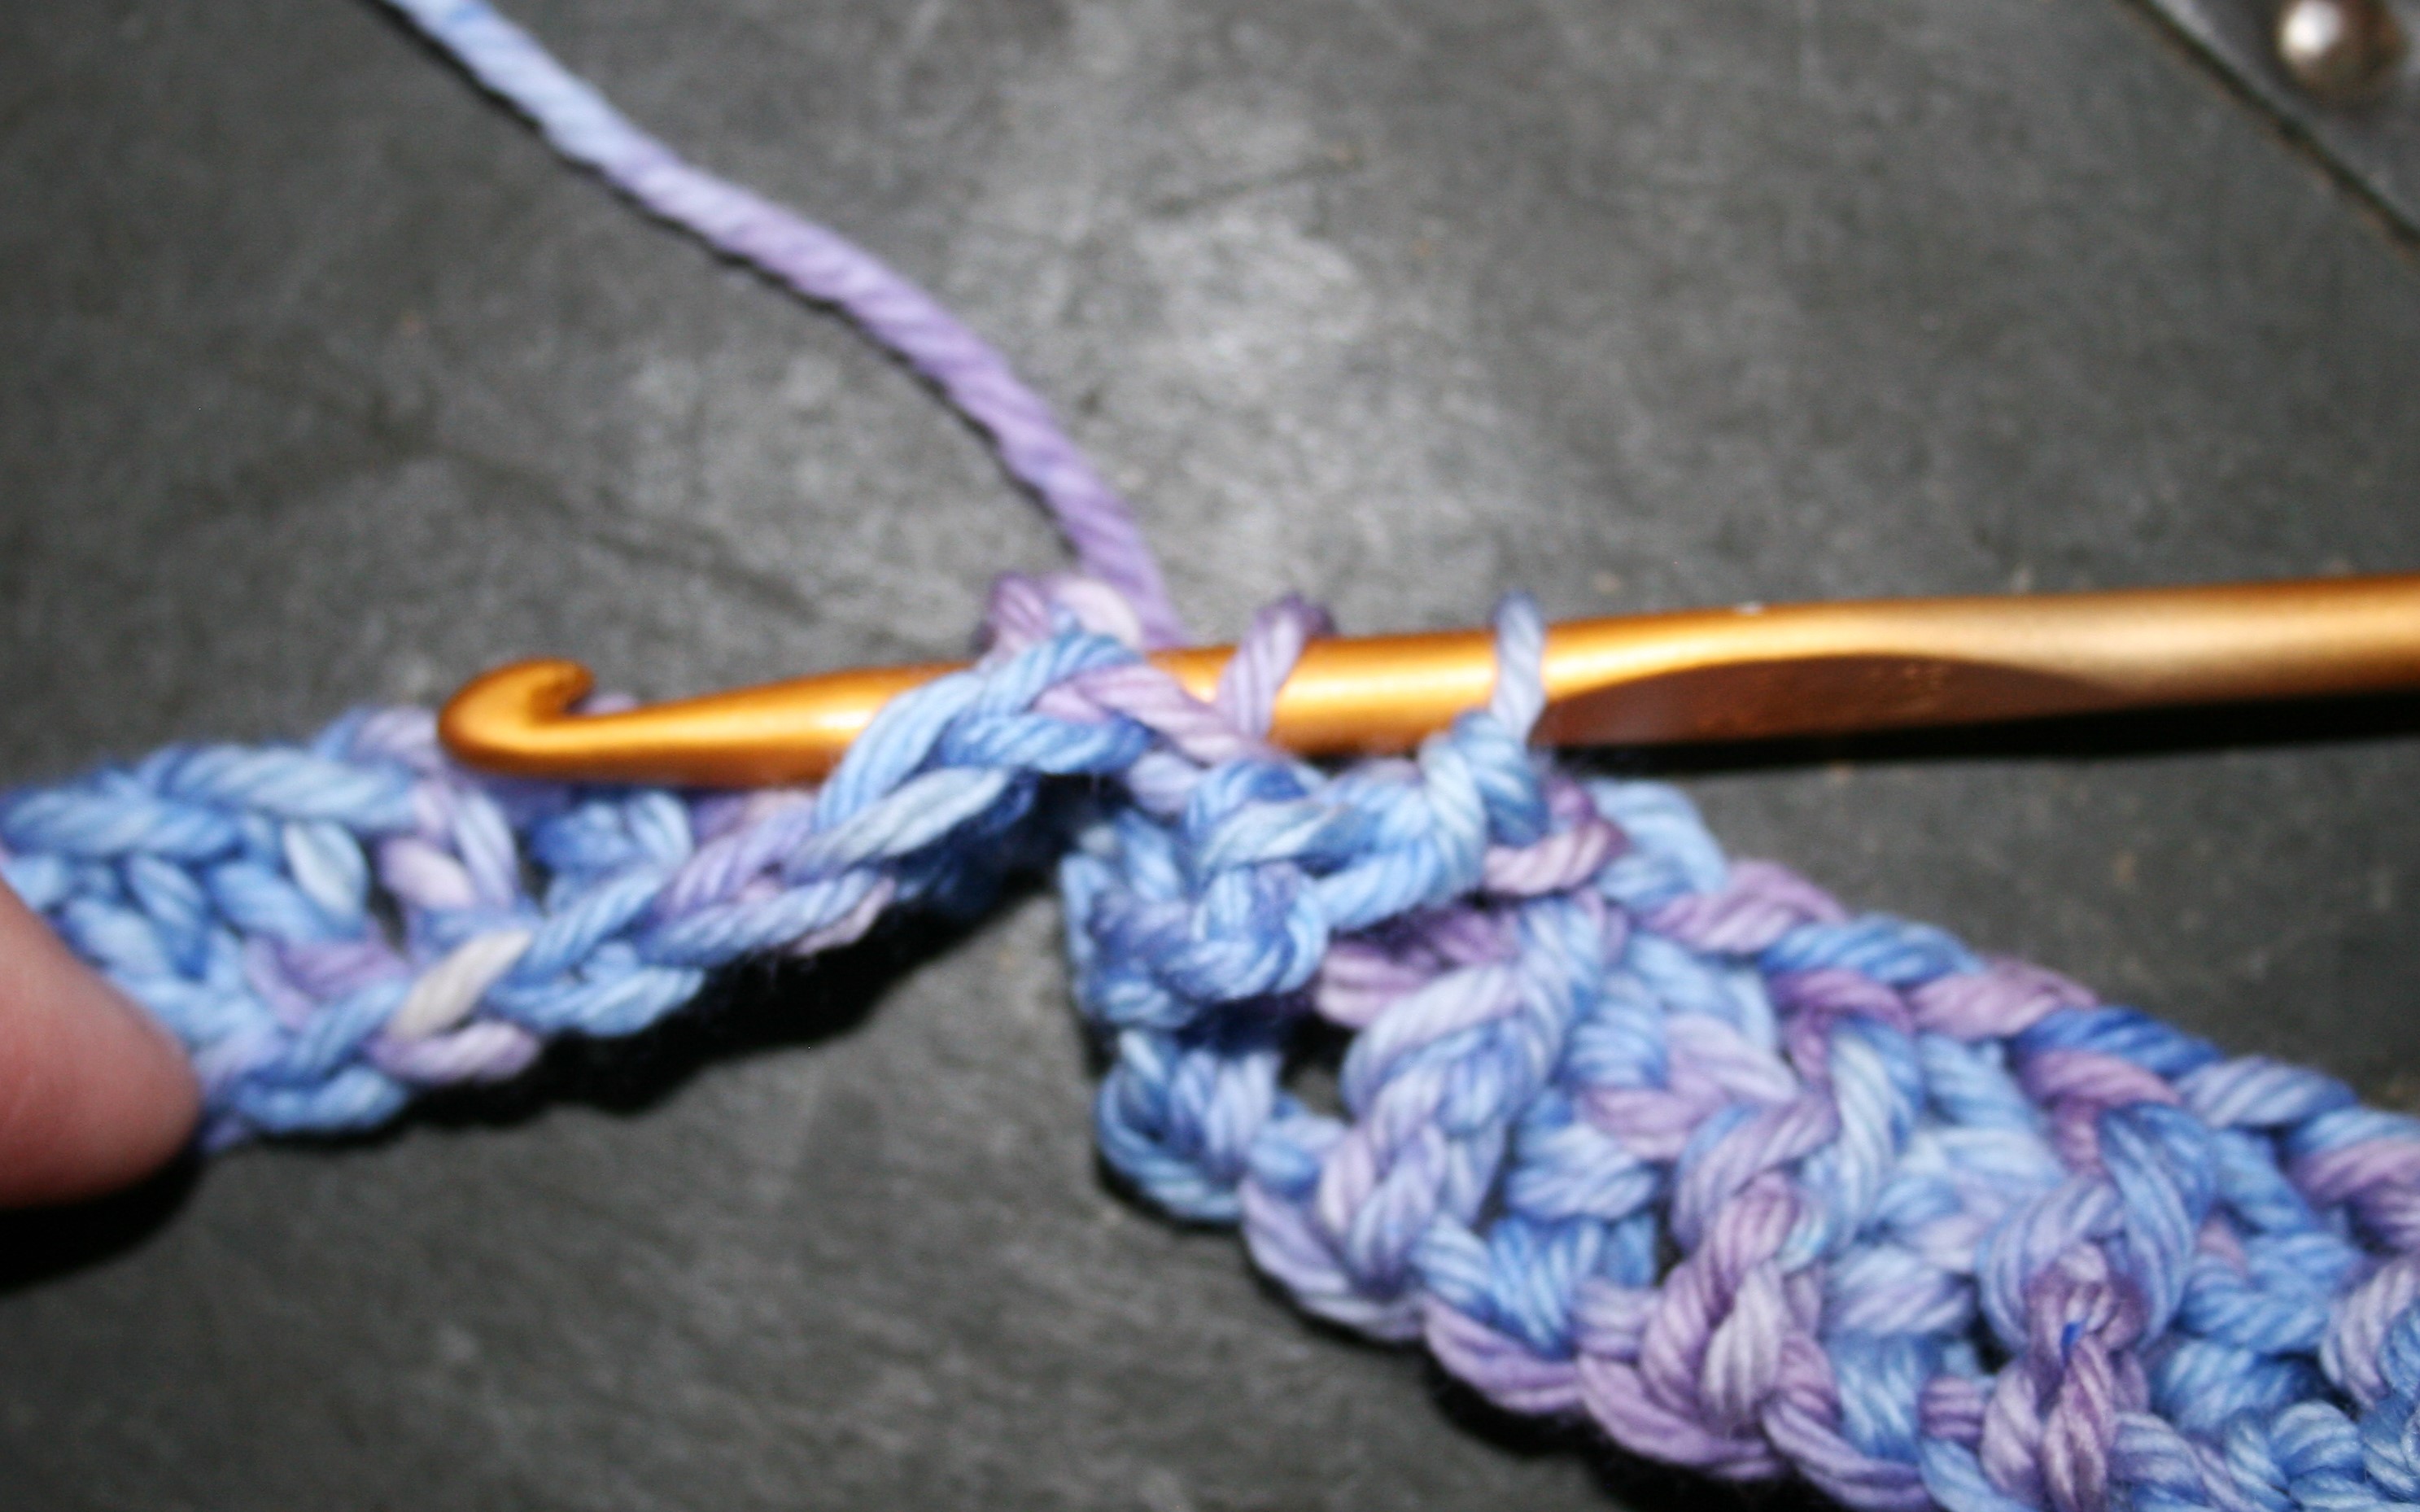
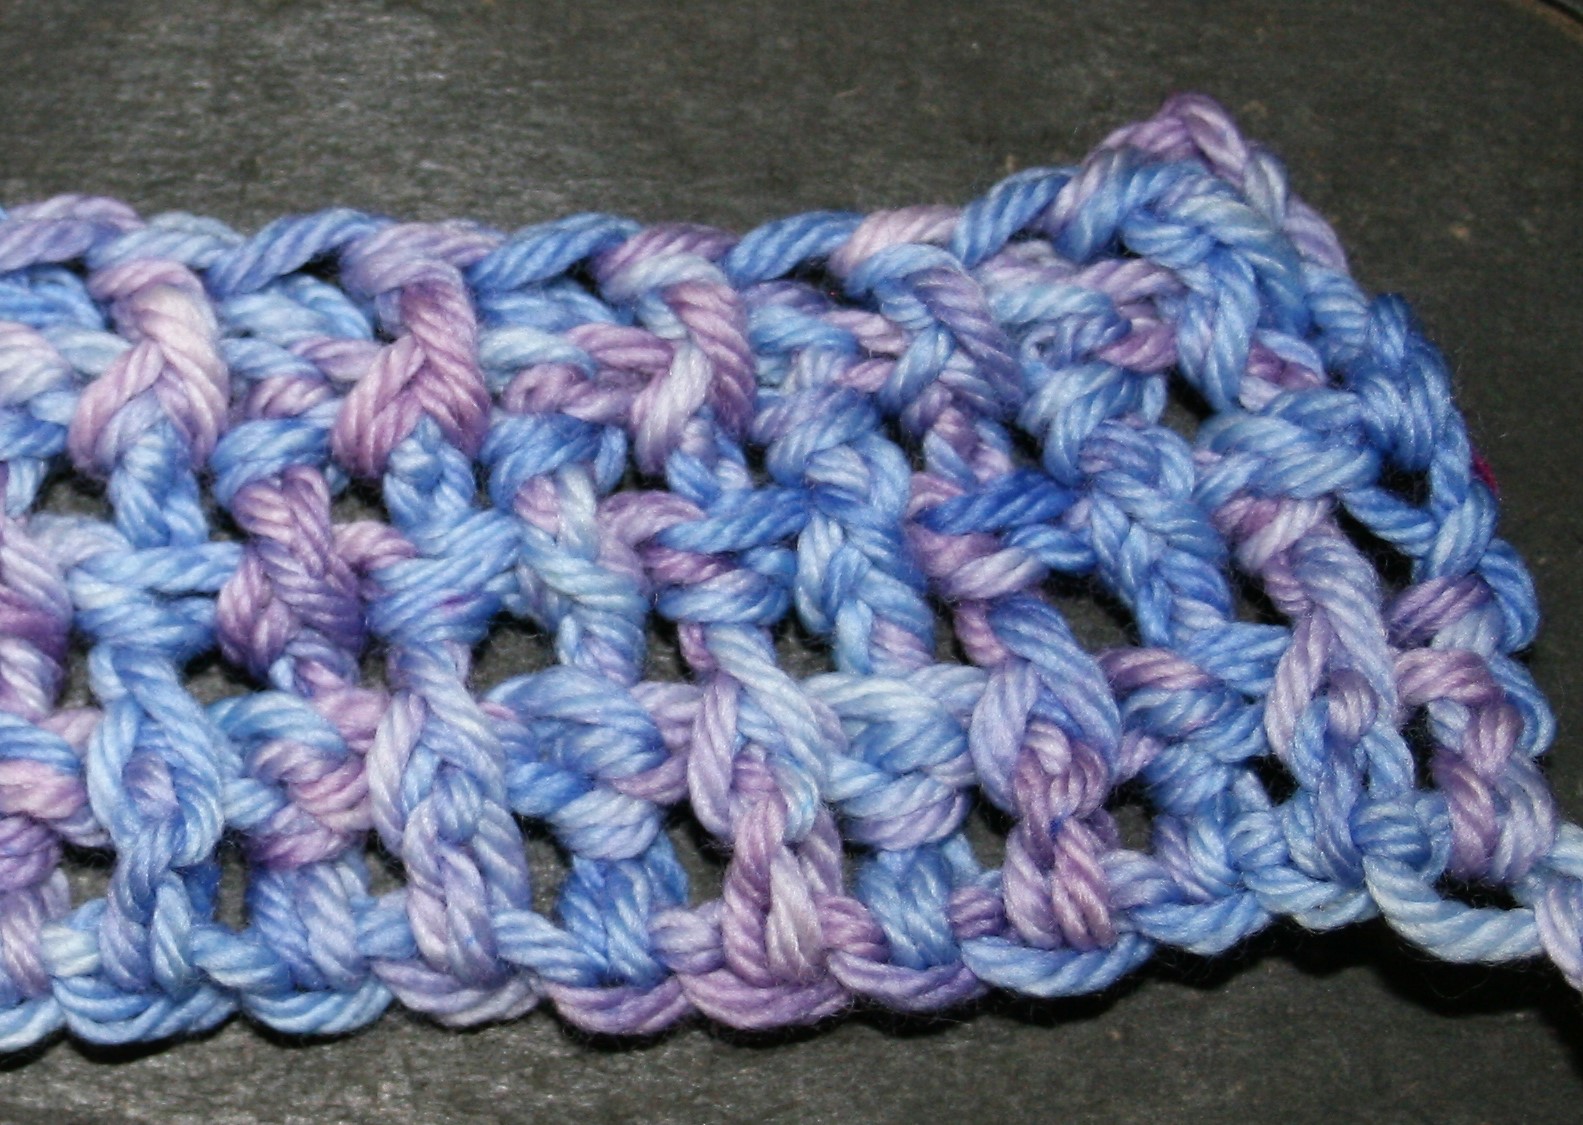
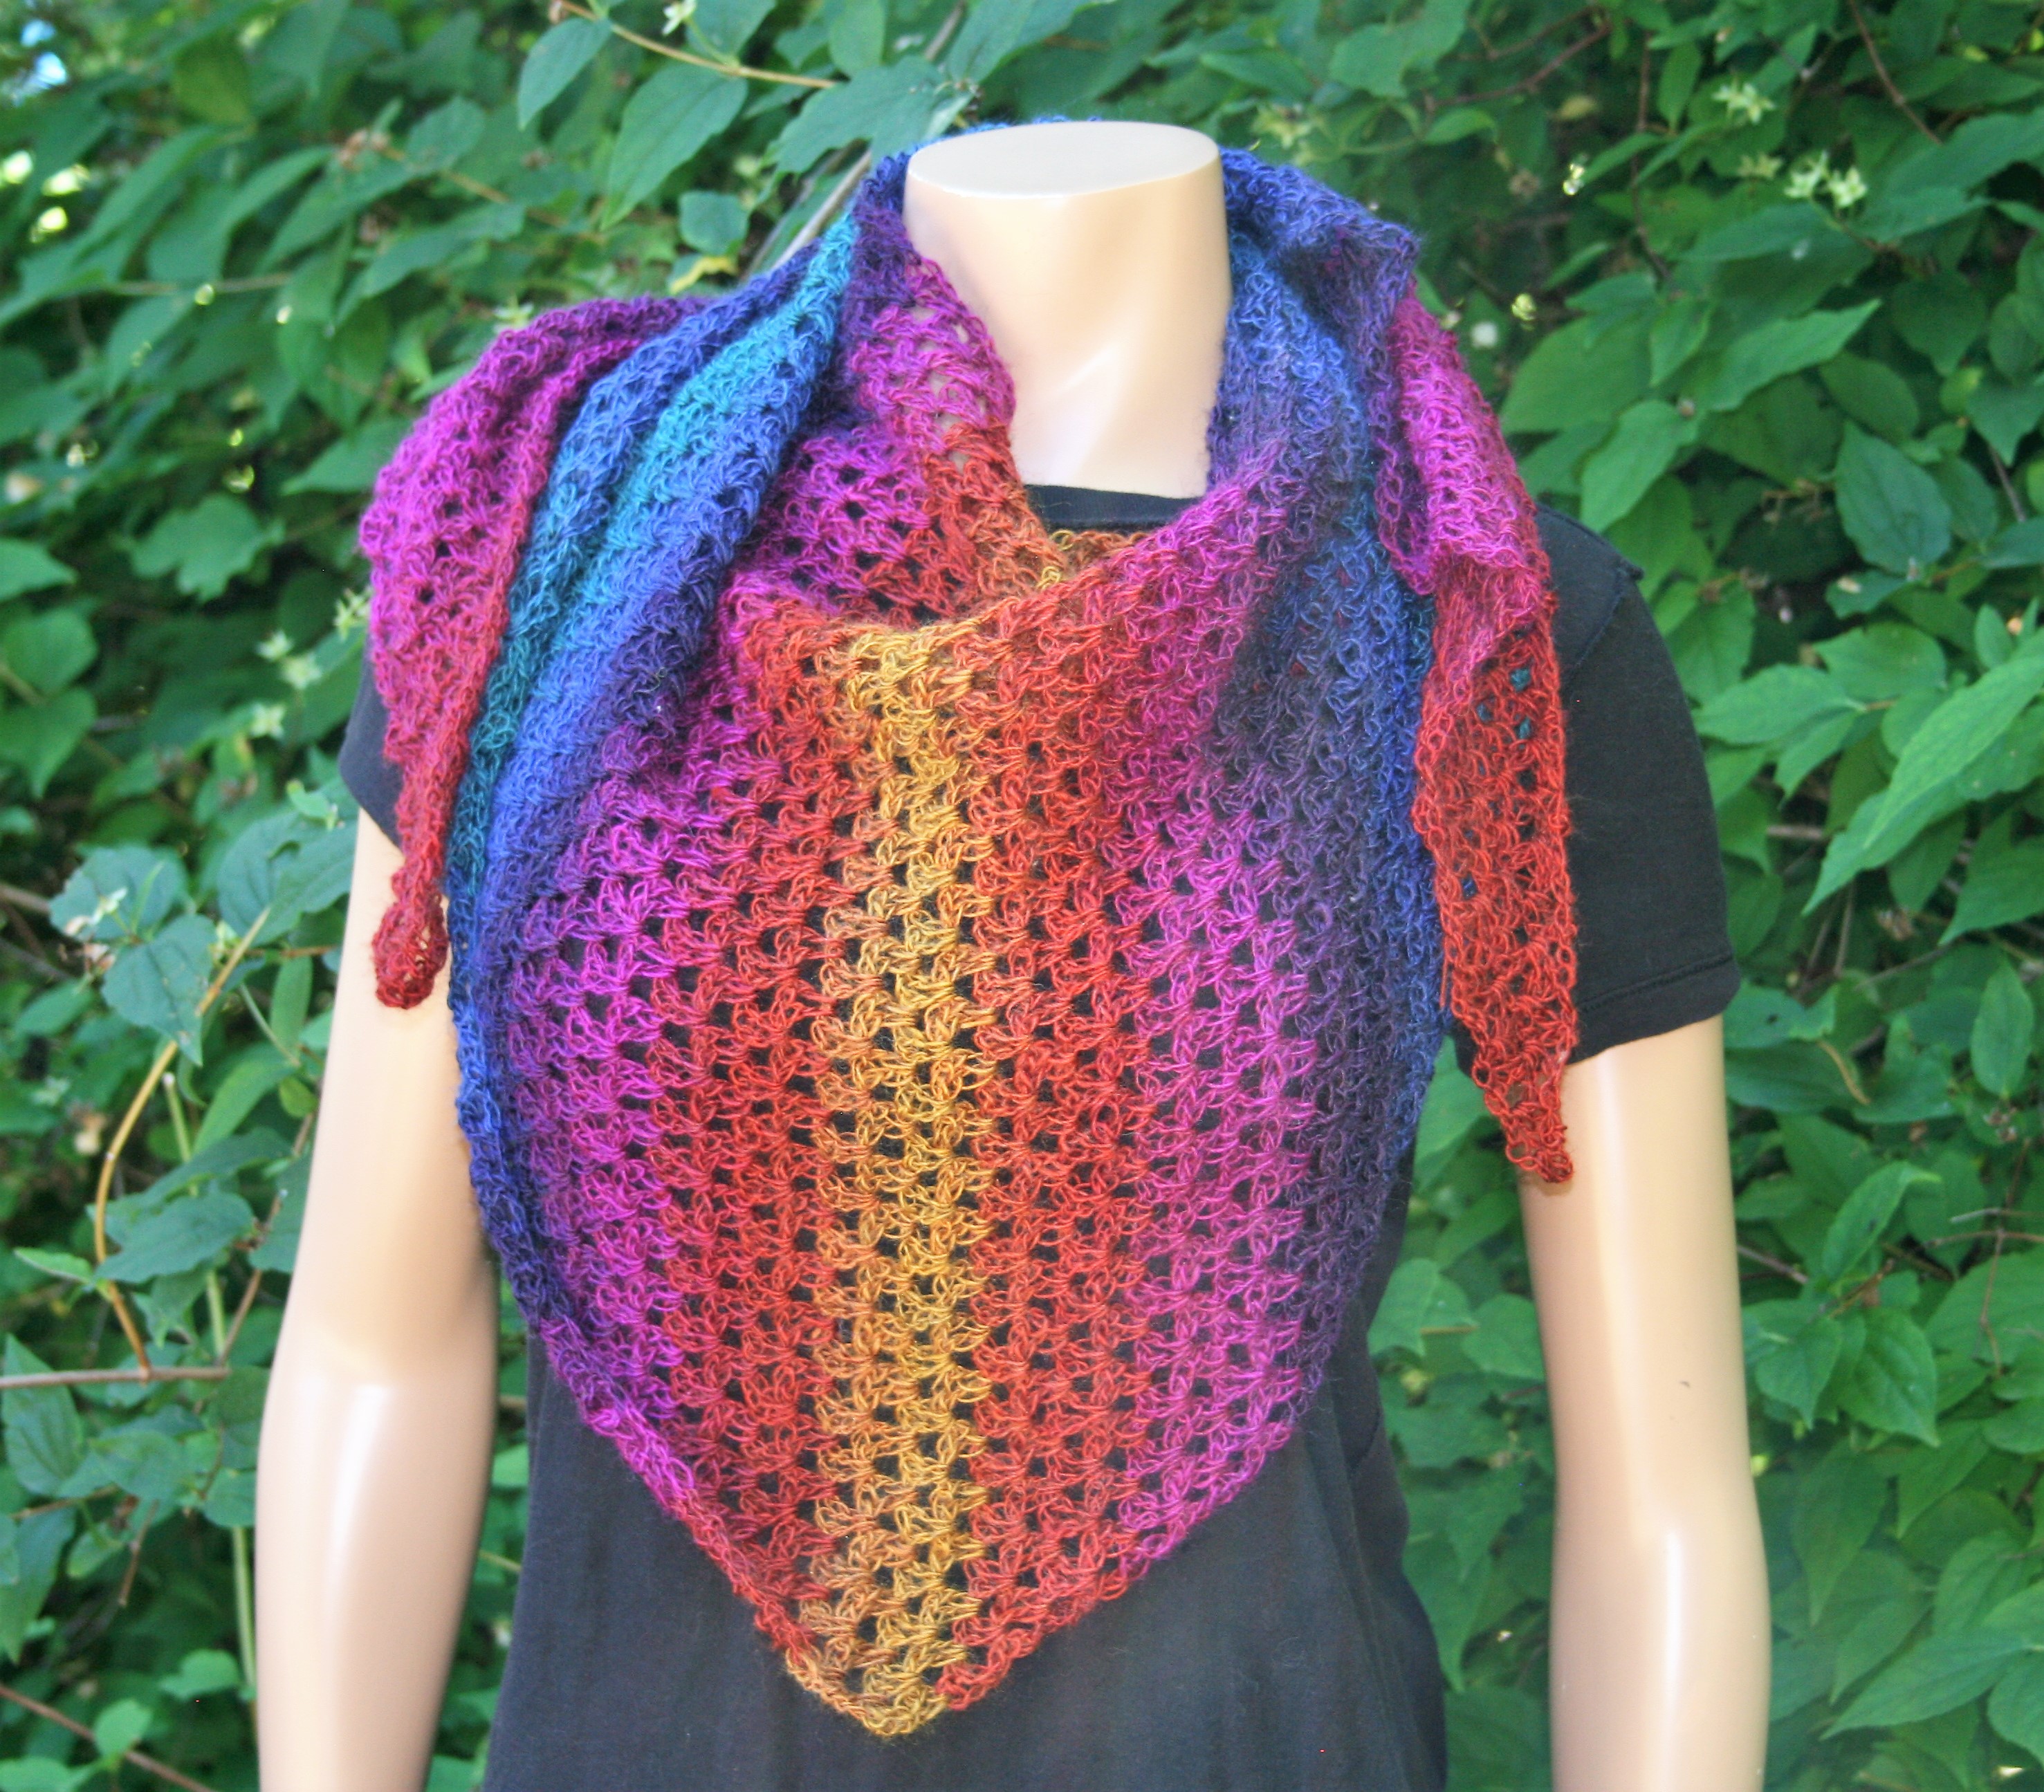
Now that you have found a yarn to substitute, if you want to ensure that you will be happy with the outcome of your project, make a gauge swatch. If you make gauge and are happy with how the fabric feels and looks, make your project.


Woven Kisses Wrap- Free Pattern

For the last few years I have released new patterns featuring yarn from Lisa Souza Dyeworks to highlight the New York Sheep in Wool show, affectionately known to many simple by the town that hosts it, Rhinebeck. This year is no different.

With Rhinebeck occurring this next weekend, October 20 & 21, 2018 at the Duchess County Fairgrounds, I have designed a new shawl; Woven Kisses.

Woven Kisses is essentially a mesh, but not created with your most common stitches. It is worked with tall stitches and Love Knots (aka Solomon Knots). It works up quickly, and adds a great airiness while giving beauty. If you need to learn how to create these lofty stitches, I share how here.

This wrap is airy and have a beautiful drape. One of the things that I always find interesting is that even with the openness, it is quite warm, making for a delightful project. In addition, this entire wrap is created with only one skein of yarn, everyone loves that. It helps keep things cost effective, while also only having 2 ends to weave in, my favorite kind of project.

Even if you cannot attend Rhinebeck, you can enjoy this design, since I am sharing it as a free pattern. I hope you enjoy it and that it helps you get into the crochet season.

Woven Kisses Wrap

Materials

  • Hook size 1/9/5.5mm
  • Lisa Souza Yarns Delux Sock light weight 80% superwash merino, 10% nylon 10% cashmere (4oz/495yds): 1 skein color: Rhinebeck 2018 (www.lisaknit.com)

Gauge is not critical for this project

Finished Size approximately 24” x 84”

Row 1: Ch 2, sc in 2nd ch from hook, 50 LK, turn.

Row 2: Ch 4 (counts as tr now and throughout), LK, tr in knot between 2 LK, [LK, tr between next 2 LK] rep 48 times, LK, tr in last knot, turn.

Row 3: Ch 4, [LK, tr in next tr] rep across, turn.

Row 4-26: Rep Row 3. Fasten off, block.

Understand Crochet Post Stitches

In crochet Post Stitches are all about where you put your hook. It really can be that simple, yet it can be intimidating. It is from post stitches that interesting textures and designs can be created. But first it helps to understand the basics.

To work a Front Post Stitch, the hook is inserted between the “body” of a stitch, from the front of the fabric to the back, then returned back to the front of the fabric. Causing a post (or “body”) of a stitch to be pushed forward. In all the examples I show here I am demonstrating with Double Crochet stitches (US Standard), but really any stitches can be utilized in this manner. Then the indicated stitch is completed as normal.

As for a Front Post Double Crochet -FPDC, (US Standard), you would yarn over first, insert the hook as indicated above, yarn over and pull through a loop to anchor the stitch, then yarn over pull through 2 loops, and repeat the yarn over pull through of the last 2 loops on the hook.

To work a Back Post Stitch the process is very similar, it is just placing the hook in the reverse order, pushing the post (or “body”) of the stitch toward the back of the fabric. Essentially inserting the hook between the “body” of the stitch, from the back of the fabric to the front, then returning the hook to the back of the fabric. Once again you complete the stitch as indicated.

When working a Back Post Double Crochet -BPDC, (US Standard), you would yarn over first, insert the hook around the post of the stitch from back to front, then front to back as described above, yarn over and pull through a loop to anchor the stitch, then yarn over and pull through 2 loops two times.

Knowing these stitch positions opens up many different stitch texture opportunities, such as basket-weave and cables, I have displayed here a simple basket-weave of alternating front and back posts, as well as working a front and back post stitch around the same stitch. Working around the same stitch you will have to skip a stitch between or work the stitches over a mesh base. Using the same stitches, and in this case even in the same order (alternating front and back post stitches), you can get very different effects. Try this stitch placement out for your self. 


Cutting Crochet- It is Possible

I have been quite a few questions lately about how to cut crochet. Granted it is not a simple process, but it is a skill you can acquire, with some simple understanding about your fabric.

First what do you want to cut your fabric? Maybe the beginning chain is way too tight in comparison with the rest of the fabric, and you would love it fixed. Maybe you made the something the wrong size, an afghan you made to wide, a sweater you made too long. The reasons can be vast.

To begin with cutting crochet fabric is unique and different almost every time you do it. The approaches to cutting across rows for fabric (horizontally) and cutting through stitches (vertically) might be similar, but horizontally is a bit easier. So let’s start there.

Before cutting through a row of stitches you want to run a thread through the bases or “feet” or the stitches that are being worked into the row to be cut. This thread will help prevent the fabric from unraveling.

Once the thread is in place, cut the row off. Now remove all the excess yarn bits. You should have crochet stitches that are now worked on a thread. It is relatively simple to finish this fabric off by a new fabric to the base of the stitches on the thread and crochet into the “bottoms” of each stitch. Once all the stitches are worked into, you can remove the thread.

To cut vertically in the fabric, the approach is similar to run a thread through the stitches adjacent to those being cut, but it can be more difficult to ensure that each loop that encompass a stitch is secure in this process, so I add an extra stitch. After running a thread through the stitches, you can cut the fabric (note, if you want to save both sides of the fabric from the cut you will need to run a thread on either side of the cut to ensure that neither piece of fabric unravels).

Once the fabric is cut, gently remove the excess yarn form the fabric at the cut, being careful to watch each row and ensure that no yarn is unraveling past your thread. If it is, as you have missed a loop, place a removable stitch marker in the “uncaught” loop. This removable stitch marker can be as simple as a paper clip. After removing the excess yarn and determining unsecured loops on the edge you will need to join with yarn and crochet over the edge, making sure to incorporate the unsecured loops into the new stitches you are creating. This will assist in preventing them from unraveling. After you have successfully crocheted the edge you can remove the thread. You may find that the edge still looks a bit shaggy, so you may have to weave in assorted ends throughout the edge to ensure a tidy finish.

Like I said it is not a project for the faint of heart, but it can be done. If you want to progress in further in cutting your crochet fabrics, I would suggest checking out teh work by Vashti Braha of Designing Vashti….she went down the rabbit hole with Self Healing Stitches and such….find them here. Why Self Healing Stitches, Self Healing Stitches Resources, 

Stair Step Wrap- Free Pattern

I have always appreciated relatively simple repeat patterns that are successful with only 1 skein, so playing with this design I have actually created a few different variation. The Stair Step Wrap increases is worked side to side, with one edge being straight and the other having all the increasing and decreasing be worked.

It is simple enough to use any yarn in this pattern, simply choose a compatible hook for the yarn, and work the increase end of the pattern until you have used half of the yarn, then begin the decrease end of the pattern. To know if you have reached the “half way” point of a skein, you can use a kitchen scale to weigh the remaining yarn and subtract this from the total weight of the skein. This should be noted on the band wrapper for the yarn, if not simply weigh all the yarn, used and unused together and divide by 2 to find the halfway point.

Stair Step Wrap

Materials:

  • Mountain Colors Twizzle light weight 85% merino wool, 15% silk yarn (100g/240 yrds) colorway Lupine
  • L/8mm crochet hook

Special Stitches

BegV= (Ch 4, dc in same st) counts as dc + ch 1

V st= (dc, ch 1, dc) in same st

Increase End

Row 1: Ch 4, dc in first ch, turn.

Row 2: BegV, sk 1 ch, dc in next ch, turn.

Row 3: Ch 3, V st between 1st 2 sts, sk dc and 1 ch, V st in next ch, turn.

Row 4: BegV, V st between next V sts, dc in turning ch, turn.

Row 5: Ch 3, V st between dc and V st, V st bet V sts, sk dc and 1 ch, V st in next ch, turn.

Row 6: BegV, V st bet each V st across, dc in turning ch, turn.

Row 7: Ch 3, V st between dc and V st, V st bet each V sts across, sk dc and 1 ch, V st in next ch, turn.

Row 8-31: Rep Rows 6 & 7

Row 32: Rep Row 6

Decrease End

Row 33: Ch 3, V st between dc and V st, V st bet each V sts across, sk dc and 1 ch, dc in next ch, turn.

Row 34: Ch 3, V st bet each V st across, dc in turning ch, turn.

Row 35-62: Rep Rows 33 & 34

Row 63: Ch 3, V st between dc and V st, sk dc and 1 ch, dc in next ch, turn.

Row 64: Ch 3, sk V st, dc in turning ch, fasten off. Weave in ends, block.

I have worked this up in a couple of different yarns, this one I like too. It was made with Plymouth Yarns Arya Ebruli