Some Crochet Enhancements

IMG_20140830_101009

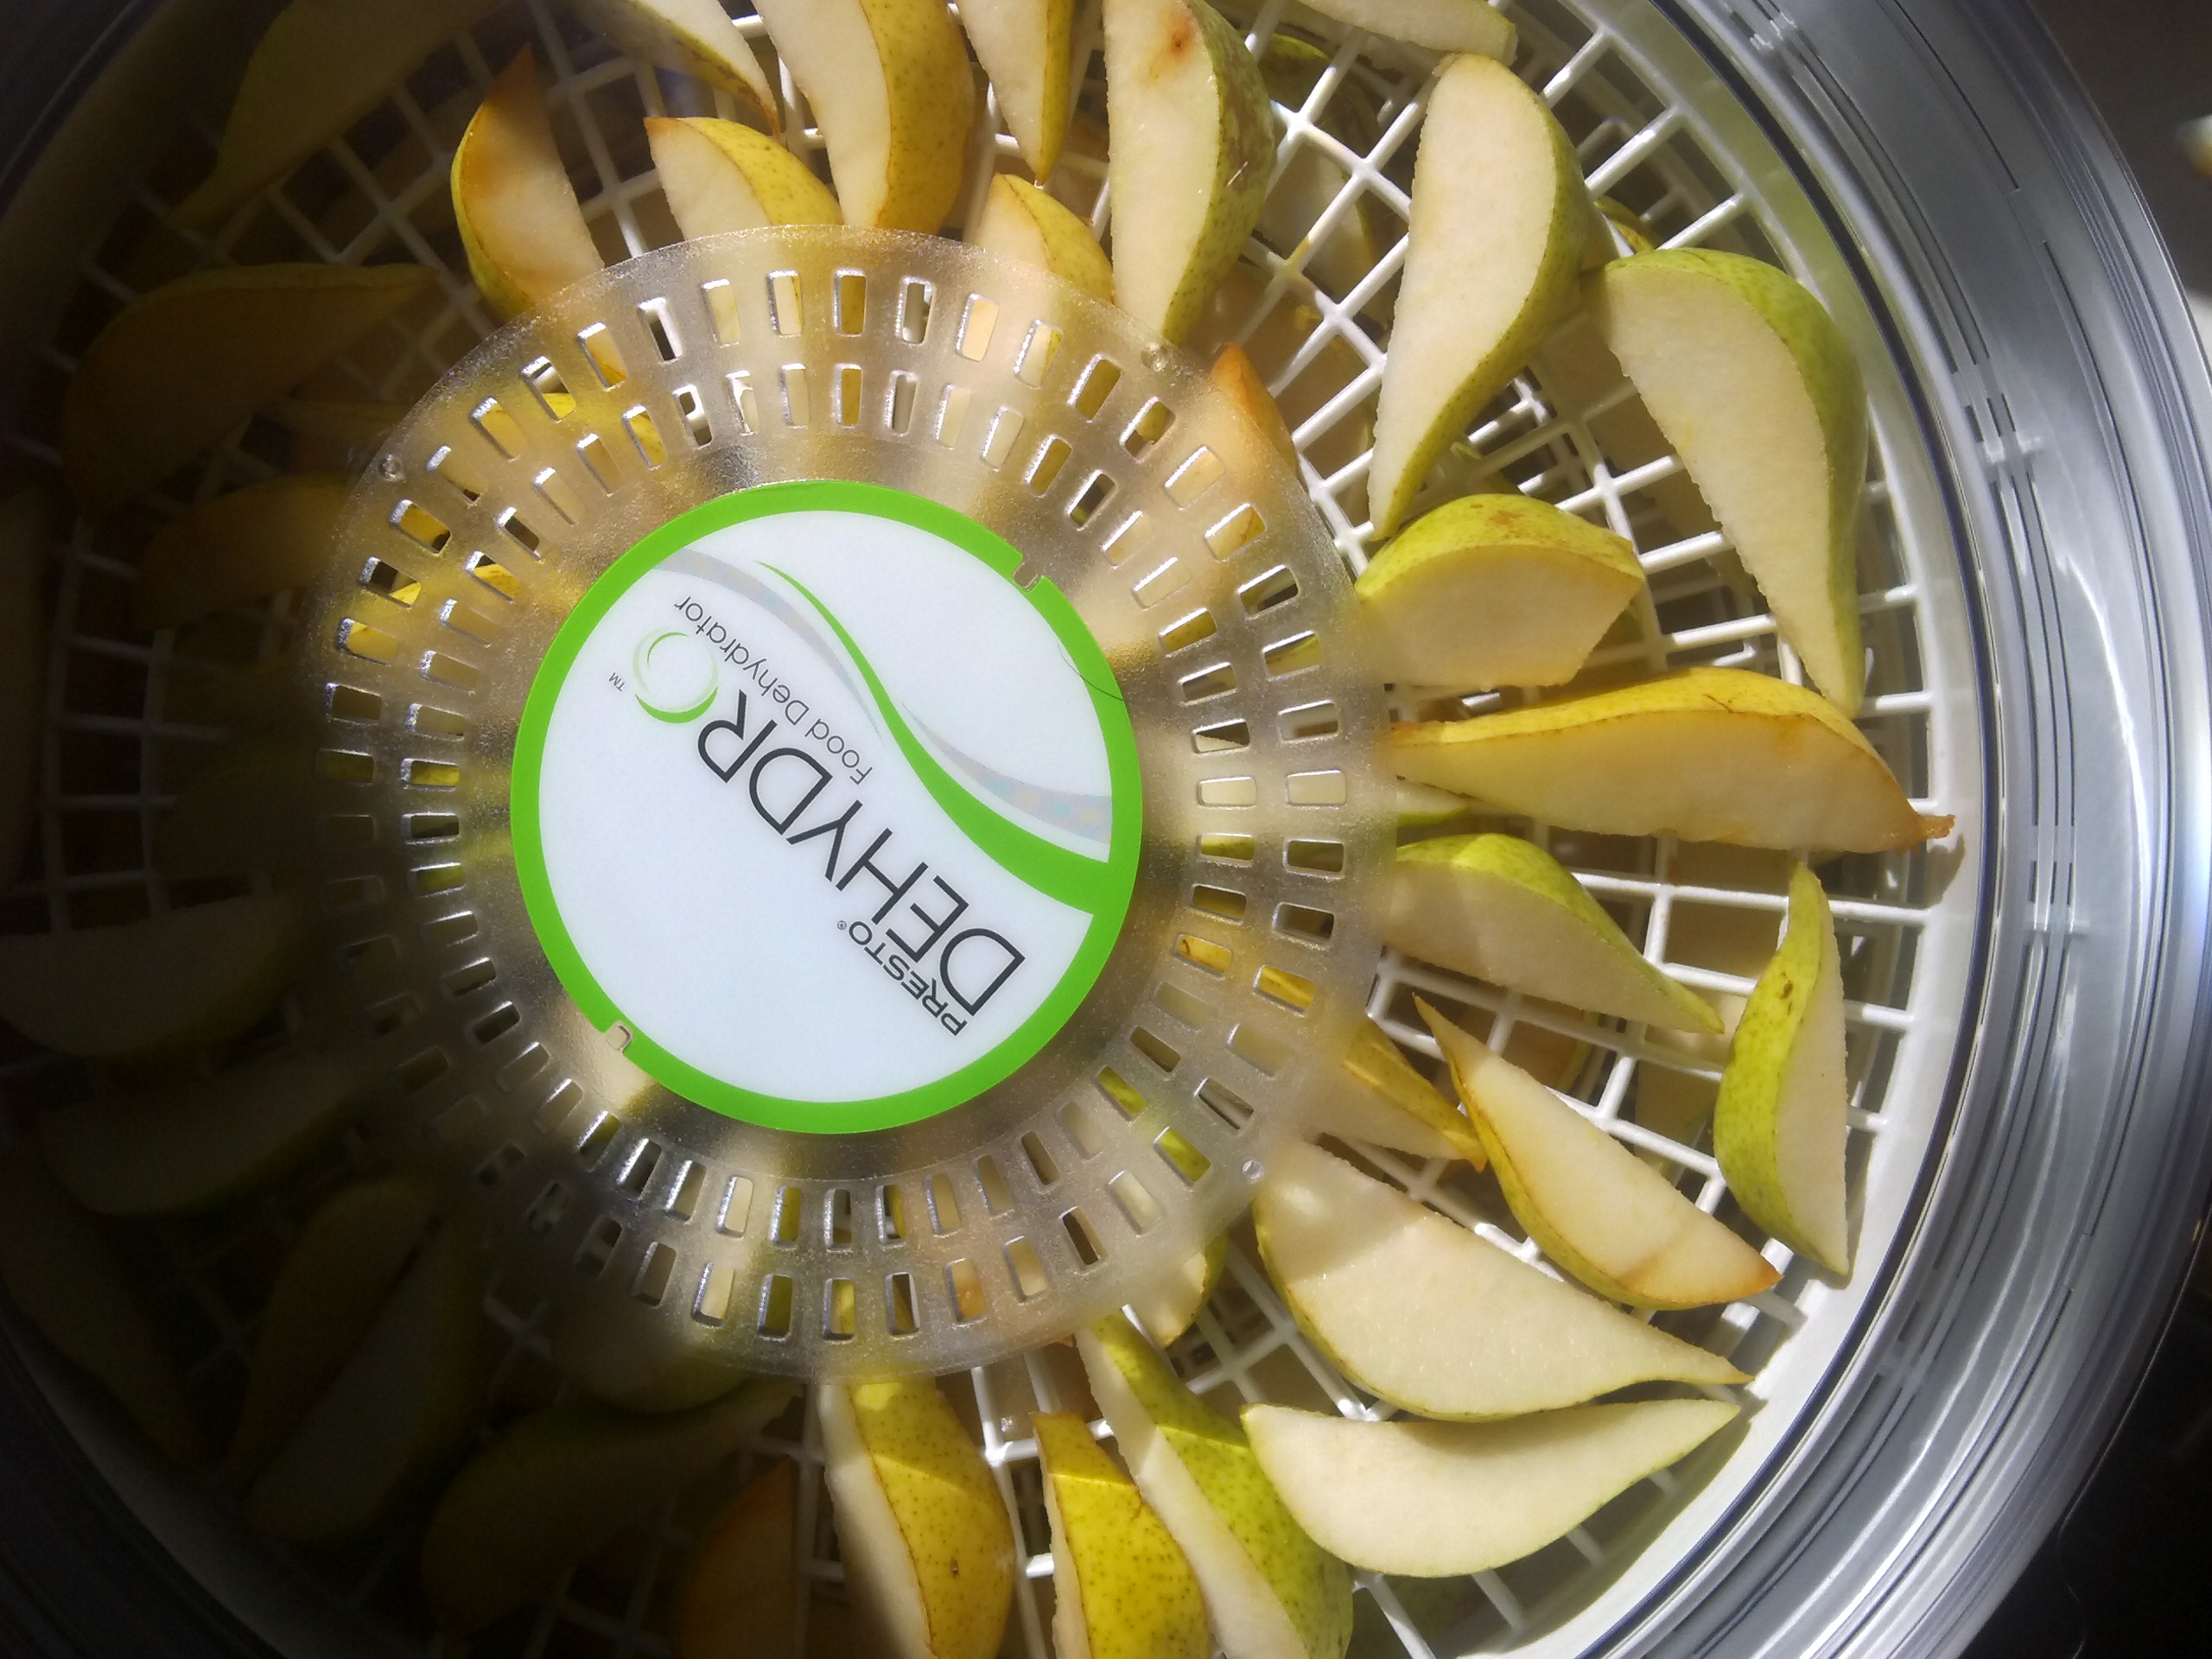
I have been drying fruit from the orchard…the pears are coming out quite nice.

ScannedImageSometimes it seems like time flies in the wink of an eye…again it seems to be that time of year for me. The kids have started back to school, I am getting the fruits from the orchard harvested (I am making my first attempts at using a dehydrator this year, so far it has been a success), and my fingers are nimbly working on various designs that you’ll see out in the world this next Spring & Summer.

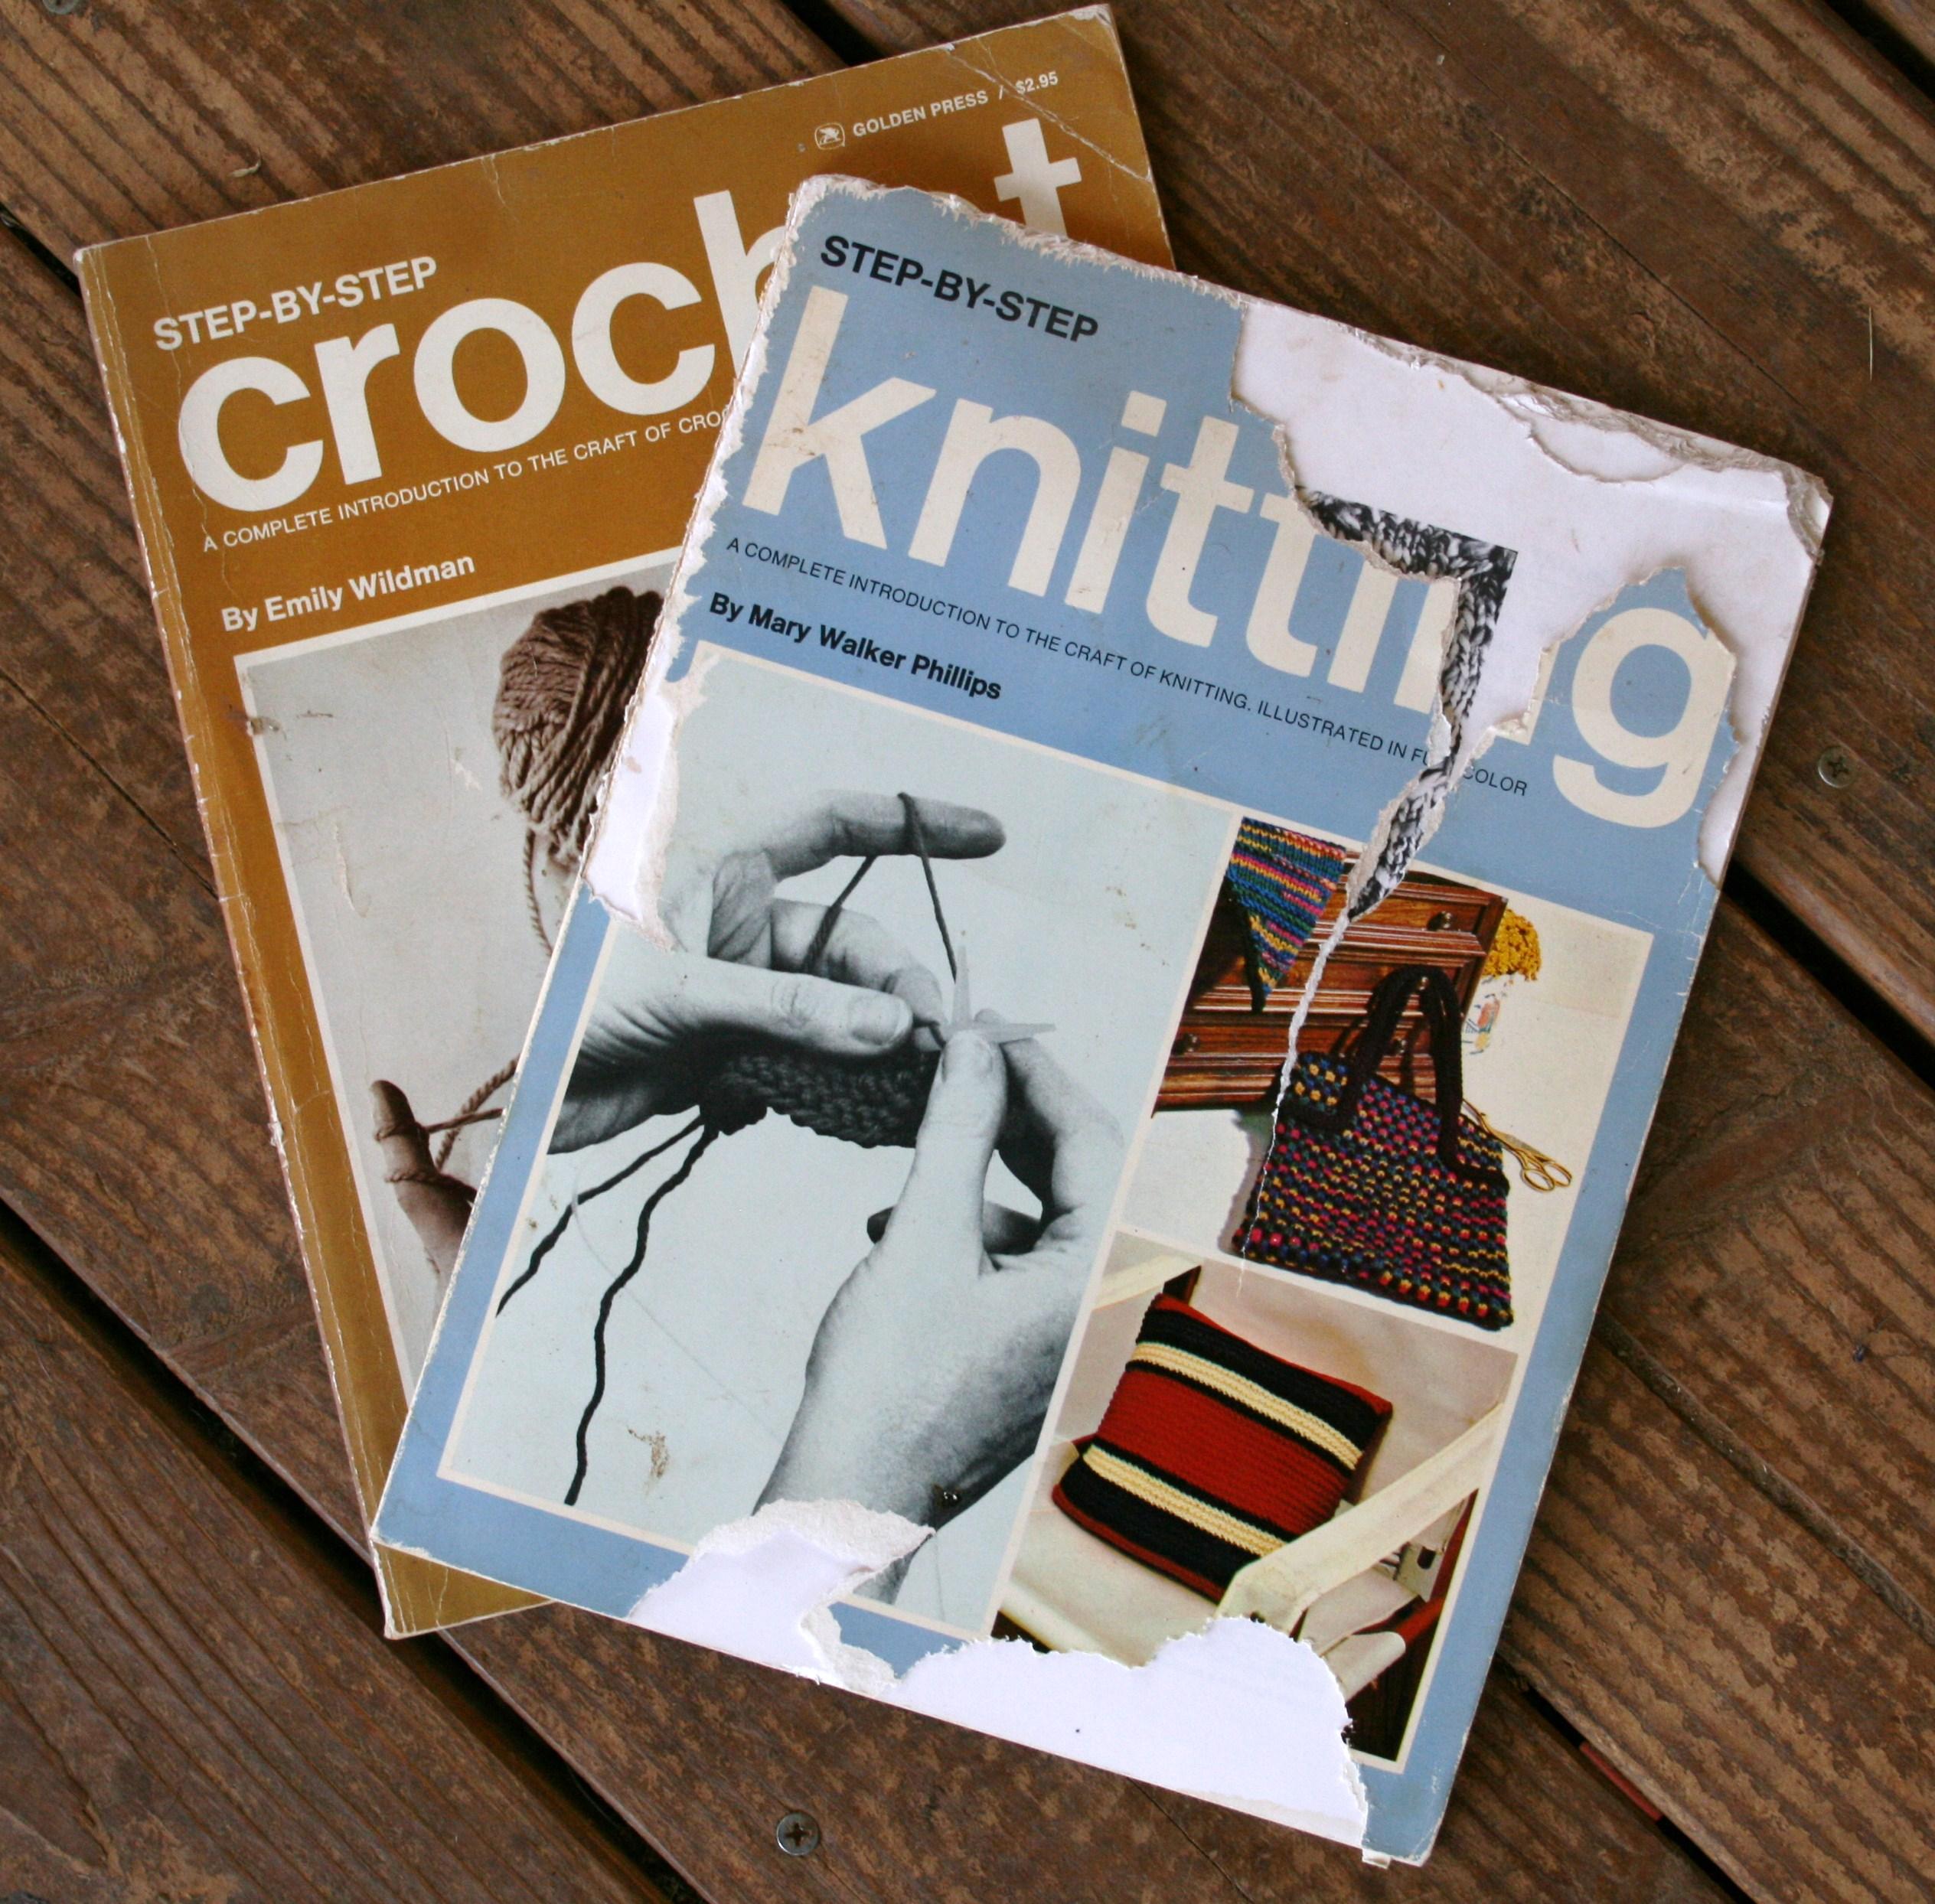
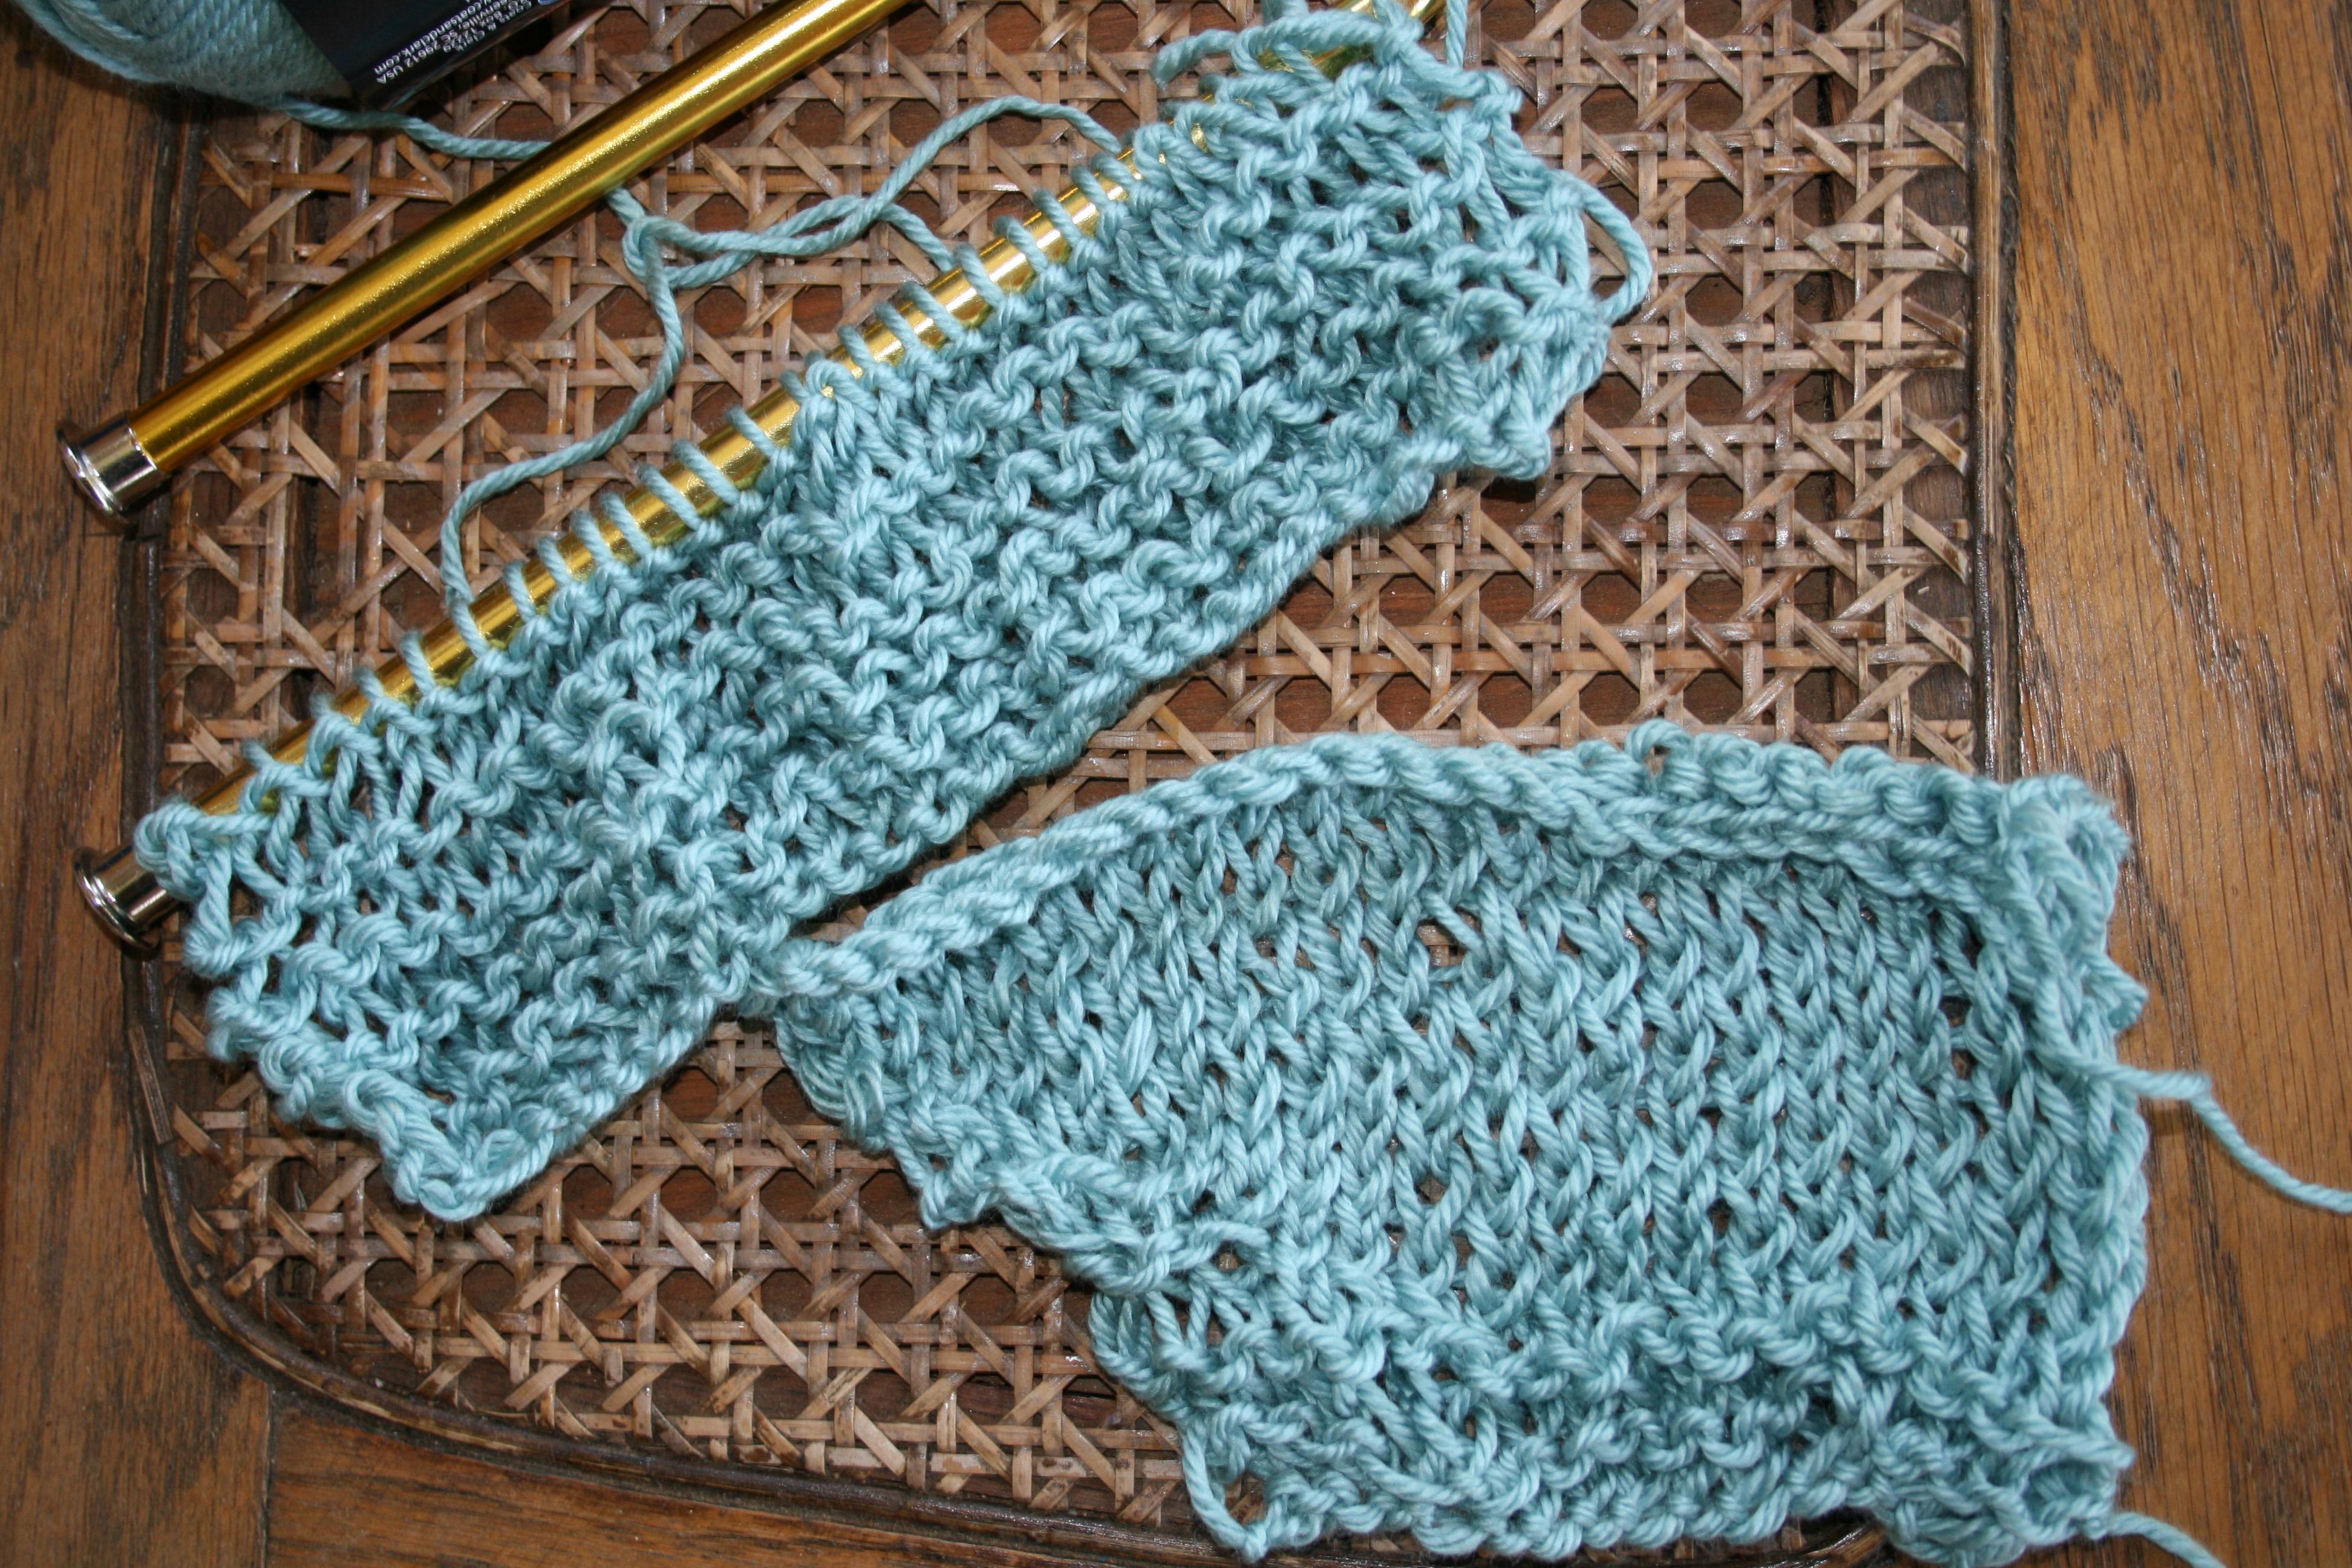
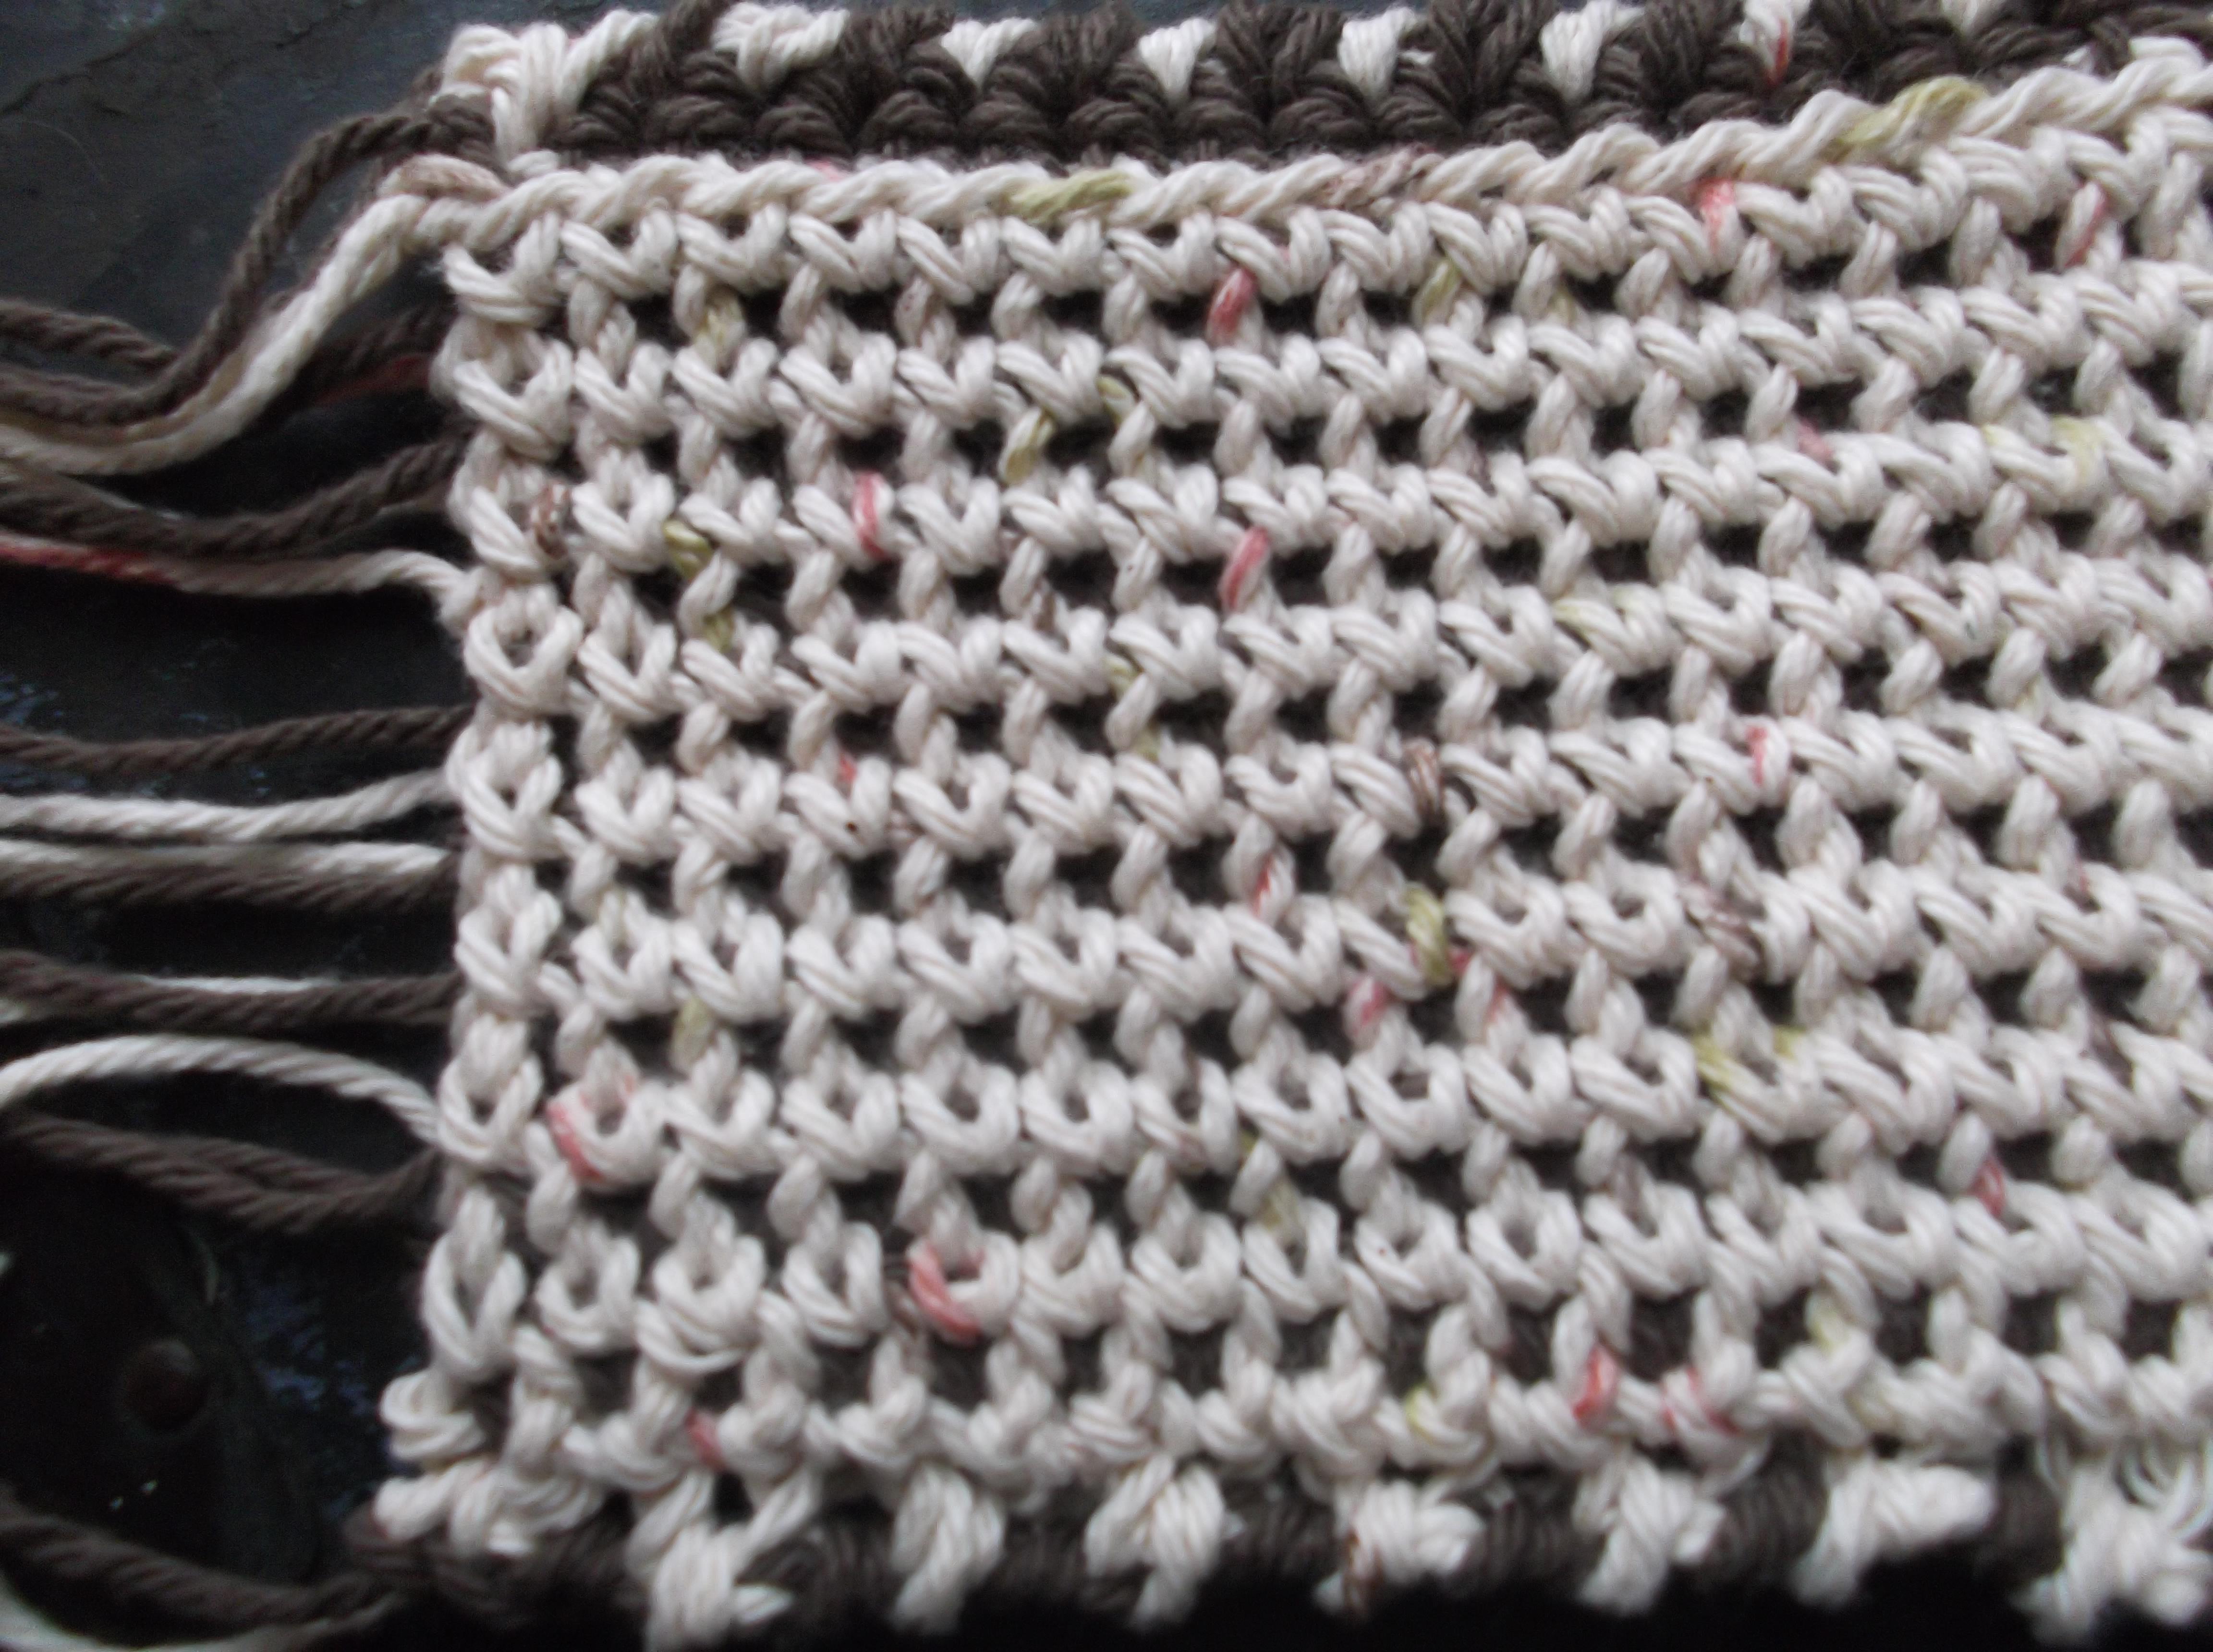
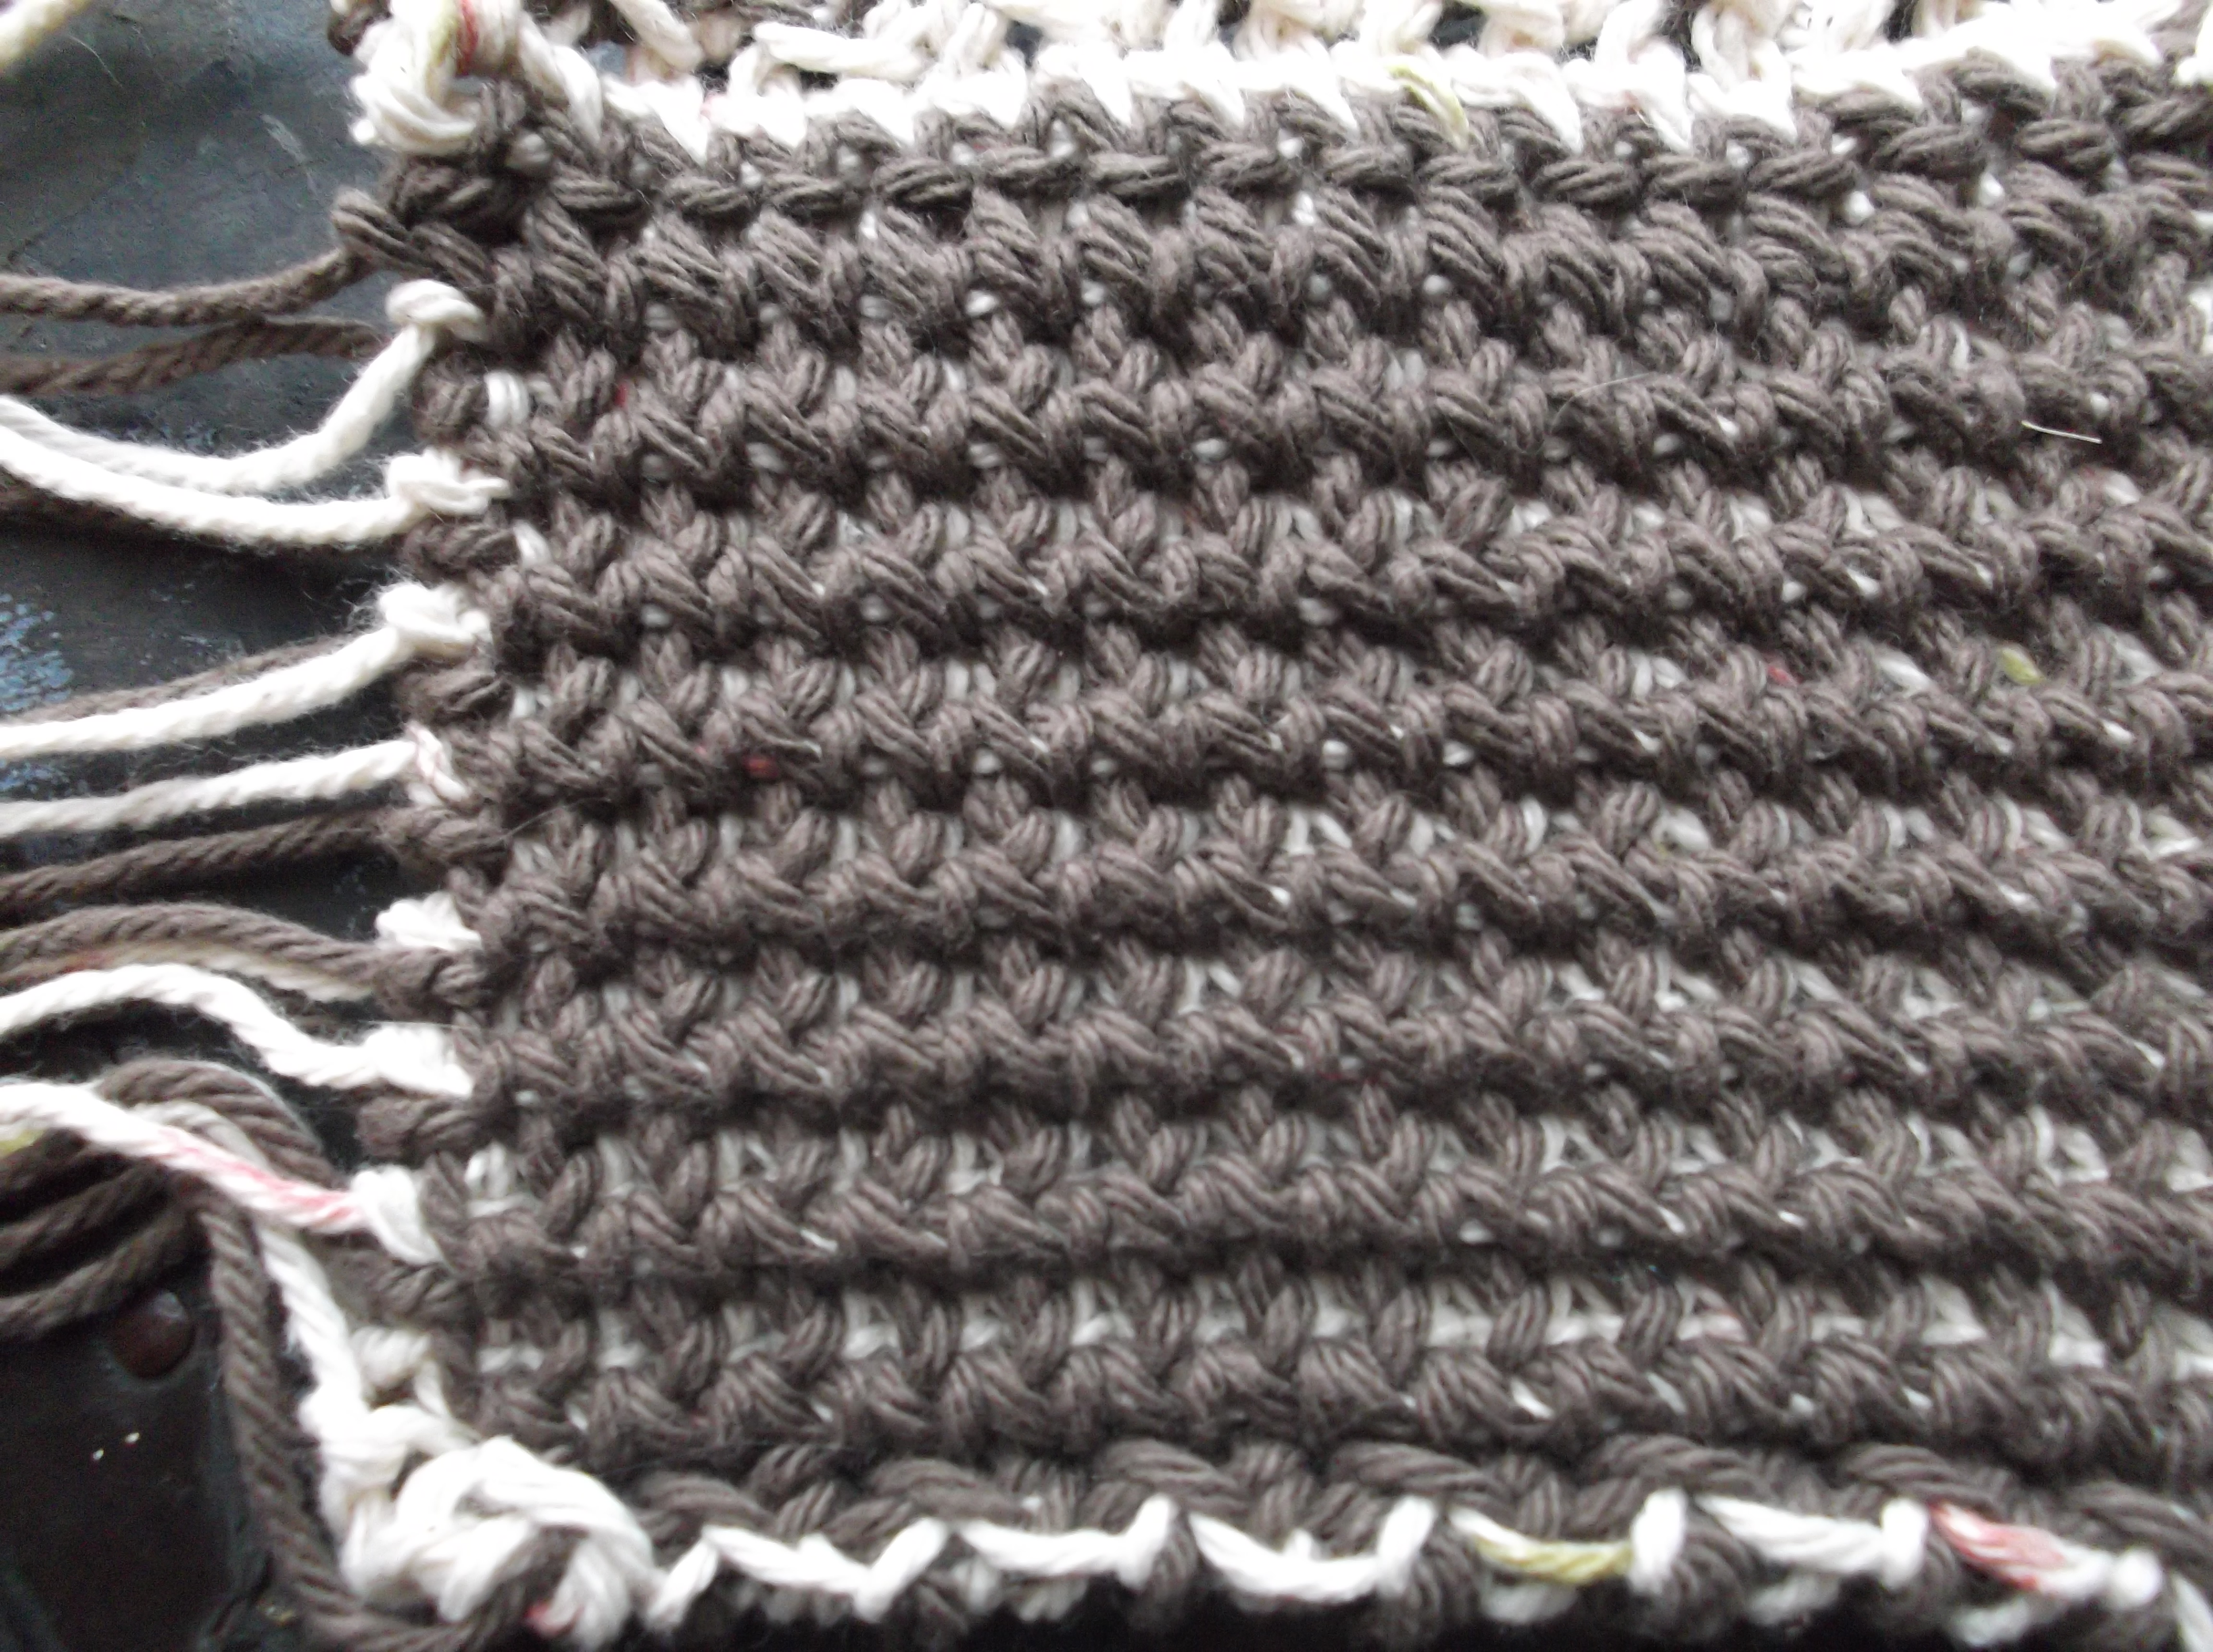
Working my flying crochet hook, I have undertaken a couple of new techniques, some that I have not undertaken for a while. I would like to share with you one that I am working on that I will admit is outside of my complete comfort level…beading.

I believe that beads can really add to a crochet design, that they give a nice texture difference, sometimes some needed weight for a project, and sometime just a hint of added sparkle; so why is it not a constant wheelhouse in my work…I hate threading those little beads on the yarn. It seems like a daunting task and I inevitably get it tied in knots, it is just that one added step that doesn’t allow me to mindlessly crochet.

DSCF0790

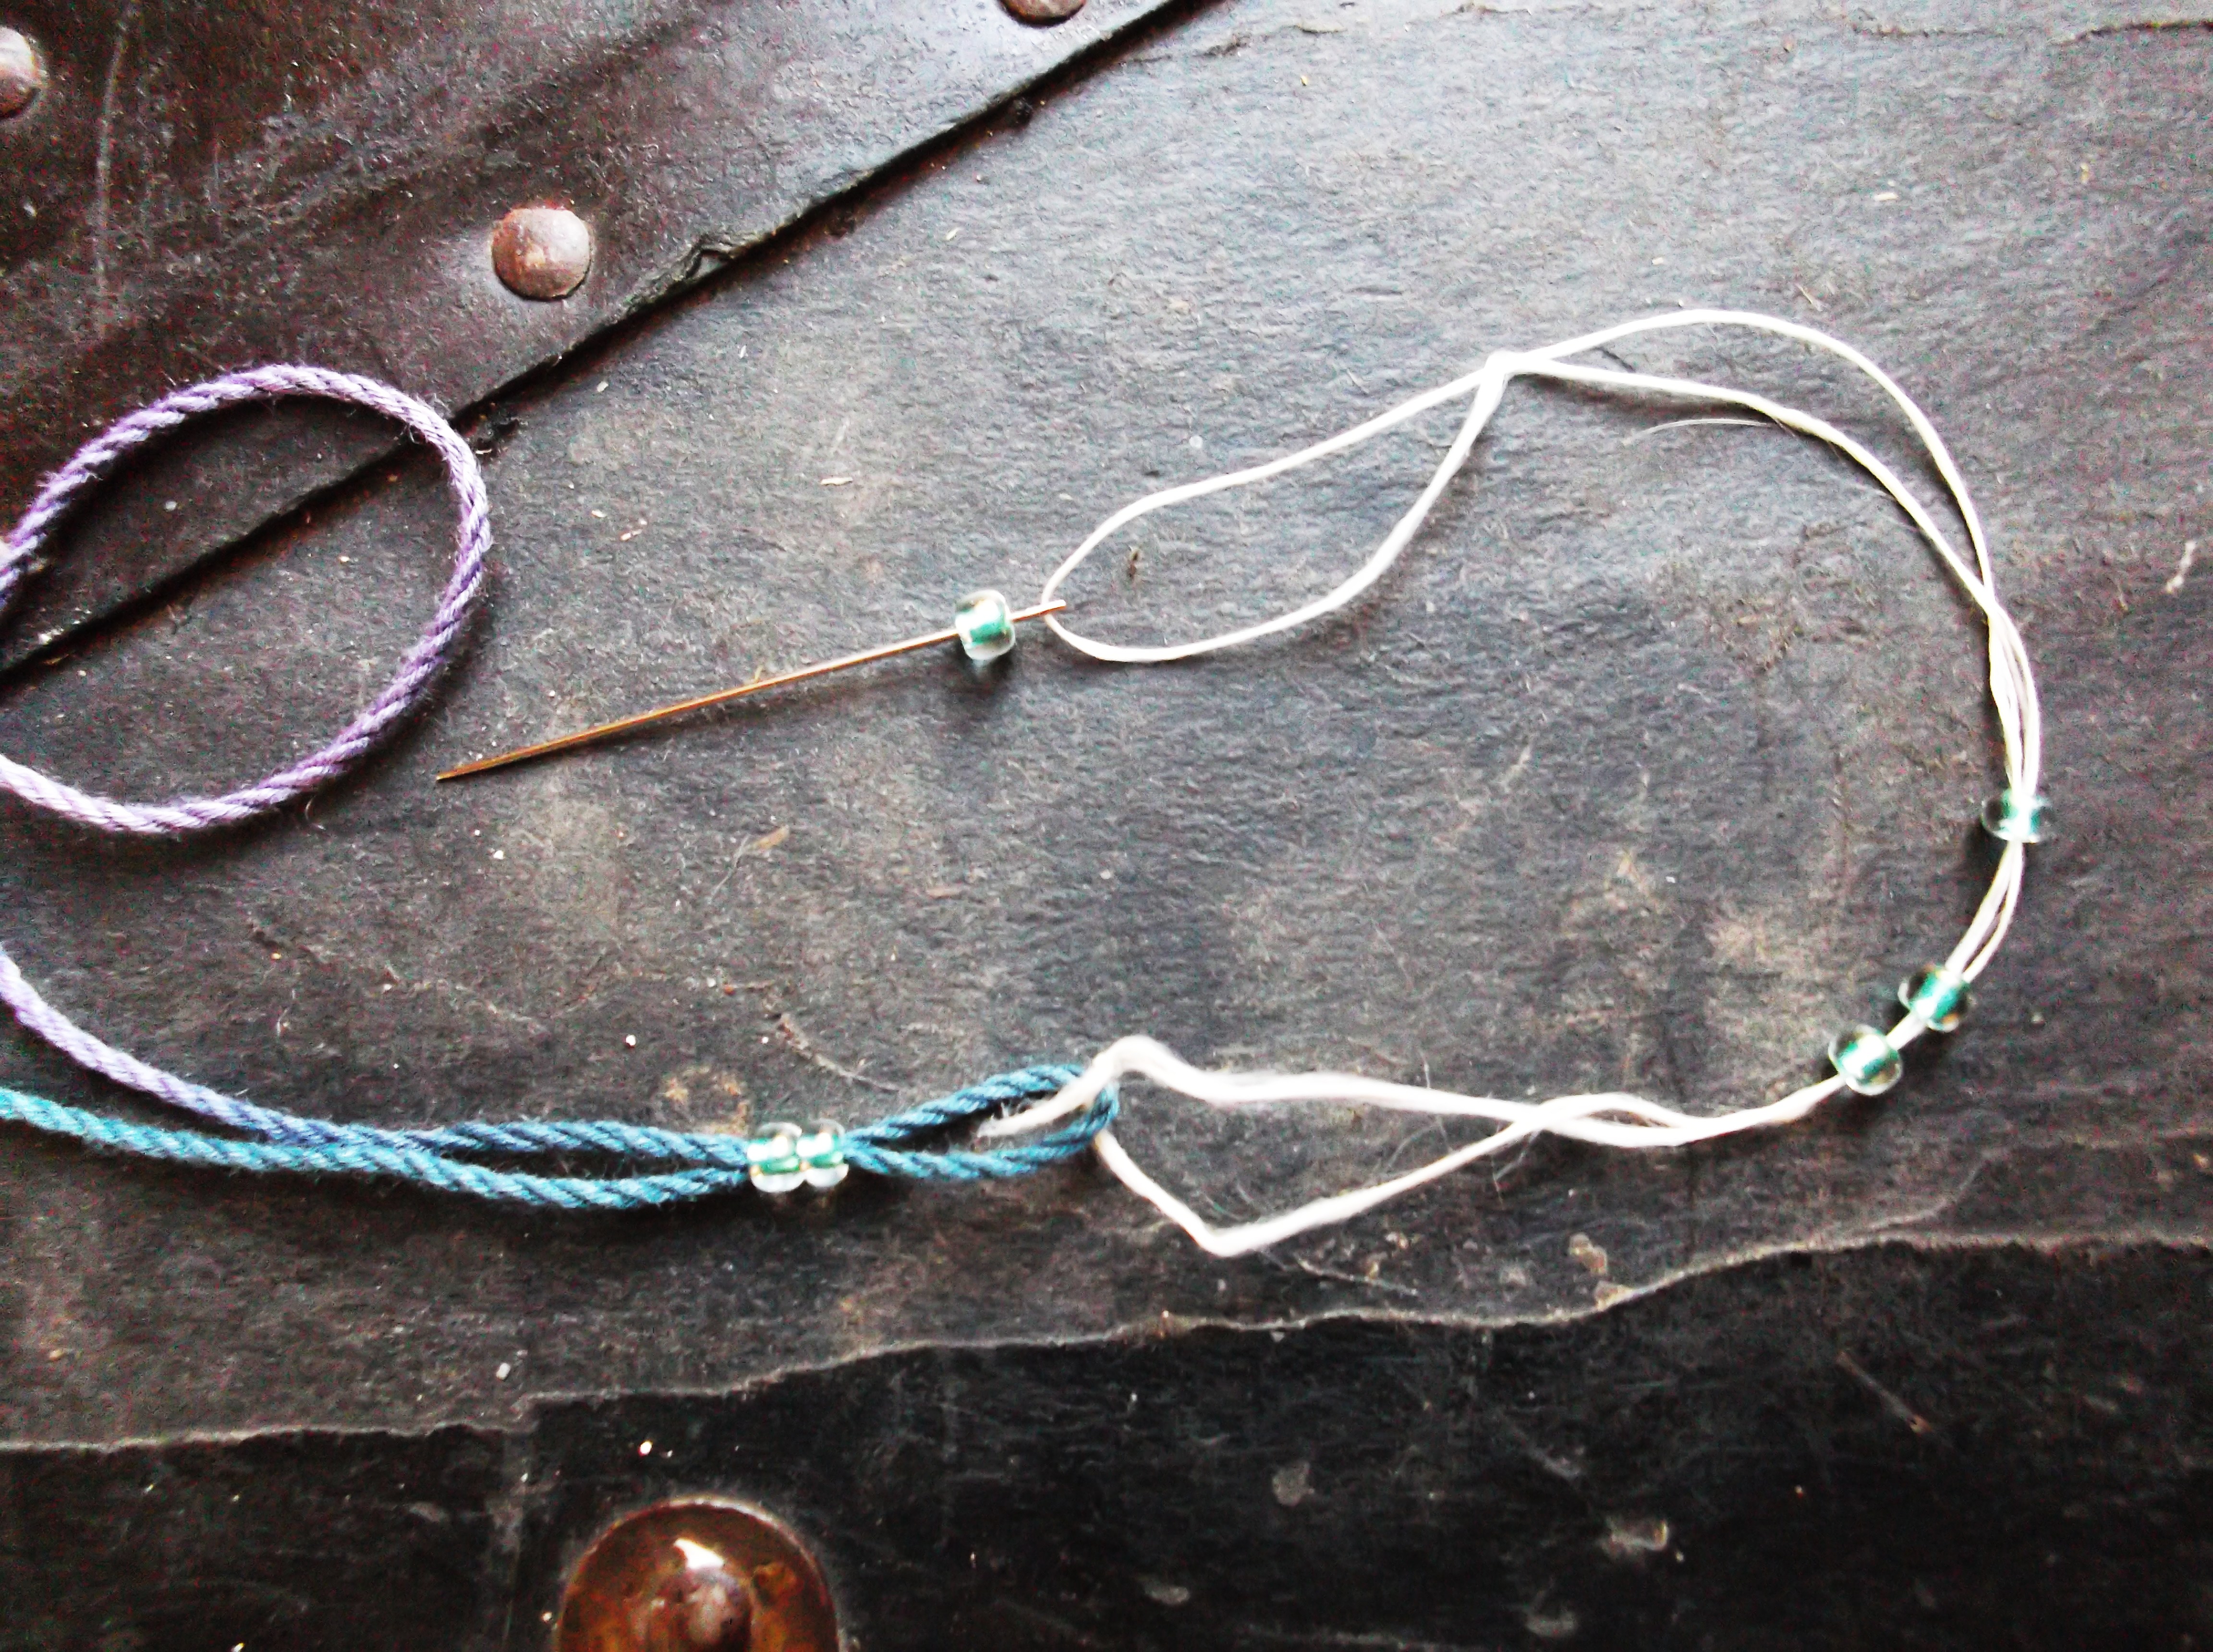
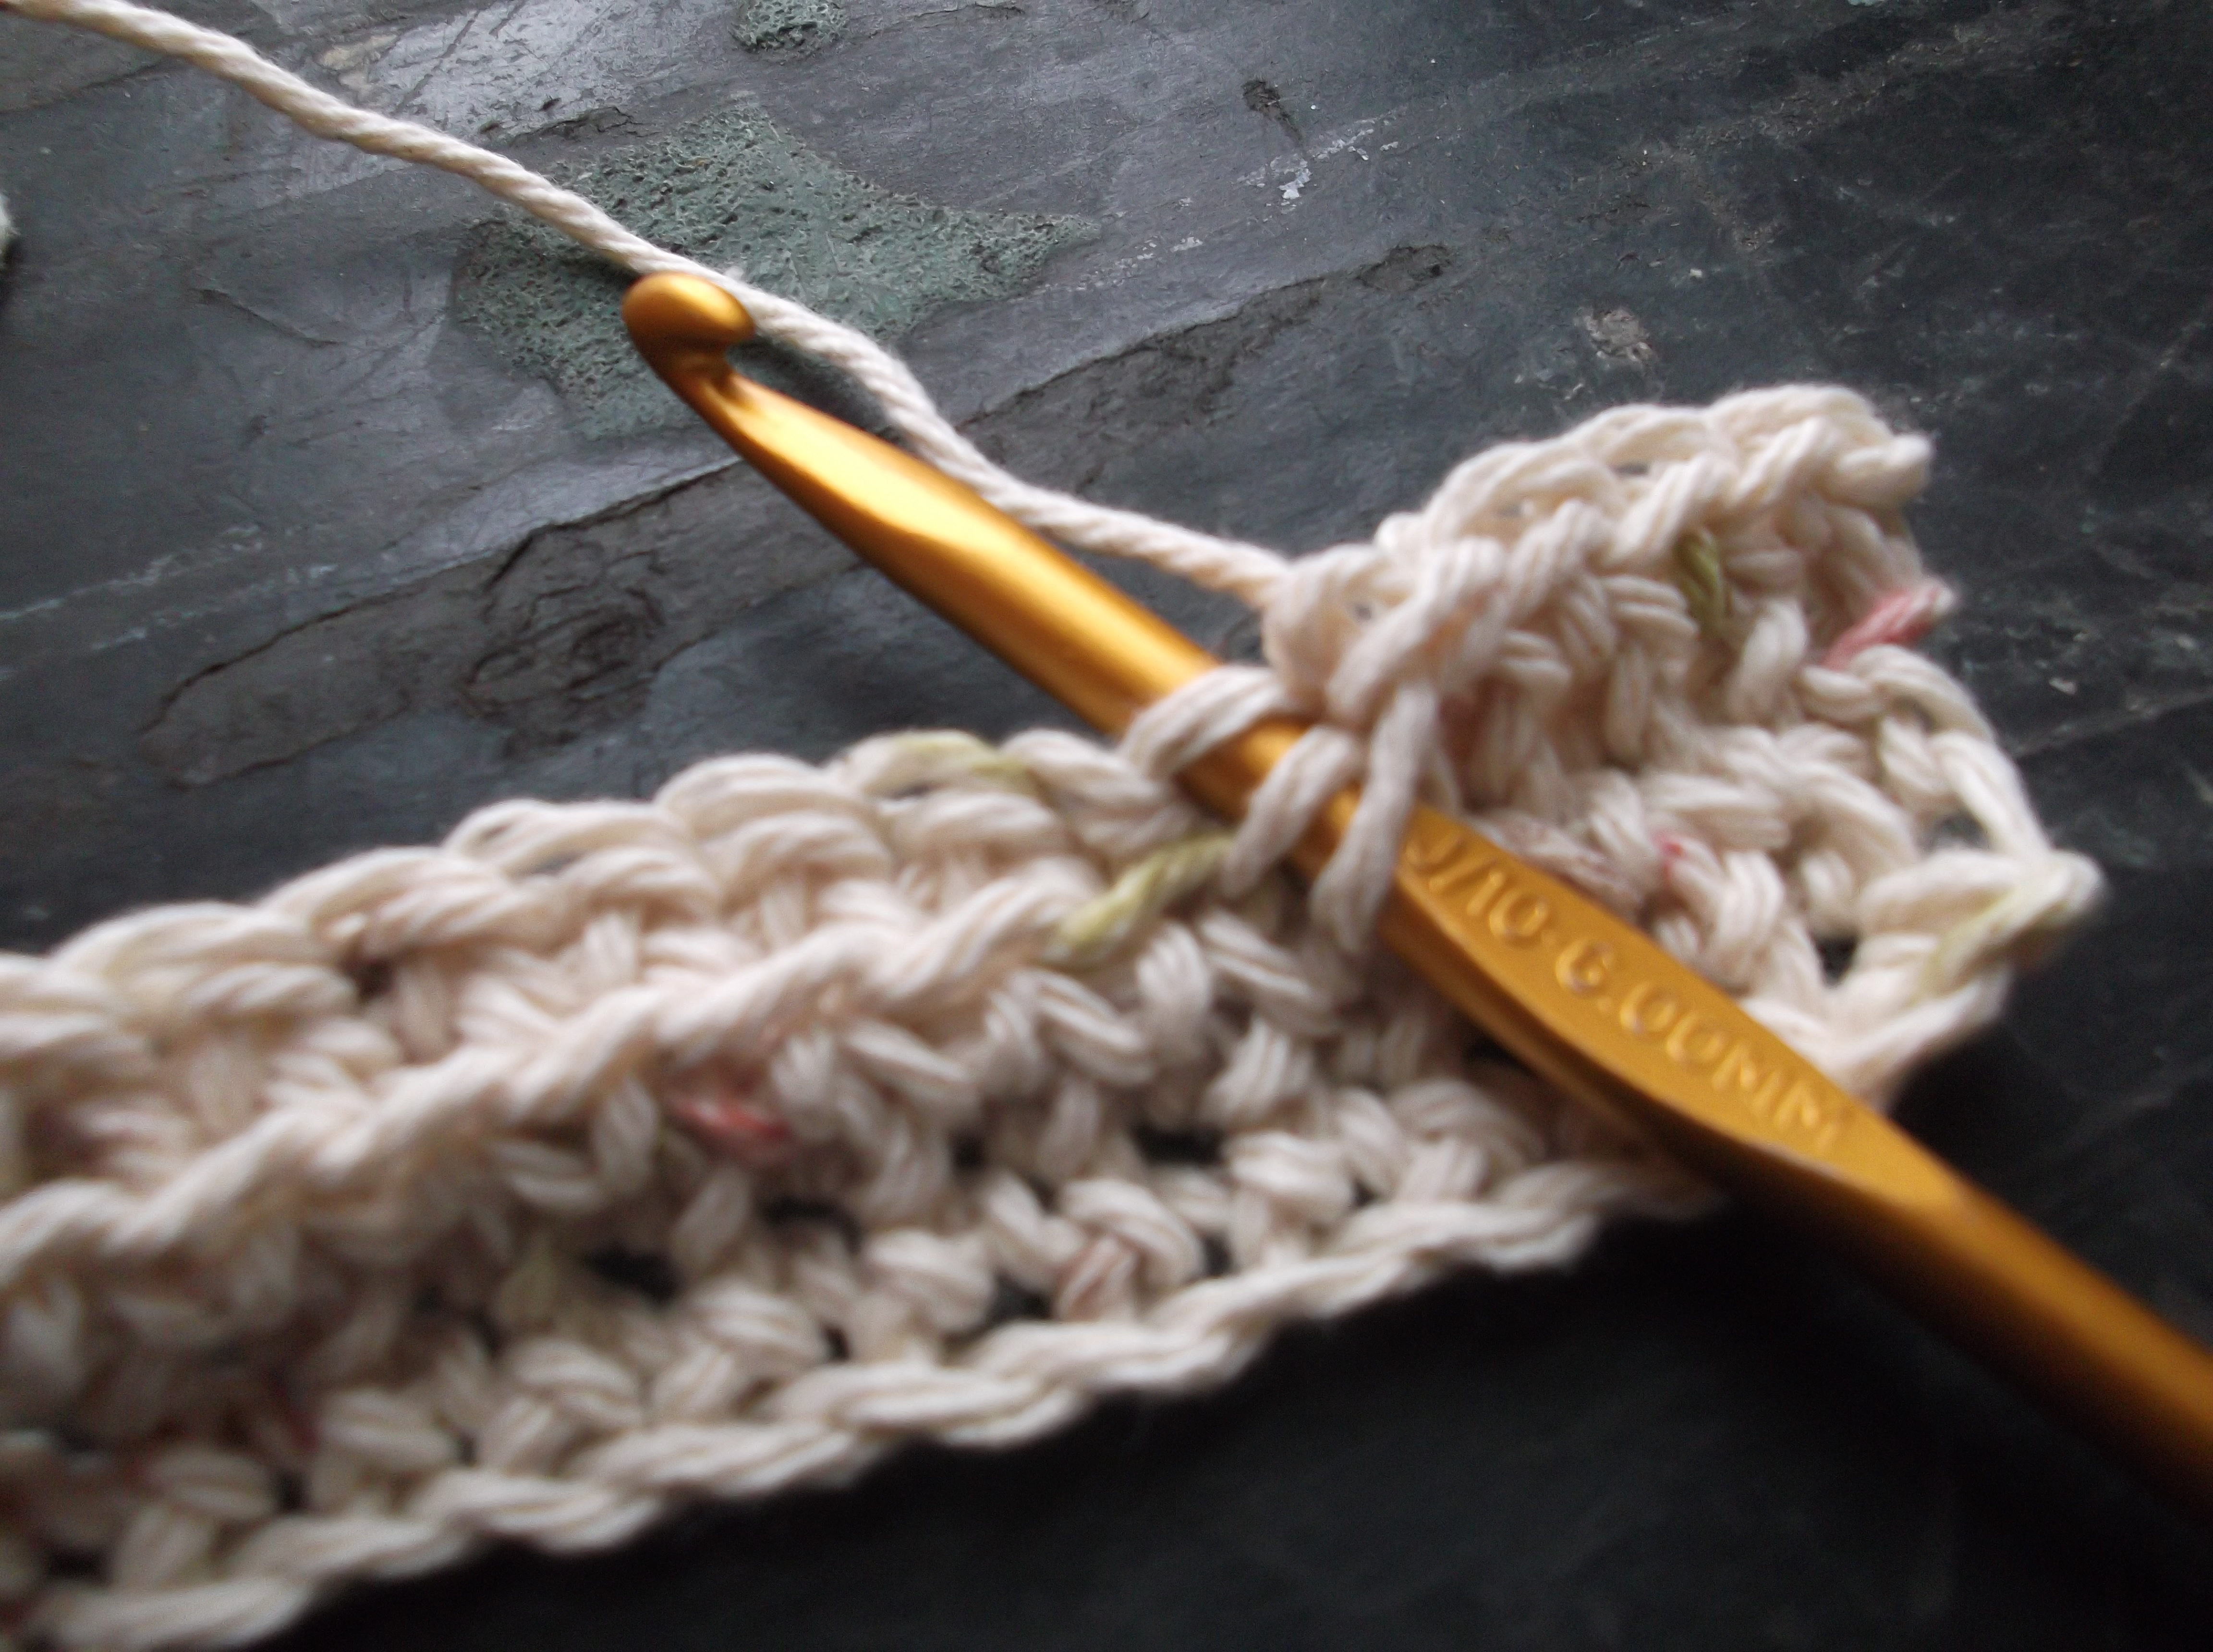
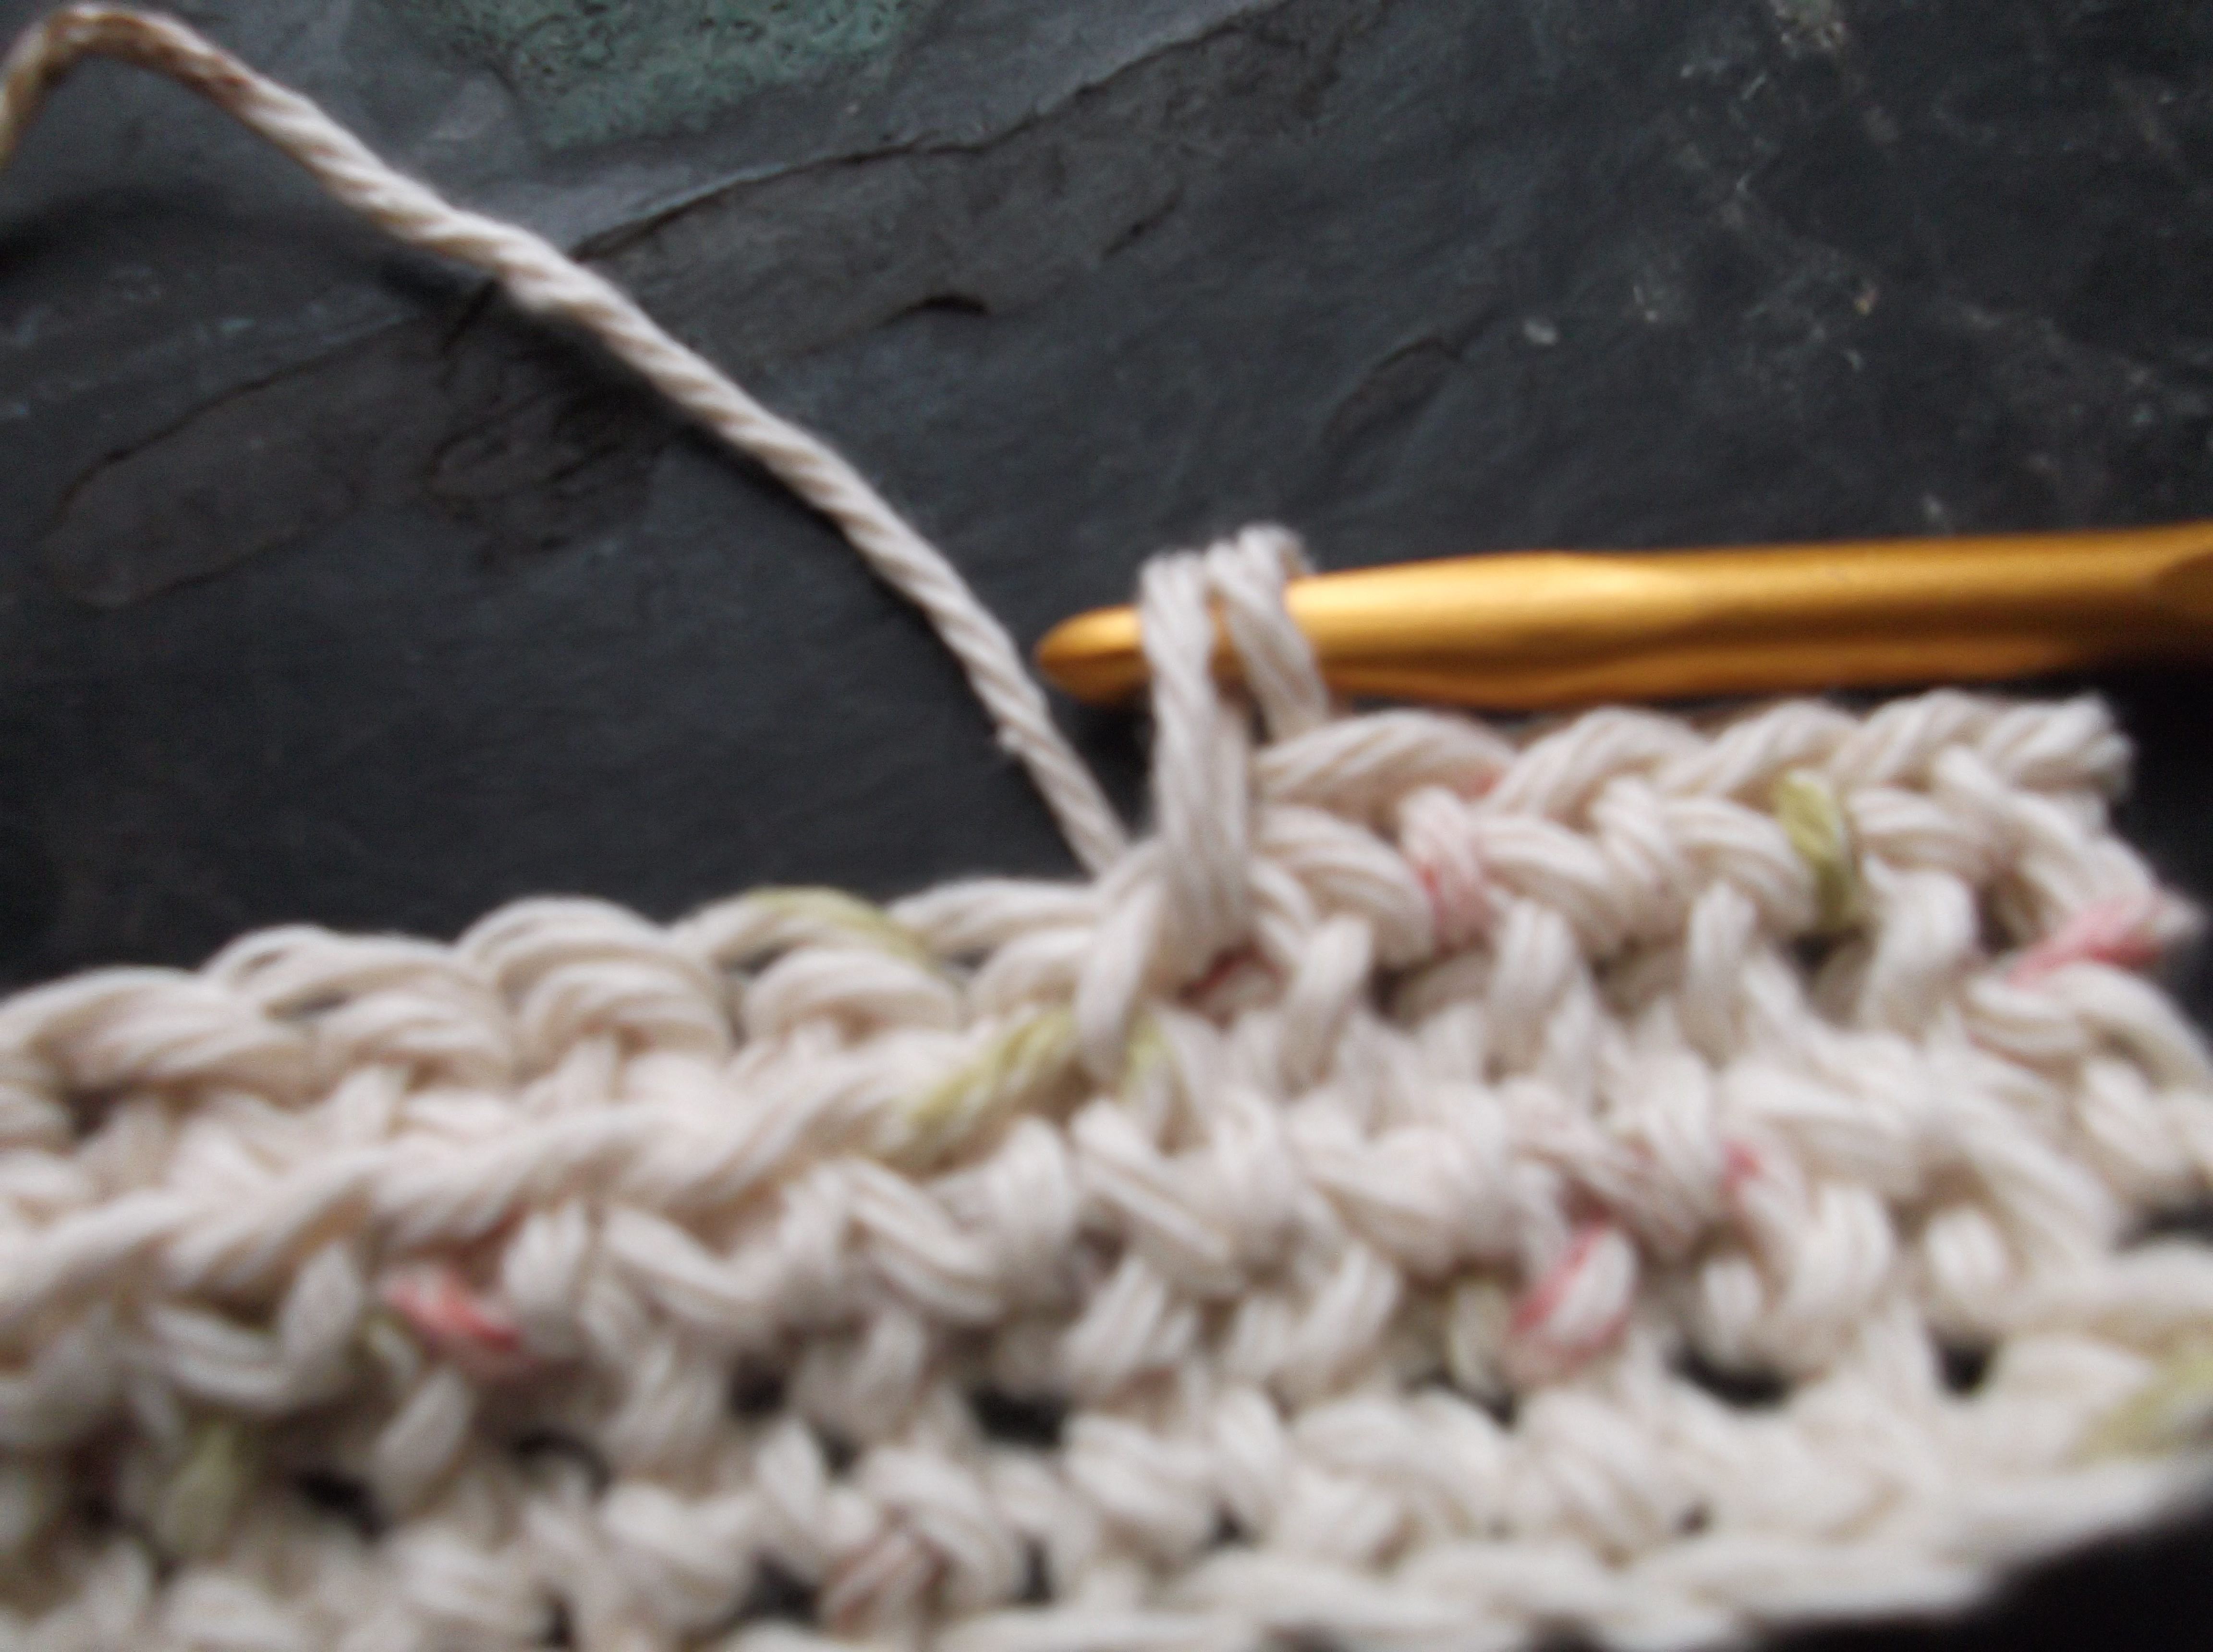
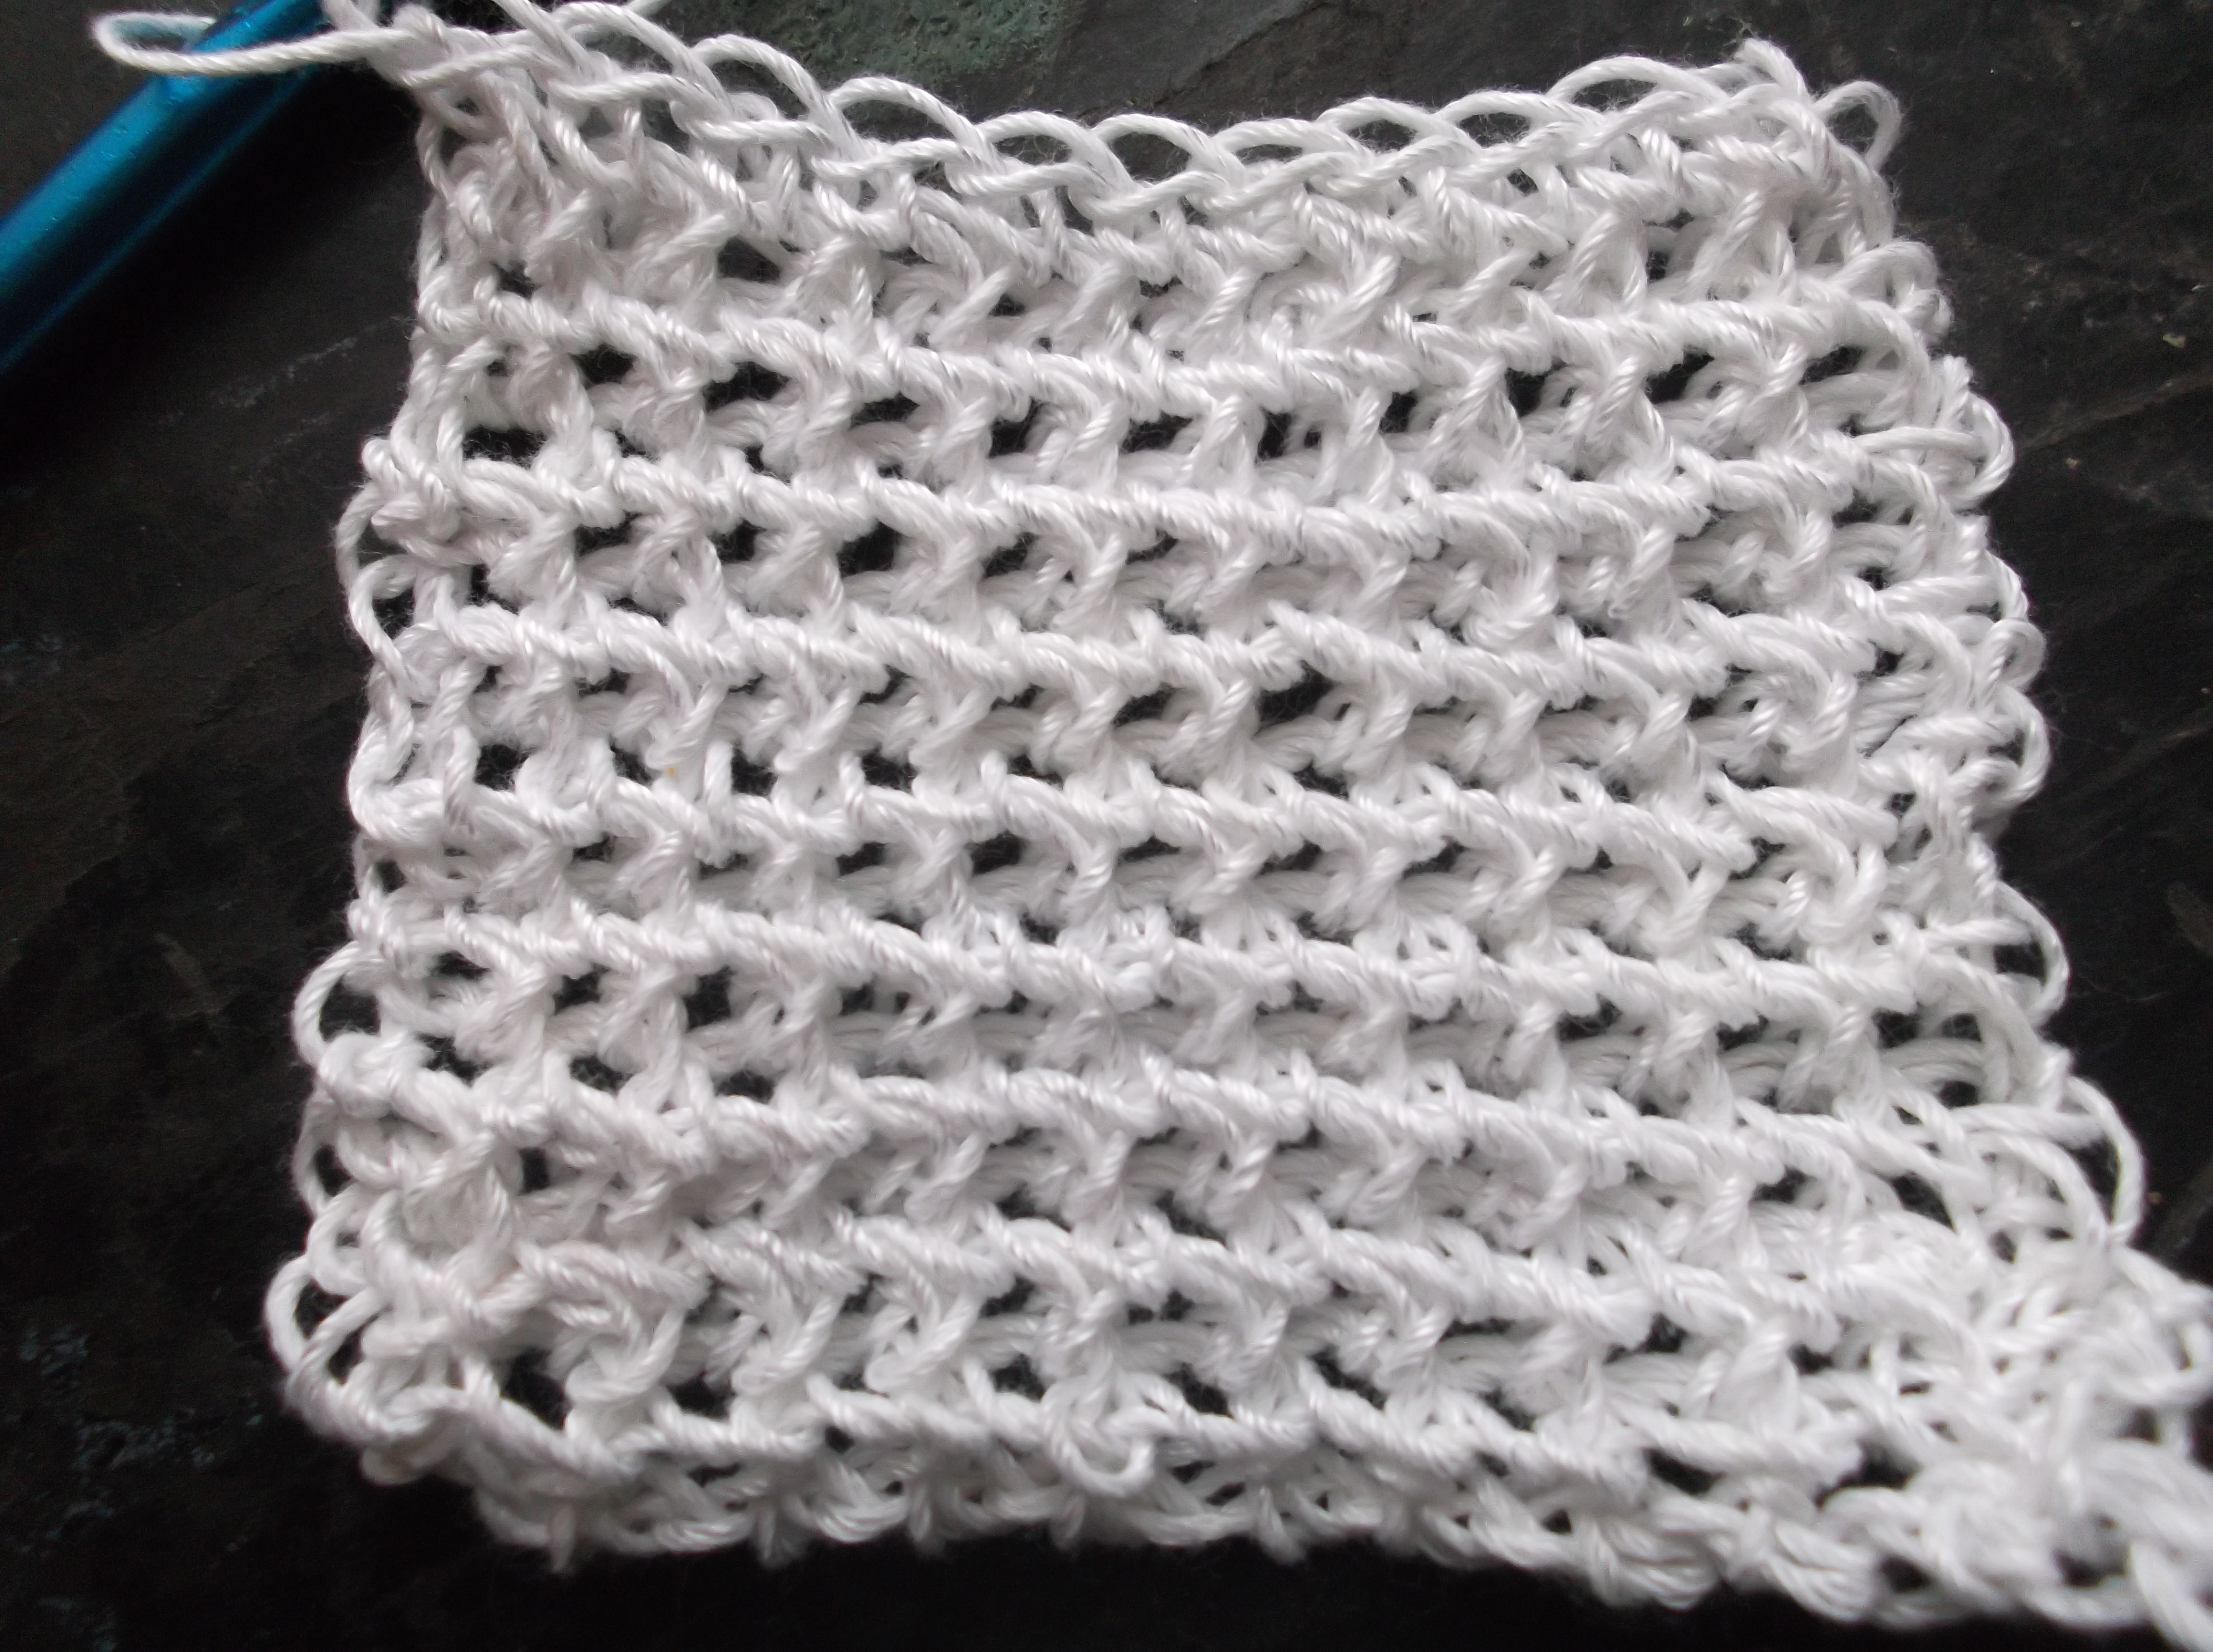
Thread dental floss through the sewing needle and tie a knot creating a loop, slip yarn through loop and fold back on itself (creating a link of 2 loops), thread beads onto sewing needle and slide them over the dental floss and onto the yarn

That being stated, I have been playing with ways to get beads in my stitches, and here is what has worked for me; a sewing needle and dental floss. Yes, it does sound a little funny, but it works better than other approaches for me (although I am always open to new ideas!).

First I thread the dental floss through the sewing needle, creating a tail on either side of the needle of at least 4” (10cm) (so a piece of floss at least 8” (20cm) long to begin with), and tie the ends making a loop. This loop is the trick. I then tread the yarn through the loop of floss and fold to back on itself; this creating what would appear to be 2 loops linked together. I using the sewing needle I thread through the beads and slid them down the needle, over the dental floss and then over the yarn.

So now I have them threaded, and the playing can begin.

Crochet Insights through Knitting

ScannedImageI have found that I need to keep my mind engaged with something new, and creating small challenges for myself is the best way for me to feel fulfilled and whole. When I focus this on my work in crochet it has usually been that challenge of “what can I create with this one skein of yarn”, or “how can I put this together differently”. However, this last week I took myself outside my comfort zone, it may seem a little sacrilegious, but I picked up a book and have begun teaching myself the basics of knitting. I know some out there are silently cheering that they have “converted me” and some are sighing that “I’ve gone to the dark side”, but neither could be further from the truth…this is just about a mental expansion.

IMG_6258.1

The books I learned to crochet and knit with. The knitting book has seen better days, but the house rabbit didn’t finish it off!

I have been crocheting for so much of my life, that I don’t know if I have a memory before I picked up a hook, but knitting was never something that I tried. When I learned to crochet, it was from a book, a Step-by-Step guide book printed by Golden Press in 1967. At the time I received this book, in a box of other books from a family member, there was a knitting book from the same publication (I think there may have been a macrame as well as some paper dolls and coloring books, it was quite a little assortment). I never really paid the knitting book much attention, I know my sister picked it up at one point years later and learned the basics of knitting (although I think her heart is into needle felting and sewing at this time in history).
So the book was just “around”, well I picked it up this week and gave it a go. The smallest needles I have in the house were 10mm, as I usually only use one and that is for broomstick lace. Well I managed to find a pair, and began to cast on. I have heard horror stories from knitters about casting on, but working different techniques in crochet made this feel natural (at least if I did it correctly, but it looks good so far). I believe the cast on I did would be referred to as the “long tail cast on”, and then I proceeded to work the knitting and purling stitches.
I will admit, I have found this to be a little awkward, I am not quite sure how to hold the needles so that they fell comfortable to me, the needle that I am working loops off of just isn’t sure where it should be. I am constantly fearful that those little loops will jump off the needle and then I will have a mess. But I will admit, it has been a good mental exercise for me.

IMG_6260.1

My first 2 knitting trials, I might have a little room for improvement.

I decided to give knitting a try for a couple of reasons, for one I have been teaching more often at knitting groups interested in learning some crochet skills such as Tunisian. By understanding the process they are use to it makes it easier to explain. Another reason was to better understand my crochet. So what I have managed to learn in the last week: That loops of either working method really adds the “bounce” to the fabric. These loops (the primary work of all stitches in knitting, but the loops that are pulled through on the crochet hook) are the essence of the yarn itself. If you begin with a yarn that is “springy” or is “stiff”, the loops are the parts of the stitch that highlight this quality. Granted, drape of a fabric can be affected by the hook or needle size being used, but the yarn will always shine through and these loops is where it happens.
Understanding the relationship of the stitch process and the yarn nature really helps to define and appreciate the techniques and the end fabric. This is an enlightening adventure…I wonder where it might take me next….

Thoughts on the Thermal Stitch…

ScannedImageWhen I started out to write this post, I was thinking of the cold weather I was seeing on the news, and it made me think of the thermal stitch. I have always been a little intrigued with this stitch; it makes a double layer fabric and has the resemblance to long johns, with the little indented squares. But as I started writing, I realized that there were questions about the properties of this technique that I couldn’t quite answer. So that is how I will preface this post, that it is a little beginning exploration for me with this technique.

DSCF0574

Insert hook from the bottom of the loop, beginning with the back loop from the row below (now facing) and the front loop of the stitch of the current row

DSCF0575

Yarn over and pull through 2 loops

The basic premise of this stitch is that you work single crochet stitches in the front loops of the row as well as the back loops of the row below. Working the stitch into the foundation chain can be a little daunting, so to give you an understanding of the stitch I will begin on the second row of a piece of single crochet. The rows of single crochet will be offset from one another, this creates the setback, while pulling up the lo op from a row below creates the edges to the “indented little square”.

DSCF0576

Yarn over and pull through remaining 2 loops to finish stitch

One of the main things to remember with this stitch is to insert the hook in the loop of the row below from the bottom, then insert it into the front loop of the next working row from the bottom.  You then yarn over and pull through both loops (you might want to pull up a longer than usual loop), yarn over again and pull through the two loops remaining on the hook to finish the stitch.  This will create a dense fabric, and if you want to have a little fun, you can alternate colors every row and get a double sided fabric (although there would be many ends to weave of leave it fringed).

DSCF0572

Using two colors, here is one side….

DSCF0573

…here is the other.

DSCF0571

Play swatch, showing same technique using sport weight yarn and an N size hook (in one color), look at the open effect…has some possibilities….

One of the areas I plan on playing with is large hooks with finer yarns. In the small sample I started working with I was impressed with the draping I received as well as the slight openness of the fabric (made me think of springtime). Amazing how attempting to explain a simple concept can yet lead to more questions, and hopefully better understanding…I will keep you posted.